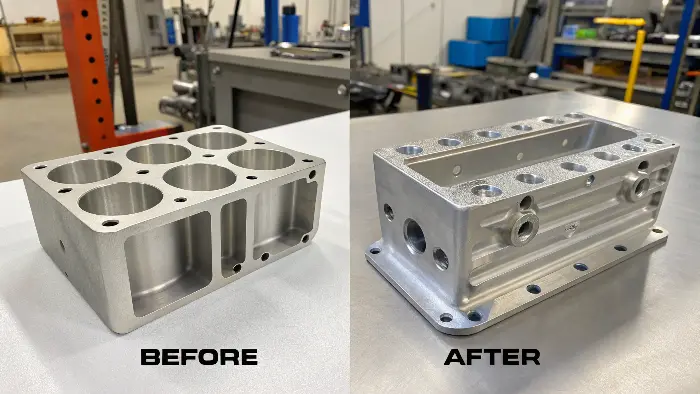
You’ve designed a critical aluminum part, but achieving the required tight tolerances feels like a gamble. A small deviation can cause assembly failures, costing you time and money. Understanding how to select the right process, material, and design features is key to getting consistent precision every time.
To achieve tight tolerances on aluminum parts, you must select the right machining process (like CNC milling or grinding), choose a stable aluminum alloy (like 7075 or MIC-6), and design for manufacturability. Careful control of cutting parameters, tool selection, and post-process handling are also critical. This guide will walk you through making the best choices for your project.
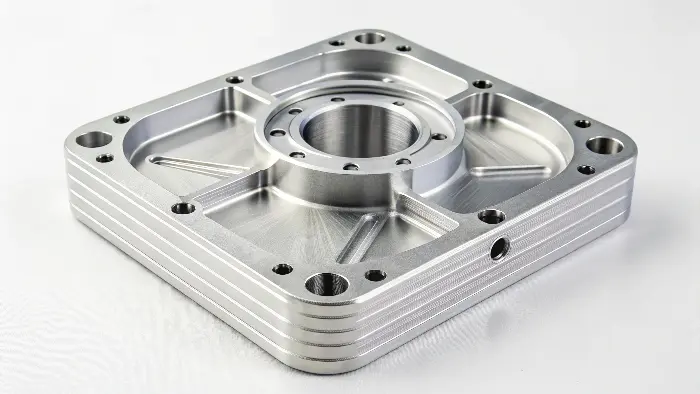
Getting this right isn’t just about having a good machine; it’s about a complete approach. I’ve seen many projects succeed or fail based on the decisions made long before the first chip was cut. Let’s break down the most important factors one by one. This will help you approach your next project with confidence and get the results you need.
Which Machining Process is Best for Your Aluminum Part’s Tolerances?
You have a drawing with specific tolerances, but you’re unsure if standard CNC milling is enough. Choosing a process that can’t hold your tolerance leads to rejected parts. But over-specifying a process like grinding unnecessarily increases costs. Matching the process to the tolerance is the most effective way to balance precision and budget.
For general tolerances (±0.1mm), standard 3-axis CNC milling is sufficient. For tighter tolerances (±0.025mm), 5-axis CNC machining offers better accuracy by reducing setups. For the highest precision (<±0.01mm), processes like CNC grinding or electrical discharge machining (EDM) are often required after initial milling. The part’s geometry will also guide your choice.
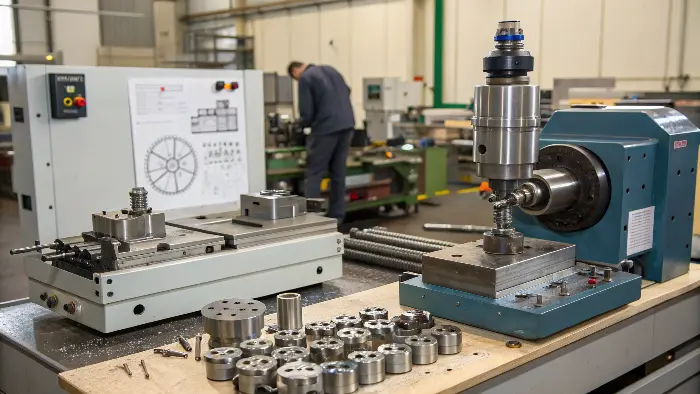
The first question I always ask an engineer is, "What does this part do?" The answer helps us decide on the right manufacturing path. Not all tolerances are created equal, and neither are the machines that create them. I remember a client from Germany, an engineer much like Alex, who came to us with a part that had a ±0.005mm tolerance on a flat surface. His previous supplier insisted on grinding it, which was very expensive. After reviewing the design, we realized we could achieve the same result using a high-precision 5-axis mill with a final, very light finishing pass. This cut his costs by nearly 30% without sacrificing quality.
3-Axis vs. 5-Axis Milling
For many aluminum parts, a standard 3-axis CNC mill is the workhorse. It’s cost-effective and perfect for parts with features that can all be accessed from the top or bottom. However, every time you unclamp and re-fixture a part to machine another side, you introduce a small potential for error. For parts with complex curves or features on multiple faces that need to be precise relative to each other, 5-axis milling is superior. It can machine five sides of a part in a single setup, which dramatically improves accuracy and is essential for holding tight positional tolerances.
When to Consider Grinding or EDM
When you get into tolerances tighter than ±0.01mm, you’re often moving beyond what even a high-end mill can reliably produce. This is where secondary processes come in.
- CNC Grinding: This process uses an abrasive wheel to remove tiny amounts of material. It produces an excellent surface finish and can hold extremely tight dimensional tolerances, making it ideal for final sizing of critical bores or flat surfaces.
- EDM (Electrical Discharge Machining): EDM uses electrical sparks to erode material. It’s perfect for creating sharp internal corners that a milling tool can’t make, or for machining features in hardened materials.
Here is a simple table to help guide your decision:
| Process | Typical Tolerance Range (Aluminum) | Relative Cost | Best For… |
|---|---|---|---|
| 3-Axis CNC Milling | ±0.1mm to ±0.05mm | Low | Simple parts, plates, brackets |
| 5-Axis CNC Milling | ±0.05mm to ±0.02mm | Medium | Complex parts, single-setup accuracy |
| CNC Turning | ±0.05mm to ±0.01mm | Low-Medium | Cylindrical parts, shafts, rings |
| CNC Grinding | < ±0.01mm | High | Ultra-precise flat surfaces and bores |
| Wire/Sinker EDM | < ±0.005mm | High | Sharp internal corners, complex shapes |
How Does Your Choice of Aluminum Alloy Affect Final Tolerances?
You specified "aluminum" on your drawing, but the machine shop is asking for a specific grade. The wrong alloy can warp during machining or fail to hold a sharp edge, making tight tolerances impossible to maintain. This can derail your entire project. Selecting an alloy with good machinability and thermal stability is fundamental for precision work.
Your choice of aluminum alloy significantly impacts tolerance. Harder alloys like 7075-T6 offer excellent machinability and dimensional stability, making them ideal for tight tolerances. Softer alloys like 6061-T6 are more common but can be "gummy" and prone to thermal expansion during machining, making ultra-high precision more challenging. For maximum stability, consider cast tool plate like MIC-6.
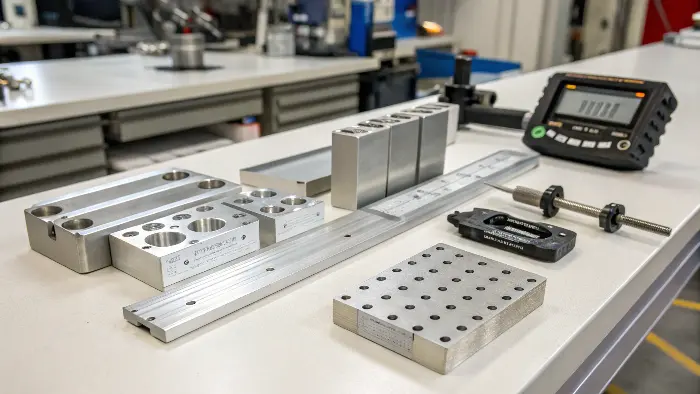
Material selection is a conversation I have daily. An engineer might choose 6061 because it’s familiar and cost-effective, but not realize its limitations for their specific design. I once worked on a project for a robotics company that involved a long, thin housing with very tight flatness and parallelism callouts. The initial design used 6061-T6. During prototyping, we found the part would warp slightly after we machined the internal pockets, no matter how carefully we did it. The internal stresses in the extruded 6061 bar were being released. We recommended switching to MIC-6, a cast aluminum plate that is specifically made to be stress-free and stable. The warping problem disappeared completely, and they were able to hold their tolerances easily.
A Practical Comparison of Common Alloys
Understanding the personality of each alloy is key. They are not all the same.
-
The Workhorse: 6061-T6
This is the most common and versatile aluminum alloy. It has good corrosion resistance and is easy to weld. However, it can be a bit soft and "gummy" to machine, and its internal stresses can make it less stable for high-precision, thin-walled parts. -
The Precision Choice: 7075-T6
This alloy is much stronger and harder than 6061. It’s known as an "aircraft grade" alloy. It machines beautifully, producing a great surface finish and allowing for crisp, sharp edges. Its strength and stability make it a top choice for parts that require tight tolerances, especially under load. -
The Stability King: MIC-6
MIC-6 isn’t an alloy you’d use for structural strength, but for dimensional stability, it’s unmatched. It’s a cast aluminum tool plate that is produced to be completely stress-relieved. This means it won’t warp or move as you machine material away, making it the absolute best choice for base plates, jigs, fixtures, and any part where flatness is the most critical requirement.
Here’s a quick reference:
| Alloy | Key Properties | Best For Tolerances | Potential Issues |
|---|---|---|---|
| 6061-T6 | Good all-rounder, corrosion resistant | General use (±0.1mm) | Can warp, "gummy" machining |
| 7075-T6 | High strength, hard, excellent finish | Tight tolerances (<±0.025mm) | Lower corrosion resistance, more expensive |
| 2024-T3 | High strength, good fatigue resistance | Tight tolerances, structural parts | Poor corrosion resistance |
| MIC-6 | Extremely stable, stress-free | Best for flatness and parallelism | Lower strength, not for structural use |
Are Your Design Choices Making Tight Tolerances Harder to Achieve?
Your part looks great in your CAD software, but the machine shop quotes are high, or they flag features as "difficult." Poor design for manufacturability (DFM) forces complex setups, special tooling, and slower speeds. All of these things increase costs and the risk of the part being out of spec. A few simple design adjustments can make achieving tight tolerances easier, faster, and cheaper.
Yes, certain design choices can make tight tolerances difficult. Features like very deep pockets, thin walls, sharp internal corners, and tolerances applied to non-critical surfaces unnecessarily increase complexity and cost. Simplifying your design by allowing for corner radii, increasing wall thickness, and applying tight tolerances only where essential will significantly improve machinability and precision.
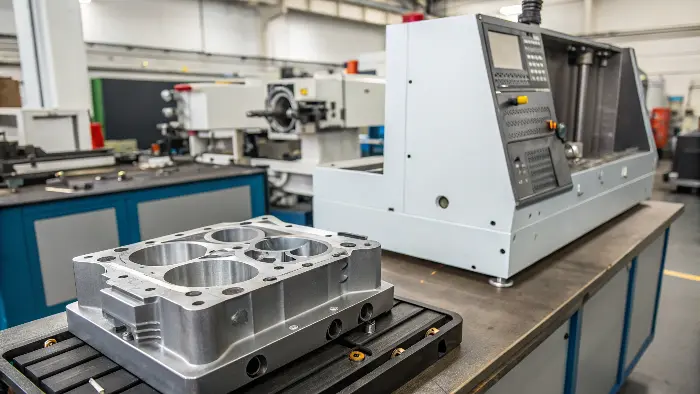
I see this all the time. An engineer will design a part with a perfect 90-degree internal corner. In CAD, this is just a click away. But in the real world, you can’t create that feature with a round cutting tool. We either have to use a very small tool, which is slow and prone to breaking, or switch to a secondary process like EDM, which adds significant cost. I worked with a client on a housing that had this exact issue. The sharp corner wasn’t even for a functional reason. I asked him, "Can we put a 1mm radius in that corner?" He agreed, and that one small change allowed us to use a larger, more stable end mill. This not only reduced the machining time but also improved the overall surface finish and dimensional accuracy of the entire part.
Key DFM Rules for Precision
Thinking like a machinist when you design can save you a lot of headaches.
- The Problem with Sharp Internal Corners: As mentioned, milling tools are round. Always design with an inside corner radius that is as large as possible. A good rule of thumb is to make the radius at least 1/3 of the pocket depth to allow for a rigid cutting tool.
- Why Thin Walls Warp: When you machine a thin wall, the pressure and heat from the cutting tool can cause it to deflect or vibrate. This is called chatter, and it ruins surface finish and accuracy. A general rule is to keep the wall height-to-thickness ratio below 4:1 if possible. If you need a thin wall, we can use special techniques, but it will be slower and more expensive.
- Tolerancing Only What Matters: Be selective with your tight tolerances. Does a surface that is just for clearance really need a ±0.02mm tolerance? Applying tight tolerances everywhere dramatically increases inspection time and cost. Apply them only to functional surfaces, like bearing bores, mating faces, and alignment pin holes. This is one of the biggest drivers of unnecessary cost I see.
How Do Surface Finishes and Treatments Impact Aluminum Tolerances?
Your part met tolerance perfectly after machining, but it’s out of spec after anodizing. This frustrating final-step failure means you have to scrap expensive, nearly-finished parts, causing major delays and budget overruns. You must account for the dimensional changes caused by surface treatments during the initial design and machining stages.
Surface finishes like anodizing and plating add material to a part’s surface, directly impacting final dimensions. For example, Type II anodizing can add 0.005mm to 0.025mm of thickness to a surface. You must communicate these finishing requirements to your machinist so they can adjust the machining dimensions beforehand to ensure the final, coated part is within tolerance.

This is a critical point of communication between the engineer and the machine shop. A few years ago, a new client sent us a drawing for a part with a bore that needed to be 20.00mm +0.01/-0.00. The drawing also called for Type III hardcoat anodizing. Hardcoat can add up to 0.05mm to a surface. If we had machined the bore to 20.00mm before anodizing, the final part would have been far too small. Because we had that conversation upfront, we knew to machine the bore oversized, to about 20.05mm. After the hardcoat was applied, the final dimension was perfectly in the middle of the tolerance band. This foresight saved the project.
Planning for Post-Processing
You must treat finishing as part of the manufacturing process, not an afterthought.
- Understanding Anodizing Buildup: Anodizing is an electrochemical process that grows an oxide layer on the surface of the aluminum. About 50% of this layer penetrates into the material, and 50% builds up on the surface. This buildup changes the part’s dimensions.
- The Role of Masking: For features that must remain uncoated and hold their machined tolerance, like threads or press-fit holes, we use masking. This involves plugging holes or covering surfaces with special caps or tapes to prevent the anodizing process from affecting them. This needs to be clearly called out on your drawing.
- Heat Treatment and Stability: Some aluminum alloys, like 6061, are often supplied in a T4 condition and then aged to a T6 condition after machining. This heat treatment process can cause the part to warp or change size slightly. For high-precision work, it’s often better to machine the part from material that is already in its final T651 (stress-relieved) state.
Here is a guide to common finishes and their impact:
| Finish Type | Typical Thickness Buildup (per surface) | Key Consideration |
|---|---|---|
| Type II Anodize | 0.005mm – 0.025mm | Must account for buildup on critical dimensions. |
| Type III Hardcoat | 0.025mm – 0.05mm | Significant buildup; requires careful planning. |
| Chem Film (Alodine) | Negligible (<0.001mm) | Minimal dimensional change; mainly for corrosion resistance. |
| Powder Coating | 0.05mm – 0.15mm | Very thick; only for non-critical surfaces. |
Conclusion
Achieving precision in aluminum parts is a system. It depends on choosing the right process, the most stable material, designing for manufacturability, and planning for finishing. By thinking through these four areas, you can ensure your parts are made right the first time, every time.

