Are you specifying surface finishes for grooves and worrying you’re getting it wrong? It’s a common problem. Choosing a finish that’s too rough can cause premature failure, but specifying one that’s too fine can skyrocket your costs for no real benefit. Getting it right is a difficult balancing act.
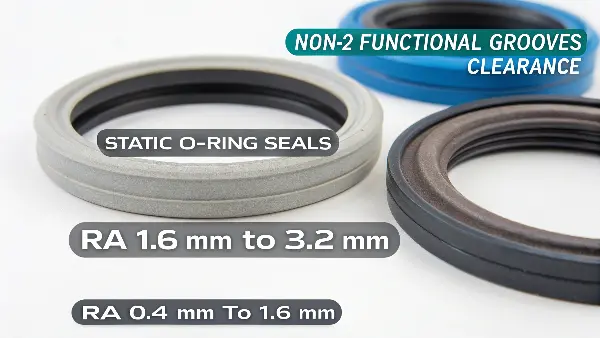
The surface finish you need for a groove depends on its function. For static O-ring seals, a range of Ra 1.6 μm to 3.2 μm is typical. For dynamic seals, a smoother finish of Ra 0.4 μm to 1.6 μm is needed to prevent wear. Non-functional grooves for clearance can be much rougher, like Ra 6.3 μm or more, to save on cost.
I’ve seen this situation countless times working with engineers like Alex. They send over a drawing with a blanket surface finish callout for the entire part. This often includes complex internal grooves. When I see an extremely fine finish specified for a simple clearance groove, I know there’s an opportunity to help them save money without affecting the part’s performance. On the other hand, a rough finish on a dynamic seal groove is a red flag for failure. Understanding the ‘why’ behind the finish is just as important as the number itself. This knowledge is what separates a good design from a great, cost-effective one. Let’s break down how to choose the right finish for your specific groove application.
How Do You Decide the Right Surface Finish Value for Grooves?
Struggling to pick the exact Ra value for a groove on your drawing? You know that different grooves have different jobs, but translating that function into a precise number feels like guesswork. This uncertainty can lead to expensive over-engineering or, worse, parts that fail in the field.
Decide the surface finish value by first defining the groove’s primary function. Is it for a static seal, a dynamic seal, a bearing race, or simply for clearance? Each function has an established range of appropriate Ra values. For example, a groove holding a static O-ring needs to be smooth enough to seal but not so smooth that the seal moves, typically Ra 1.6-3.2 μm.
When I was starting out in the machine shop, an older machinist taught me a valuable lesson. He said, "Jerry, think of surface finish like the tread on a tire. You need the right pattern for the right road." A slick tire is great for a dry racetrack but terrible in the rain. Similarly, a mirror-smooth finish isn’t always best. The function of the groove dictates the "tread" it needs.
Let’s break this down by the most common groove applications I see every day.
Groove Function and Recommended Surface Finish
Understanding the purpose is the first step. Here’s a simple table to guide your decision-making process.
| Groove Application | Primary Function | Typical Ra Finish (μm) | Machining Method | Why This Finish? |
|---|---|---|---|---|
| Static Sealing | Holds a stationary O-ring or gasket to prevent leaks. | 1.6 – 3.2 | Turning, Milling | Rough enough to prevent seal extrusion, smooth enough to prevent leak paths. Too smooth, and the O-ring can slip under pressure. |
| Dynamic Sealing | A moving part (like a piston rod) slides against the seal in the groove. | 0.4 – 1.6 | Grinding, Honing | Must be very smooth to minimize friction and wear on the seal. The finish should retain a thin film of lubricant. |
| Bearing Race | Provides a path for ball or roller bearings. | 0.2 – 0.8 | Grinding | Extremely smooth finish is critical to reduce rolling resistance, noise, and fatigue. Any imperfection causes vibration and failure. |
| Clearance/Relief | Provides space for tool runout or to reduce weight. | 3.2 – 12.5 | Rough Milling, Turning | Function is not critical. A rougher, cheaper finish is perfectly acceptable and saves significant machining time and cost. |
I once worked on a project for a hydraulics company in Germany. The engineer, let’s call him Alex, had specified a Ra 0.8 μm finish on all surfaces, including a deep internal relief groove. Machining that non-critical groove to such a fine finish would have required a special tool and multiple slow passes, adding nearly 30% to the part’s cost. I called him and asked about the groove’s function. He confirmed it was just for tool clearance. We agreed to change it to Ra 6.3 μm. The parts worked perfectly, and he saved a significant amount on his production run. This is a perfect example of how matching the finish to the function directly impacts your bottom line.
What Is the Most Common Industry Standard for Surface Finish?
As an engineer, you work with standards every day. But when it comes to surface finish, it can feel like there are too many options and no clear "default." You might wonder if there’s a simple, go-to standard that works for most general applications without causing problems or adding unnecessary cost.
The most common industry standard for a general machined surface finish is Ra 3.2 μm (or 125 μin). This finish is easily achievable with standard turning and milling operations without extra steps. It provides a good cosmetic appearance and is suitable for non-critical surfaces, mating faces that use a gasket, and clearance fits where smooth motion is not required.
When I review drawings, if there’s no specific surface finish callout on a feature, my team and I assume a default of Ra 3.2 μm unless the general tolerance block says otherwise. It’s the unspoken agreement in the machining world. It’s the baseline—the starting point from which you decide if you need to go smoother (for more cost) or can get away with something rougher (to save cost).
Why has Ra 3.2 μm become this common standard? It comes down to a balance of three key factors: Function, Cost, and Process Capability.
The Balance of Standard Finishes
-
Process Capability:
Standard CNC lathes and mills, using quality tooling and appropriate speeds and feeds, naturally produce a finish in the Ra 3.2 μm range. A skilled machinist doesn’t have to do anything special to achieve it. It’s the result of a well-executed, basic operation. To go smoother, you need to slow down, use specialized tools, or add secondary operations like grinding or polishing. -
Cost-Effectiveness:
Because Ra 3.2 μm is a direct result of standard machining, it’s the most cost-effective finish you can specify. As soon as you ask for something finer, like Ra 1.6 μm or Ra 0.8 μm, the cost starts to climb. The graph of cost versus surface finish isn’t linear; it’s exponential. The jump from Ra 1.6 to Ra 0.8 is far more expensive than the jump from Ra 3.2 to Ra 1.6. -
Functional Sufficiency:
For a huge number of applications, Ra 3.2 μm is simply good enough. It’s perfect for covers, brackets, housings, and any surface that doesn’t slide, seal, or carry a precise load. It looks and feels professionally made, and it won’t have sharp burrs or irregularities.
I remember a client from the U.S. who was developing a new piece of lab equipment. His prototypes were specified with a Ra 1.6 μm finish on all external surfaces. During our review, I asked him why. He admitted it was mostly for looks; he wanted the product to feel high-end. I ran two samples for him: one at Ra 1.6 μm and one at Ra 3.2 μm. When he held them, he could barely tell the difference. By switching the non-critical surfaces to the industry standard Ra 3.2 μm, he cut his machining costs by nearly 15% without sacrificing the "quality feel" he wanted.
What Exactly Is a Ra 0.8 Surface Finish?
You see Ra 0.8 μm (or 32 μin) specified on drawings for parts that need good performance, but what does it really mean? It’s smoother than the standard finish, but what makes it special? Specifying it adds cost, so you need to be sure you are asking for it for the right reasons.
Ra 0.8 μm is a high-quality, smooth surface finish typically required for parts under stress, in close-fitting non-moving assemblies, or for some slow-moving or low-load bearing surfaces. It has a bright, reflective appearance with no visible machine marks. Achieving this finish requires slower machining speeds, sharp tooling, and often a final finishing pass. It offers a significant step up in quality and performance from a standard finish.
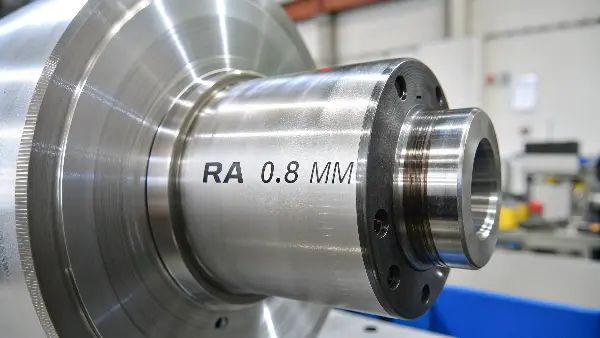
To understand Ra 0.8 μm lets put it into context. Imagine running your fingernail across a surface. On a Ra 3.2 μm finish, you might feel a very slight texture. On a Ra 0.8 μm finish, it would feel perfectly smooth. This level of smoothness is where we transition from a "standard" machined finish to a "precision" finish. It’s the point where the look, feel, and performance of the surface begin to change significantly.
When to Specify Ra 0.8 μm
This finish is not for every surface. It is chosen intentionally for specific engineering reasons. Here’s where I typically see it used effectively:
- High-Stress Areas: In components subjected to cyclical loads, a rough surface with its microscopic peaks and valleys can create stress concentrations. These tiny imperfections can be the starting point for fatigue cracks. A smoother Ra 0.8 μm finish distributes stress more evenly, greatly improving the fatigue life of the part. This is critical for parts in aerospace or high-performance automotive applications.
- Bearing and Shaft Applications: While the finest finishes are needed for high-speed bearings, Ra 0.8 μm is often sufficient for shafts that rotate at lower speeds or support lower loads. It provides a good surface for bearing contact, reducing friction and wear compared to a rougher finish.
- Static Seals with High Pressure: For static O-rings under very high pressure, a finish smoother than the standard Ra 1.6-3.2 μm range may be necessary. The smoother Ra 0.8 μm surface provides fewer potential leak paths for the gas or fluid to escape through.
I worked with an engineer in Australia who was designing a high-pressure valve body. His initial design used a standard Ra 3.2 μm finish for the seal groove. During testing, the valves showed slight weeping at maximum pressure. We analyzed the design, and I suggested improving the groove finish to Ra 0.8 μm. This single change created a better sealing surface and completely eliminated the leak. It added a small amount to the machining cost per part, but it solved a critical performance problem. This shows that using Ra 0.8 μm is an investment in reliability where it matters most.
What Is the ISO Standard for Surface Roughness?
You’re working on a project with international partners and you need to make sure everyone is speaking the same language about surface finish. You write "Ra 1.6" on your drawing, but how do you ensure a supplier in China interprets it the same way as a colleague in Germany? This is where international standards become critical.
The primary ISO standard for surface texture is ISO 21920, which works with ISO 25178 for areal measurements and ISO 1302 for indicating finishes on drawings. The "Ra" parameter, which stands for Roughness Average, is the most universally used metric from these standards. It represents the arithmetic average of the absolute values of the profile height deviations from the mean line. This standardization ensures a Ra 1.6 µm in one country means the exact same thing in another.
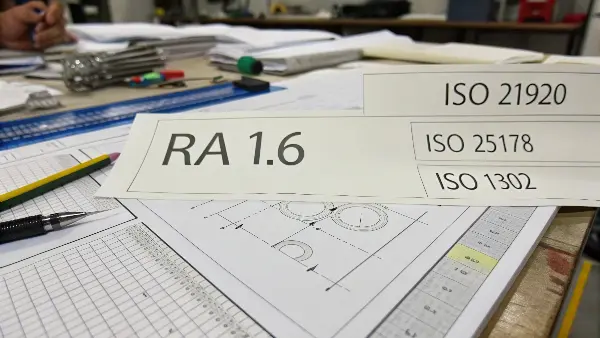
Think of ISO standards as the universal grammar of engineering. Without them, we would be in chaos. When I first started sourcing parts globally, navigating different national standards was a nightmare. The adoption of ISO standards was a game-changer for my business. It built a bridge of clear communication, ensuring that when my client Alex in Germany specifies a finish, my production team in China knows precisely what is required.
Let’s look at the key elements of the ISO standards you’ll encounter.
Decoding the ISO Surface Finish Language
The standards can seem complex, but for 95% of applications, you only need to understand a few key concepts.
-
Ra (Roughness Average):
This is the workhorse of surface finish measurement. As mentioned, it’s the average height of the microscopic peaks and valleys on a surface. It’s popular because it gives a good general description of the surface texture and is easy to measure. However, it doesn’t tell the whole story. Two surfaces with the same Ra can have very different profiles—one with sharp peaks and one with rounded hills—which can perform very differently. -
Rz (Maximum Height of Profile):
Rz measures the average distance between the highest peak and lowest valley in five different sampling lengths. It is more sensitive to occasional scratches or burrs that Ra might average out. When you are worried about a single deep scratch causing a leak or a stress riser, specifying an Rz limit in addition to Ra can be very useful. I always recommend this for critical sealing surfaces. -
ISO 1302: Indication on Drawings:
This standard defines how to write the surface finish requirements on your technical drawings. The basic "checkmark" symbol is universally recognized. You can add text to it to specify:- The Ra value (e.g., above the checkmark)
- The machining process required (e.g., "Milled," "Ground")
- The sampling length for measurement
- The direction of the lay (the pattern of tool marks)
A few years ago, I received a drawing for a complex manifold block. It had a simple "Ra 0.4" callout for a lapped sealing face. The first batch of parts met the Ra 0.4 requirement, but they still leaked. After a long investigation, we discovered the problem was the "lay." The initial lapping process created a circular lay, which allowed a small leak path. By changing the process to a multi-directional or "cross-hatched" lay, we broke up the continuous leak path. The Ra value was the same, but the performance was dramatically different. That experience taught me the importance of using the full language of ISO 1302 to specify not just how smooth, but also the pattern of the smoothness when it counts.
Conclusion
Choosing the right surface finish for grooves is a critical engineering decision. It directly impacts cost, performance, and reliability. By matching the finish to the specific function, you can create effective and economical designs.
