Want to make custom parts but don’t know where to begin? Traditional methods might seem complex and slow. You could feel overwhelmed by technical terms or unsure if your ideas can even be made. CNC machining offers a precise, automated way to turn digital designs into real objects.
CNC (Computer Numerical Control) machining is a subtractive manufacturing process. It uses computer-controlled cutting tools to shape material, like metal or plastic, by removing excess material from a solid block. This precision-driven method is key for creating custom parts, from prototypes to full production runs.
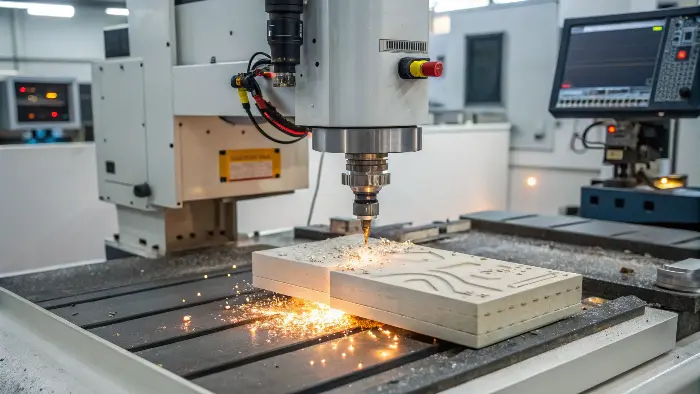
Now that you know the very basics of what CNC machining is, you’re probably curious about what’s really involved. It sounds high-tech, and it is, but the core ideas are quite straightforward. Let’s break it down further so you can understand how these amazing machines work and what you need to know to get started.
What is the basic concept of CNC?
Heard "CNC" but it sounds like a foreign language? The "computer control" part might seem intimidating. You might think it’s too complex for you to grasp, stopping you from exploring its potential. The basic idea is simple: a computer tells a machine exactly how to move and cut.
The basic concept of CNC (Computer Numerical Control) is automation and precision. Instead of manual control, a computer program directs the machine’s movements and operations. This program, often G-code, tells the machine where to cut, how fast, and how deep, ensuring high accuracy and repeatability.
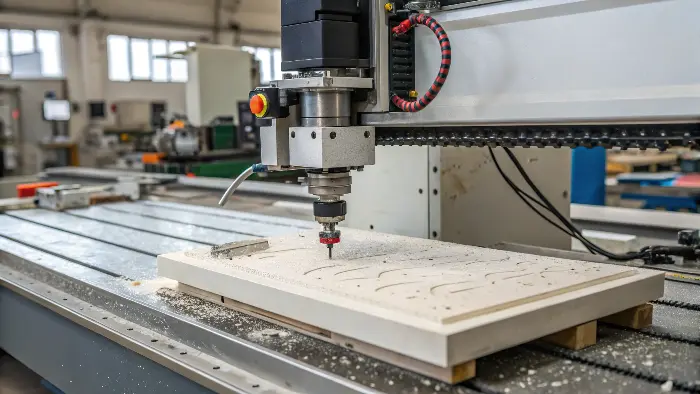
The core idea behind CNC is taking a digital design and turning it into physical instructions for a machine. Think of it like a very precise, automated sculptor. I remember when I first started in a CNC shop. The idea of a computer controlling these powerful machines was a bit mind-boggling. But then I saw it in action. An engineer would create a 3D model of a part using CAD (Computer-Aided Design) software. Then, CAM (Computer-Aided Manufacturing) software would translate that model into a special set of instructions called G-code. This G-code is the language the CNC machine understands. It’s a series of commands like "move to this X, Y, Z coordinate," "turn the spindle on at this speed," or "use this specific tool." The computer on the CNC machine reads this G-code line by line and precisely controls the motors and cutting tools. This removes the chance of human error that you might get with manual machining. It also means you can make very complex shapes with amazing accuracy, over and over again. This automation is what makes CNC so powerful for both one-off prototypes and large production runs.
What are the basics of CNC machining?
Knowing the concept is good, but what are the actual key elements? You want to understand the practical side. Without knowing these basics, you might struggle to communicate your needs or understand quotes. The basics involve the design, the code, the machine, and the material, all working together.
The basics of CNC machining involve a digital design (CAD model), its conversion into machine instructions (CAM/G-code), a CNC machine to execute these instructions, and the raw material (workpiece). The process is subtractive, meaning material is removed to achieve the final shape with high precision.
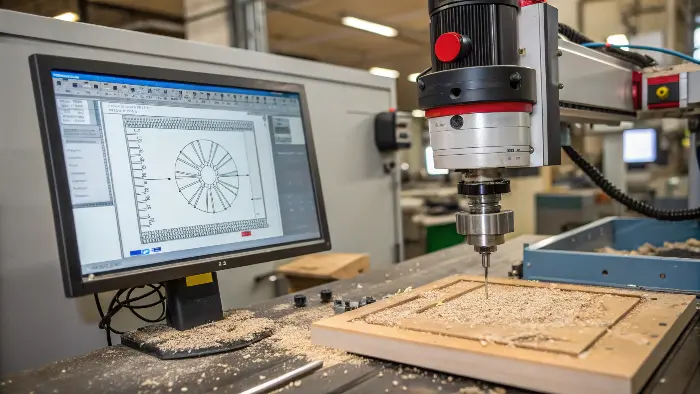
Beyond the core concept of computer control, several key elements define CNC machining. First, you always start with a digital design. This is usually a 2D or 3D model created in CAD software. As an engineer like Alex would do, this design specifies all the dimensions and features of the part. Next, this CAD model needs to be translated into a language the CNC machine understands. This is where CAM software comes in. It generates the G-code, which dictates the toolpaths, cutting speeds, feed rates, and tool changes. Then, you have the CNC machine itself, which we’ll talk more about its parts soon. The machine needs to be set up with the correct cutting tools and the raw material, called the workpiece. This workpiece can be a block of metal like aluminum or steel, or a sheet of plastic. Once everything is set up, the CNC machine executes the G-code, precisely moving the cutting tool to remove material from the workpiece. This is why it’s called a "subtractive" process – you’re subtracting material to get to your final part. The precision comes from the machine’s ability to follow the G-code instructions very accurately, often to thousandths of an inch or even finer.
What are the 7 major parts of a CNC machine?
You know a CNC machine cuts parts, but what makes it tick? The machine itself seems like a black box. Not knowing the main components can make it hard to understand capabilities or troubleshoot issues. Understanding the key parts helps demystify the machine and appreciate its precision.
The 7 major parts of a typical CNC machine include: 1. The Bed/Table (supports workpiece), 2. Spindle (holds and rotates tool), 3. Cutting Tool, 4. Drive System (motors, ball screws), 5. Control Panel/Interface, 6. Machine Control Unit (MCU – the brain), and 7. Frame/Structure (provides rigidity).
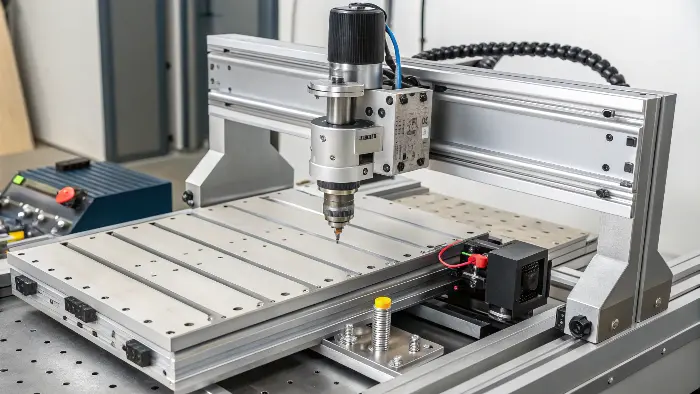
A CNC machine might look complex, but it’s made up of several key parts working together. Let’s break them down:
- Machine Control Unit (MCU): This is the brain. It reads the G-code and sends signals to the motors.
- Bed/Table: This is where the workpiece is securely fixed. It needs to be very stable.
- Spindle: This part holds and rotates the cutting tool at high speeds. The power and speed of the spindle are important.
- Cutting Tool: This is what actually removes the material. There are many types, like end mills, drills, and taps, for different operations.
- Drive System: This includes motors (like servo or stepper motors) and ball screws or linear guides. They move the spindle and/or the table along different axes (X, Y, Z, and sometimes more).
- Control Panel/Interface: This is where the operator interacts with the machine. They can load programs, start/stop jobs, and make adjustments.
- Frame/Structure: This is the main body of the machine. It needs to be very rigid and absorb vibrations to ensure accuracy.
When I was learning, understanding how these parts interacted was crucial. For example, the rigidity of the frame and the precision of the drive system directly impact the accuracy of the parts we at QuickCNCs produce for clients like Alex. If the frame flexes, or the motors aren’t precise, the cuts won’t be accurate. Each part plays a vital role.
Here’s a quick summary:
| Part | Function | Importance for Precision |
|---|---|---|
| MCU | Interprets G-code, controls motion | Accurate signal processing |
| Bed/Table | Holds workpiece securely | Stability, prevents workpiece movement |
| Spindle | Rotates cutting tool | Consistent speed, minimal runout |
| Cutting Tool | Removes material | Sharpness, correct geometry |
| Drive System | Moves axes precisely | Accurate positioning, smooth movement |
| Control Panel | Operator interaction | Easy setup and monitoring |
| Frame | Provides overall rigidity | Resists vibration, maintains alignment |
How do I start a CNC machine step by step?
You understand the theory, but how do you actually run one? The process might seem daunting for a beginner. Fear of crashing the machine or making mistakes can be a barrier to getting hands-on. Following a clear, step-by-step process ensures safety and successful operation.
Starting a CNC machine involves: 1. Powering on the machine and control unit. 2. Homing the machine (setting reference points). 3. Loading the G-code program. 4. Securely clamping the workpiece. 5. Installing and measuring the correct cutting tool(s). 6. Setting work offsets (telling the machine where the part is). 7. Running the program, often with a dry run first.
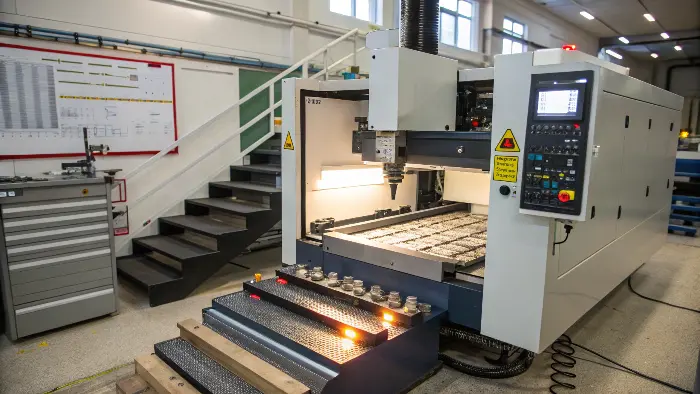
Operating a CNC machine requires care and a methodical approach. It’s not just pressing a "start" button. Here’s a general step-by-step guide, though specific machines might have slight variations:
- Safety First: Always wear safety glasses. Know where the emergency stop button is.
- Power Up: Turn on the main power to the machine and then the control unit.
- Home the Machine: This is crucial. The machine moves each axis to its reference point so it knows its position.
- Load the Program: Transfer the G-code file to the machine’s controller, usually via USB or network.
- Secure the Workpiece: Clamp the raw material firmly onto the machine bed or in a vise. It must not move during machining. I’ve seen parts ruined because they weren’t clamped properly.
- Install and Measure Tools: Select the correct cutting tool(s) as specified in the program. Install it in the spindle. The machine needs to know the exact length of the tool (tool offset). Many machines have an automatic tool measuring system.
- Set Work Offsets (Zero Point): You need to tell the machine where the workpiece is located in relation to the machine’s home position. This is often the X, Y, and Z zero point of your CAD model.
- Dry Run (Optional but Recommended): Run the program without actually cutting material (e.g., with the spindle off or raised high above the part). This helps catch any major errors in the G-code or setup.
- Run the Program: Once you’re confident, start the machining process. Monitor it closely, especially at the beginning.
Learning these steps took time and practice. The first few times I set up a job, I double-checked everything. It’s a process that demands attention to detail, but once you get it, it’s very rewarding to see a design come to life.
Conclusion
CNC machining transforms digital designs into precise physical parts. Understanding its basic concepts, key components, and operational steps opens up a world of manufacturing possibilities. It’s a powerful tool for innovation, and we at QuickCNCs use it every day to help you succeed.
