Struggling to define realistic tolerances for your parts? Specifying them too tightly drives up costs and manufacturing time. But if they’re too loose, you risk functional failure. Finding that sweet spot is a constant balancing act for every engineer.
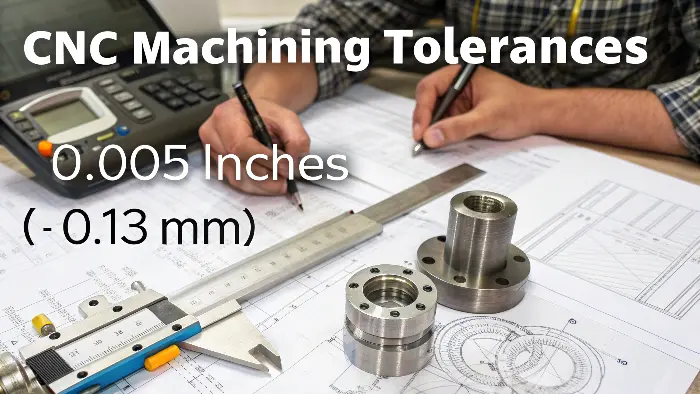
Standard CNC machining tolerances are typically around ±0.005 inches (±0.13 mm) for processes like milling and turning. However, tighter tolerances of ±0.001 inches (±0.025 mm) or even finer are achievable with specialized equipment, controlled environments, and expert process management. The final achievable tolerance always depends on the specific material, part complexity, and chosen machining process.
As someone who started on the shop floor and now helps engineers like you source parts globally, I’ve seen this challenge from both sides. Engineers want perfect parts, and manufacturers want clear, achievable specifications. The key is understanding what’s possible and what’s practical. It’s a conversation that needs to happen before a single piece of metal is cut. Let’s dive into what these numbers really mean and how you can work with your supplier to get the precision you need without overpaying for it. This knowledge will help you design better parts and build stronger relationships with your manufacturing partners.
What are the standard tolerances for CNC machining?
Defining tolerances on a drawing feels easy, but do you know what those numbers mean for the machinist? Specifying an unnecessarily tight tolerance can turn a simple job into a complex, expensive project. This communication gap often leads to unexpected costs and delays.
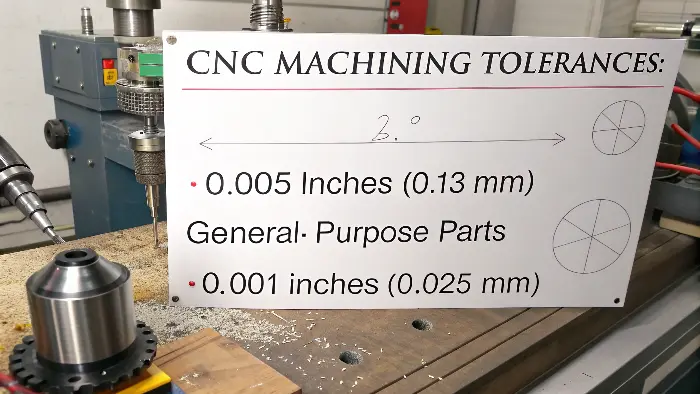
Standard CNC machining tolerances are generally held at ±0.005 inches (±0.13 mm). This is a common and cost-effective tolerance for most general-purpose parts made with milling and turning. For applications requiring higher precision, tolerances can be tightened to ±0.001 inches (±0.025 mm) or finer, but this usually requires additional process controls and increases cost.
When I design parts or consult with clients, I always refer back to international standards like ISO 2768. This standard provides a simple framework for general tolerances on linear and angular dimensions, which saves a lot of time and removes ambiguity from drawings. It’s broken down into different tolerance classes: "f" for fine, "m" for medium, "c" for coarse, and "v" for very coarse. For most CNC-machined metal parts, the "medium" (m) class is the default baseline unless a specific tolerance is noted. I often advise my clients, especially those new to sourcing, to specify ISO 2768-m on their drawings for non-critical features. This tells the machine shop that you’ve considered the tolerances but that standard practices are acceptable for those dimensions. This simple note can prevent a lot of back-and-forth and demonstrates that you understand the manufacturing process. For critical features, like mating surfaces or bearing bores, you then specify the exact tolerance needed. This hybrid approach gives you control where it matters most, while keeping costs down for the rest of the part.
Here’s a simple table to help visualize the relationship between tolerance levels, cost, and typical applications.
| Tolerance Level | Typical Range (inches) | Typical Range (mm) | Relative Cost | Common Applications |
|---|---|---|---|---|
| Standard | ±0.005" | ±0.13 mm | 1x (Baseline) | Enclosures, brackets, structural components, general use |
| Fine / Tight | ±0.001" – ±0.002" | ±0.025 mm – ±0.05 mm | 2x – 4x | Mating parts, bearing fits, precision shafts, robotics |
| Precision / Fine | ±0.0002" – ±0.0005" | ±0.005 mm – ±0.012 mm | 5x – 15x+ | Aerospace components, medical devices, optical instruments |
Thinking about tolerances in this structured way helps you make informed decisions right from the design stage.
What is the tolerance process in machining?
Ever wonder how a machinist turns a simple number on your engineering drawing into a physical, accurately-sized feature? It’s not magic or guesswork. It’s a systematic process where every step, from planning to execution, is carefully designed to control variation and hit your targets.
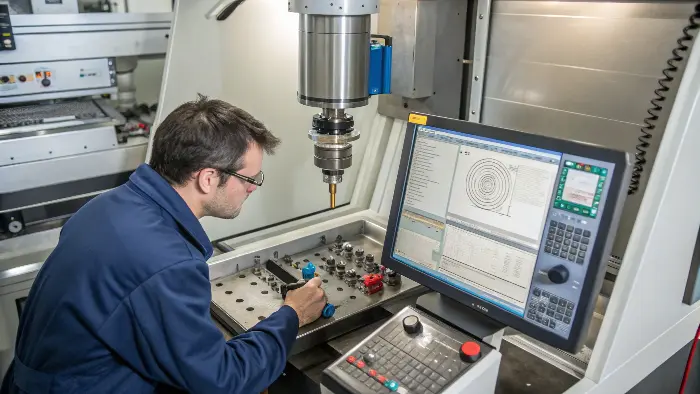
The tolerance process in machining involves interpreting the CAD model and drawing, planning the manufacturing steps, and selecting the right machine and cutting tools. The machinist programs precise toolpaths, and in-process inspection using gauges and probes ensures the part stays within limits. A final quality check, often with a CMM, verifies every critical dimension against the design.
This entire workflow is a collaboration between the design and the execution. I’ve seen this countless times. A well-defined process is what separates a reliable shop from an unreliable one. It begins the moment we receive a drawing.
Step 1: Design for Manufacturability (DFM) Review
Before any code is written, a skilled engineer or machinist reviews the part design. I do this for every project at QuickCNCs. We look for features that might be difficult to machine to the specified tolerance. For example, a very deep, narrow pocket is hard to machine accurately because the long, thin tool needed will deflect. Or a very thin wall might warp due to cutting forces. By identifying these issues early, we can suggest small design changes that make achieving the tolerance easier and cheaper without affecting the part’s function.
Step 2: Process Planning and Tool Selection
Next, we plan the sequence of operations. Which features do we machine first? Do we need to rough out the material and then do a fine finishing pass? This is crucial for managing tolerance. A "finishing pass" is a very light cut that removes a tiny amount of material. It creates a smooth surface finish and allows us to "sneak up" on the final dimension with high accuracy. The choice of cutting tool is also critical. A sharp, high-quality tool cuts cleanly, while a worn tool can push material around instead of shearing it, leading to poor dimensional accuracy.
Step 3: In-Process and Final Inspection
You can’t control what you don’t measure. During machining, operators use calipers, micrometers, and bore gauges to check dimensions periodically. Many modern CNC machines also have automated probing systems that can measure the part right inside the machine. Once the part is complete, it goes to our quality control department for final inspection. For standard tolerances, calipers might be enough. For tighter tolerances, we use a Coordinate Measuring Machine (CMM). A CMM uses a highly sensitive probe to take precise measurements of the part, which are then compared directly to the original CAD model. This generates a detailed report that proves the part meets every specified tolerance.
This systematic approach demystifies the process and ensures that the numbers on your drawing become a physical reality.
How do different materials affect CNC machining tolerances?
You’ve designed a perfect part in aluminum, and it machines beautifully. Then, you switch the material to stainless steel for strength, and suddenly holding the same tolerances becomes a major challenge. The material you choose is one of the biggest factors influencing precision, cost, and complexity.
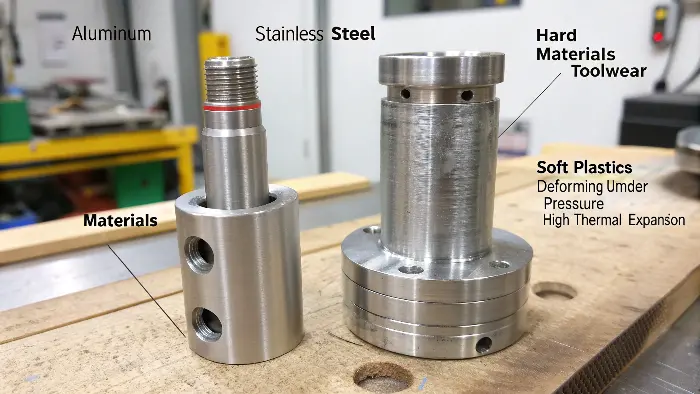
Different materials have unique properties like hardness, thermal stability, and ductility that directly impact machining. Hard materials like stainless steel cause more tool wear and require slower cutting speeds. Soft plastics can deform under clamping pressure, while materials with high thermal expansion can grow or shrink during the process, making it difficult to maintain tight tolerances.
I learned this lesson the hard way early in my career. We had a job for a client that involved a set of tight-tolerance interface plates. The prototype was made from Aluminum 6061 and everything went smoothly. When the client signed off and ordered the production run in Stainless Steel 304, we ran into issues. The inserts we used wore out four times as fast, and the heat buildup from the slower cutting speeds caused slight warping. We had to adjust our entire process—changing feeds, speeds, and even the type of coolant we used—just to hold the same ±0.025 mm tolerance. It was a valuable lesson: you can’t treat all materials the same. Each one has its own personality.
Here’s a breakdown of how some common materials behave and the challenges they present.
Key Factors in Material Machinability
- Hardness & Abrasiveness: Harder materials, like tool steels or titanium, resist being cut. This generates more force, heat, and friction, leading to rapid tool wear. A worn tool is an inaccurate tool. Machinists must use tougher cutting tools (like carbide with special coatings), run at slower speeds, and change tools more often, all of which increases cycle time and cost.
- Thermal Expansion: All materials expand when they get hot and shrink when they cool. During machining, the friction from the cutting tool generates significant heat. Materials with a high coefficient of thermal expansion, like Delrin or PEEK plastics, can expand so much during the cut that when they cool down to room temperature, they are actually undersized and out of tolerance. An experienced machinist manages this with flood cooling and by programming compensation factors into the process.
- Ductility & Stiffness: Soft, ductile materials like copper or some aluminums can be "gummy." They produce long, stringy chips that can wrap around the tool and mar the surface finish. On the other hand, a material that is not very stiff, like a thin plastic sheet, can bend or vibrate away from the cutting tool, making it impossible to hold a tight tolerance. Proper workholding and sharp tooling are essential to manage these behaviors.
Here’s a table comparing some common materials:
| Material | Machinability | Hardness | Thermal Stability | Key Challenge & Strategy |
|---|---|---|---|---|
| Aluminum 6061 | Excellent | Low | Good | Challenge: Gummy chips. Strategy: High speeds, sharp tools, good chip evacuation. |
| Stainless Steel 304 | Fair | Medium-High | Good | Challenge: Work-hardens, high tool wear. Strategy: Slow, steady speeds; rigid setup. |
| Titanium Ti-6Al-4V | Poor | High | Excellent | Challenge: High heat generation, tool wear. Strategy: High-pressure coolant, specialized tools. |
| PEEK Plastic | Good | High (for plastic) | Poor | Challenge: High thermal expansion. Strategy: Flood coolant, stress-relieving cycles. |
Understanding these material properties is crucial for Design for Manufacturability (DFM). Choosing the right material for your application is about more than just its end-use properties; it’s also about how efficiently it can be machined to your required precision.
How do CNC machines enhance the repeatability of manufacturing processes?
Are you tired of receiving parts that vary from the first piece to the last in a batch? Manual manufacturing processes often depend on an operator’s skill and focus, which can fluctuate. This is a common source of frustration and inconsistency that CNC technology was specifically designed to eliminate.
CNC machines enhance repeatability by using a computer to execute a pre-written program of precise movements. This automation removes the human error and variability inherent in manual machining. Once a process is perfected, the CNC machine can run the exact same program thousands of times, ensuring every part is virtually identical to the first.
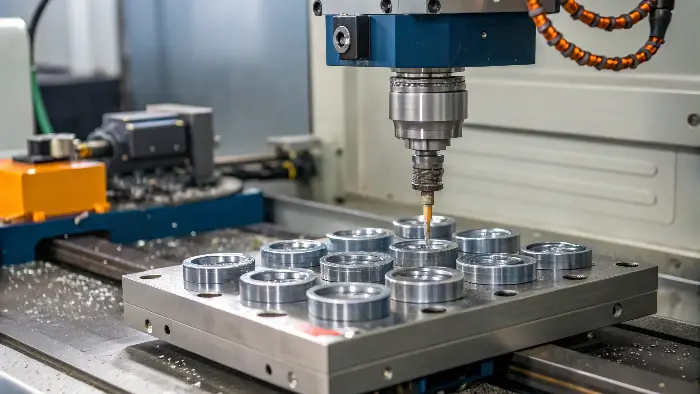
The magic of CNC machining isn’t just about making one perfect part; it’s about making hundreds or thousands of perfect parts. I remember the incredible difference it made in the first shop I worked in when we upgraded from manual lathes and mills to our first CNC machines. On a manual lathe, even our most skilled machinist would produce parts with tiny variations, especially by the end of a long day. But with the CNC machine, the 100th part was an exact replica of the 10th. This consistency is not an accident; it’s built into the core design of the technology.
The Pillars of CNC Repeatability
- Digital Program Control (G-Code): The heart of a CNC machine is the controller that reads a digital file (G-code). This file dictates every single movement, speed, and tool change with extreme precision. Unlike a human operator, the code never gets tired, distracted, or has a bad day. It executes the same instructions every single time, forming the foundation of repeatability.
- Rigid Machine Construction: CNC machines are built to be incredibly rigid and stable. They use heavy, vibration-dampening frames (often cast iron), and high-precision components like ball screws and linear guides. These components translate the digital commands into physical motion with minimal backlash or deflection. This physical integrity ensures that the machine’s movements are not just commanded precisely, but also executed precisely.
- Closed-Loop Feedback Systems: Modern CNC machines don’t just blindly follow orders. They use sophisticated feedback systems, like rotary encoders, to constantly monitor the exact position of the cutting tool and machine axes. This "closed-loop" system compares the machine’s actual position to its commanded position thousands of times per second. If it detects any deviation, it instantly makes a micro-correction. This continuous self-correction is what allows a machine to maintain tolerances of a few microns, part after part.
Here is a quick comparison showing why CNC is superior for repeatable production:
| Feature | Manual Machining | CNC Machining |
|---|---|---|
| Consistency | Low to Medium (depends heavily on operator skill) | Very High (determined by the program and machine) |
| Complexity | Limited to what an operator can do by hand | Can produce highly complex geometries with ease |
| Operator Dependence | High | Low (Operator loads parts & monitors process) |
| Production Speed (Volume) | Slow | Fast and continuous |
Ultimately, this repeatability gives engineers like you the confidence that the prototype you approve will be identical to the parts you receive in your 500-piece production run. It is the core value proposition of CNC technology.
Conclusion
Understanding CNC tolerances, processes, materials, and repeatability is key. This knowledge empowers you to design better parts, communicate effectively, and achieve precision without unnecessary costs for your projects.
