Ever designed a multi-part assembly with perfectly toleranced CNC parts only to find they don’t fit together? This frustrating assembly failure can cause major delays and cost overruns. The key is understanding and managing tolerance stack-up before any metal is cut.
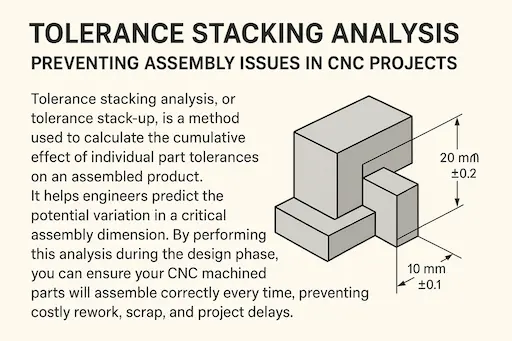
Tolerance stacking analysis, or tolerance stack-up, is a method used to calculate the cumulative effect of individual part tolerances on an assembled product. It helps engineers predict the potential variation in a critical assembly dimension. By performing this analysis during the design phase, you can ensure your CNC machined parts will assemble correctly every time, preventing costly rework, scrap, and project delays. It’s a fundamental step for precision engineering projects.
This all sounds straightforward, but the devil is in the details. A small oversight in one part’s tolerance can cascade into a major assembly headache. I’ve seen it happen. Let’s break down why this analysis is so critical and how you can master it for your own projects. This will save you time and money.
What Exactly is Tolerance Stacking Analysis?
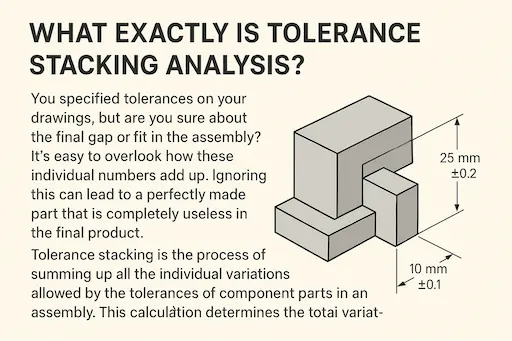
You specified tolerances on your drawings, but are you sure about the final gap or fit in the assembly? It’s easy to overlook how these individual numbers add up. Ignoring this can lead to a perfectly made part that is completely useless in the final product.
Tolerance stacking is the process of summing up all the individual variations allowed by the tolerances of component parts in an assembly. This calculation determines the total variation for a specific distance or feature. It’s essential for verifying that the final assembly will meet its functional requirements, like ensuring a specific clearance or preventing interference between parts once they are all put together.
To truly grasp this, let’s look at the core idea. Every dimension on a drawing has a tolerance. It’s a permissible range of variation. No CNC machine, no matter how advanced, can create a part with perfect dimensions every single time. There will always be a tiny deviation. Think of it like building with toy blocks. Each block has a tiny bit of wiggle room. If you stack 100 blocks, that tiny wiggle room adds up, and the tower might lean or be shorter or taller than you expected. Tolerance stacking is the engineering version of calculating that final lean or height difference.
Let’s break it down into its basic parts.
- Dimensions: This is the nominal, or ideal, size of a feature you want. For example, a 10.00mm pin.
- Tolerances: This is the acceptable deviation from that ideal size. For our 10.00mm pin, the tolerance might be ±0.05mm. This means any pin between 9.95mm and 10.05mm is acceptable.
- Stack-Up: This is the cumulative effect. If you have five parts in a line, each with its own tolerance, the total length variation is the sum of all those individual variations. This final number is what tells you if your assembly will fit together and work as intended.
Why is Tolerance Stacking So Critical in CNC Machining?
You might think that modern CNC machines are so precise that you don’t need to worry about tolerances adding up. That assumption can lead to a box of expensive, perfectly machined parts that won’t assemble. The precision of the machine doesn’t eliminate the need for careful design analysis.
Tolerance stacking is critical in CNC machining because it directly impacts assembly fit, product performance, and manufacturing cost. Overly tight tolerances increase machining time and cost, while loose tolerances can cause assembly failures or functional issues. A proper analysis ensures that every component, machined to its specified tolerance, will contribute to a final assembly that works reliably and is cost-effective to produce.
In my years of working with clients, I’ve learned that overlooking tolerance stack-up is one of the most common sources of preventable problems. CNC machining is a process of precision, but it’s not a process of perfection. We manage variation, we don’t eliminate it entirely. The analysis is your tool to manage that variation across an entire assembly, not just on a single part.
Here’s why it matters so much in the world of CNC projects.
The Impact on Assembly and Function
| Aspect | Description | Consequence of Poor Analysis |
|---|---|---|
| Fit | This refers to how parts come together. There are three types: clearance (a gap), interference (a tight press-fit), and transition (somewhere in between). | Parts may not fit at all, or they may be too loose, leading to rattles, vibration, or misalignment. |
| Performance | The function of your product often depends on precise spacing between components. Think about the alignment of bearings, the meshing of gears, or the path of a sensor. | A product might fail prematurely, operate inefficiently, or not perform its core function. For example, a robotic arm might lose its positioning accuracy. |
| Reliability | Consistent performance over time is key. An assembly that works once but fails later is not a success. | Uncontrolled tolerance stack-up can lead to unexpected stress concentrations or wear on parts, causing early failures in the field. |
I remember a project for a client developing a new type of fluid pump. Each internal component was machined to a high tolerance. But the final assembly had an internal leak. The problem wasn’t a-single-bad-part. The problem was that the small, acceptable variations in five different parts all added up in the same direction, creating a tiny gap that was just big enough for the leak. A stack-up analysis would have caught that on paper before we ever made a chip.
How Do You Perform a Tolerance Stack-Up Analysis?
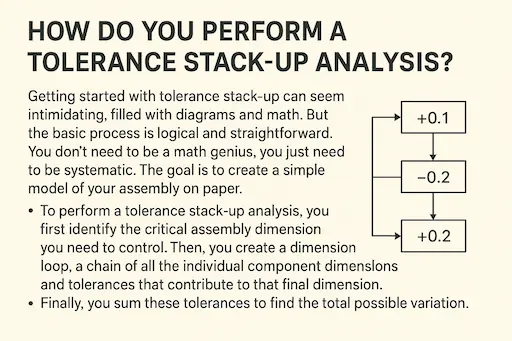
Getting started with tolerance stack-up can seem intimidating, filled with diagrams and math. But the basic process is logical and straightforward. You don’t need to be a math genius, you just need to be systematic. The goal is to create a simple model of your assembly on paper.
To perform a tolerance stack-up analysis, you first identify the critical assembly dimension you need to control. Then, you create a dimension loop, a chain of all the individual component dimensions and tolerances that contribute to that final dimension. Finally, you sum these tolerances to find the total possible variation. This allows you to check if the result is within your acceptable range.
Let’s walk through a simplified, step-by-step process. Think of it as a checklist you can follow for any assembly. This method, often called the "Loop Analysis," is powerful and widely used.
The Basic Steps of Loop Analysis
-
Identify the Critical Dimension: First, decide what you’re trying to measure. Is it the gap between a shaft and a housing? The overall length of an assembled unit? This is your "Assembly Dimension" (let’s call it AD). This is the most important step because it defines the purpose of your analysis. Without a clear goal, you’re just measuring for the sake of it.
-
Create the Dimension Loop: Start at one end of your critical dimension and draw a path through the assembly, part by part, until you reach the other end. This path is your "dimension loop." You must follow these rules:
- The loop can only have one dimension per part.
- The path must start and end at the same two points that define your Assembly Dimension.
- Follow a zig-zag path, moving from one part to the next through surfaces that touch.
-
List Dimensions and Tolerances: As you follow the loop, write down the nominal dimension and tolerance for each step. Pay close attention to the direction. Dimensions that go in the same direction as your Assembly Dimension are positive. Dimensions that go in the opposite direction are negative.
-
Calculate the Result:
- Nominal Assembly Dimension: Add all the positive nominal dimensions and subtract all the negative nominal dimensions.
- Total Tolerance: Here’s the key part. Add up all the individual tolerances, regardless of direction. Tolerances always accumulate. The total tolerance is the sum of the absolute values of each tolerance in the loop.
This process gives you the nominal gap and the total possible variation (e.g., 1.00mm ±0.25mm). You can then decide if that range is acceptable for your design’s function.
What are the Best Practices to Minimize Tolerance Stack-Up?
Simply performing an analysis isn’t enough. The real value comes from using the results to improve your design. Once you know where the variation is coming from, you can take steps to reduce it. This is where smart design choices can save you a lot of money on machining.
To minimize tolerance stack-up, focus on reducing the number of components in the dimension loop and using GD&T (Geometric Dimensioning and Tolerancing) to control critical features. Assigning tighter tolerances only to the most sensitive dimensions, rather than all of them, also effectively manages stack-up without needlessly increasing manufacturing costs. This strategic approach is key.
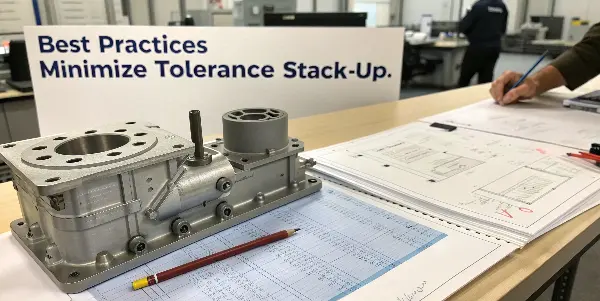
I always advise engineers like Alex to think like a machinist when they design. Don’t just make every tolerance as tight as possible. That’s a common mistake that drives up costs for no real benefit. Instead, be strategic. Here are some of the most effective best practices I’ve seen over the years.
Strategies for Design Improvement
-
Reduce Part Count: This is the simplest and most effective method. Every part you add to the dimension loop brings its own tolerance into the stack. If you can combine two or three parts into a single, more complex CNC-machined component, you eliminate the tolerances associated with their assembly interfaces. This drastically reduces the potential for variation. It might make the single part more complex, but it often makes the overall assembly more robust and easier to put together.
-
Use GD&T: Standard plus/minus tolerances control size, but they don’t control form, orientation, or location very well. This is where Geometric Dimensioning and Tolerancing (GD&T) is a game-changer.
- Datum Features: By defining common datum planes or axes for multiple features on a part, you link their tolerances together. This ensures that even if their sizes vary, their relationships to each other remain consistent. This is incredibly powerful for controlling alignment.
- Positional and Profile Tolerances: A positional tolerance can control the location of a hole much more effectively than two linear dimensions. A profile tolerance can control an entire surface. Using these tools gives you direct control over the features that actually matter for function, often allowing you to loosen other, less critical tolerances.
-
Selective Tightening: Look at your stack-up calculation. Which dimensions contribute the most to the total variation? These are your "critical dimensions." Focus your efforts here. Apply tighter tolerances only to these few critical dimensions. For the other, less-sensitive dimensions in the assembly, you can use looser, more cost-effective tolerances. This balanced approach gives you precision where you need it, without paying for it where you don’t.
How Can Your Machining Partner Help Avoid Tolerance Issues?
Your design is only one half of the equation. The other half is the execution by your manufacturing partner. A good CNC machine shop is more than just a supplier; they are a partner in quality. They can provide feedback that helps you avoid problems before they happen.
A good CNC machining partner actively helps you avoid tolerance issues through a design for manufacturability (DFM) review. They analyze your drawings, identify potential stack-up risks, and suggest modifications. This could include recommending different datum schemes, clarifying GD&T callouts, or advising on which tolerances are realistically achievable for a given material and process, ensuring a successful outcome.
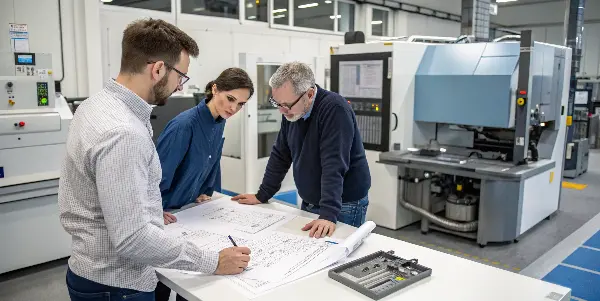
I can’t tell you how many times I’ve had a conversation with a client that started with "Can you hold this tolerance?" and ended with us finding a better way to design the part to avoid the need for that ultra-tight tolerance in the first place. This collaborative approach is at the heart of what we do at QuickCNCs. Communication before machining starts is the cheapest and fastest way to solve problems.
Here’s how a proactive machining partner should be supporting you.
The Role of a True Manufacturing Partner
| Service | How It Helps with Tolerances | Why It Matters |
|---|---|---|
| DFM Review | The shop floor experts review your design. They look for features that are difficult or expensive to machine to the specified tolerance. They might suggest a small design change that makes holding a critical tolerance much easier and more reliable. | This catches problems early. A machinist knows which setups are stable and which are prone to variation. Their input can prevent you from designing a part that is theoretically possible but practically very difficult to make consistently. |
| Process Control | Your partner uses controlled, documented processes. This includes regular machine calibration, proper tool selection, and in-process inspection. They should be able to tell you their machine’s capability and how they plan to achieve your tolerances. | This ensures consistency. You can be confident that the 1st part and the 100th part are both within your specified tolerance range. It builds trust and predictability into your supply chain. |
| Clear Communication | When a machinist sees a potential issue with a drawing or a tolerance stack-up, they should contact you immediately to discuss it. This is a dialogue, not just a one-way transaction. | This prevents bad parts from ever being made. A quick phone call or email to clarify a GD&T callout or confirm a critical dimension can save weeks of delays and thousands of dollars in rework or scrap. |
Ultimately, your machining partner should be your expert resource on what is achievable. When you send us a design, we see it through the lens of our machines and our experience. We actively look for these potential tolerance conflicts because we know that our success depends on your assembly working perfectly.
Conclusion
Mastering tolerance stacking analysis is a vital skill. It transforms you from just a designer into an engineer who builds robust, reliable products that assemble smoothly every single time.
