Aerospace parts demand absolute perfection. A tiny flaw can have huge safety and financial costs. Understanding the critical needs and best practices isn’t just important; it’s essential for success in this demanding field.
Aerospace machining means working with tough materials like titanium and superalloys. It requires extremely tight tolerances, often ±0.005mm. Full traceability and strict quality control, following standards like AS9100, are vital for safety and top performance in every single component.

The aerospace industry is truly unique. The stakes are incredibly high. So, let’s explore what makes precision machining for aerospace so challenging and how we, at QuickCNCs, approach these critical aspects. I’ve seen firsthand how attention to detail here makes all the difference.
What Materials Reign Supreme in Aerospace Machining?
Choosing the wrong material for an aerospace part can lead to failure. These parts face extreme stress and temperatures. So, we must use proven, high-performance materials. It’s the only way to ensure safety and reliability.
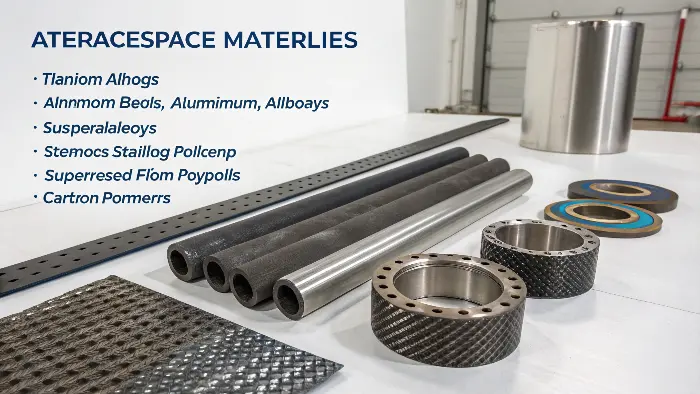
Aerospace machining relies on strong, light materials. Think titanium alloys like Ti-6Al-4V, or aluminum alloys like 7075. We also use stainless steels and superalloys like Inconel. Carbon Fiber Reinforced Polymers (CFRP) are also popular for their amazing strength-to-weight ratio.

Aerospace components operate in some of the harshest environments imaginable. They face extreme temperatures, high pressures, and significant mechanical stresses. That’s why material selection is so critical. I always tell engineers like Alex, your design is only as good as the material you choose.
Key Properties We Look For
When we select materials for aerospace applications, several properties are non-negotiable:
- High Strength-to-Weight Ratio: Aerospace parts need to be strong but also light to save fuel and improve performance. This is a constant balance we strive for.
- Corrosion Resistance: Parts are exposed to moisture, jet fuel, de-icing fluids, and varying atmospheric conditions. They must resist degradation.
- Fatigue Resistance: Components endure many cycles of stress during take-off, flight, and landing. They must withstand this repeated loading without failing.
- Temperature Stability: Materials must perform reliably at very high temperatures, like in engine components, and very low temperatures found at high altitudes.
Common Aerospace Materials and Their Uses
Here’s a quick look at some common materials I’ve machined for aerospace clients over my years at QuickCNCs:
| Material Group | Examples | Key Characteristics | Typical Applications |
|---|---|---|---|
| Aluminum Alloys | 6061, 7075, 2024 | Lightweight, good machinability, strong, cost-effective | Aircraft structures, fuselages, wing spars, ribs |
| Titanium Alloys | Ti-6Al-4V (Grade 5), Ti-3Al-2.5V | High strength, excellent corrosion resistance, light | Engine components, landing gear, fasteners, airframes |
| Stainless Steels | 304, 316, 17-4 PH, 15-5 PH | Corrosion resistant, strong, good high-temp properties | Hydraulic systems, exhaust components, engine parts |
| Superalloys | Inconel 718, Hastelloy X, Waspaloy | Excellent high-temp strength, creep & corrosion resistant | Turbine blades, combustion chambers, afterburners |
| Composites | CFRP (Carbon Fiber Reinforced Polymer) | Very high strength-to-weight, stiff, tailorable properties | Control surfaces, fuselage sections, wing components |
Machining these materials, especially titanium and superalloys, presents its own set of challenges. They are tough, generate a lot of heat during cutting, and can cause rapid tool wear. We use specialized cutting tools, optimized speeds and feeds, high-pressure coolant, and rigid machine setups to get the best results. It’s a craft we’ve honed over many projects, ensuring we deliver parts that meet the demanding specifications of the aerospace sector.
How Crucial are Tight Tolerances and Surface Finish in Aerospace Parts?
A tiny error in an aerospace part’s size can cause big problems, even mission failure. The forces are huge, and parts must fit perfectly. Achieving these exact standards is a daily focus for us.
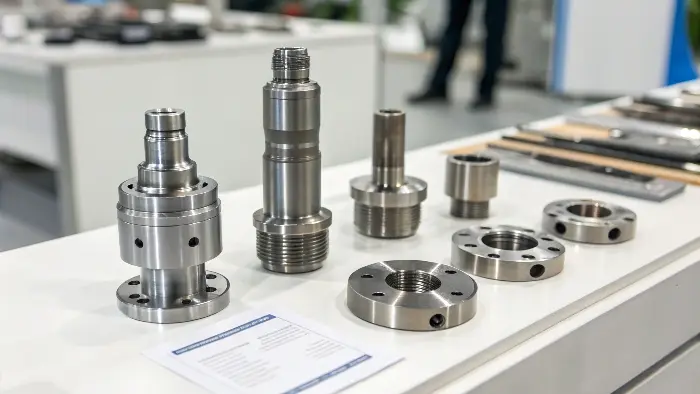
Extremely tight tolerances, often within microns (like ±0.005mm to ±0.01mm), are vital in aerospace. Specific surface finishes are also key. They ensure parts fit right, wear less, handle stress well, and help with aerodynamics for long-lasting components.

When I talk to engineers like Alex, the conversation often turns to tolerances and surface finish. In aerospace, these aren’t just numbers on a drawing; they are fundamental to safety and performance. A deviation of a few microns can be the difference between a successful mission and a critical failure. I’ve seen projects where the entire assembly’s functionality hinged on achieving these minute details.
Why Tolerances Are So Strict
Aerospace assemblies often involve many components working together under extreme conditions. The precision of each part is paramount.
- Fit and Interchangeability: Parts made at different times or even by different suppliers must fit together perfectly. This is crucial for efficient assembly, maintenance, and repair operations anywhere in the world. Imagine trying to replace a part in the field if it doesn’t fit.
- Stress Distribution: Precise dimensions ensure that loads and stresses are distributed exactly as the design engineers intended. This prevents stress concentrations in unwanted areas, which could lead to premature cracks or catastrophic failure.
- Performance: In dynamic systems like engines, actuators, or flight control surfaces, even small dimensional errors can drastically affect efficiency, responsiveness, and overall performance. I remember a project involving fuel injector nozzles where a tolerance of ±0.002mm was critical for optimal fuel atomization.
The Importance of Surface Finish
Surface finish, often denoted as Ra (Roughness average), plays a huge role too, beyond just looking good:
- Fatigue Life: Smoother surfaces generally have better fatigue resistance. Microscopic peaks and valleys on a rough surface can act as stress risers, becoming initiation sites for cracks under cyclic loading.
- Friction and Wear: In moving parts, like bearings or hydraulic pistons, the right surface finish minimizes friction and wear, extending the component’s operational life and reducing maintenance needs.
- Sealing: For hydraulic or pneumatic systems, a specific surface finish is essential for creating an effective seal with gaskets or O-rings, preventing leaks.
- Aerodynamics: For external components like wings or nacelles, a smooth surface reduces aerodynamic drag, improving fuel efficiency and performance.
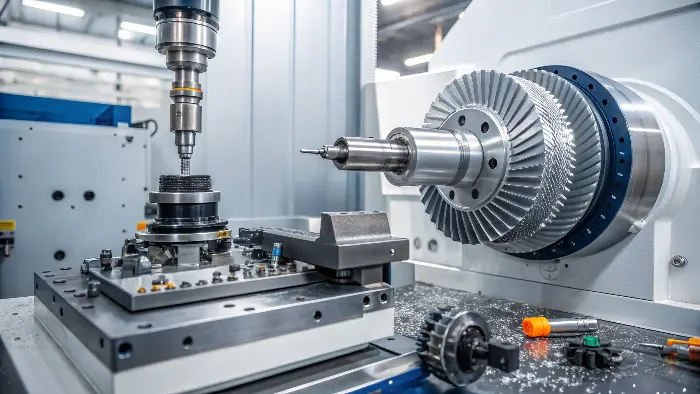
Achieving these tight tolerances and specific surface finishes requires advanced CNC machines, such as 5-axis machining centers, and often specialized secondary processes like grinding, lapping, or polishing. We also use highly precise measuring tools, like Coordinate Measuring Machines (CMMs) and optical comparators, to verify every critical dimension and feature. It’s a meticulous process, but absolutely necessary for the safety and reliability aerospace demands.
Why is Traceability and Documentation Non-Negotiable in Aerospace Manufacturing?
Imagine a problem with an aircraft part, but no way to find its history. The results could be terrible. That’s why detailed records are not just paperwork; they are vital for safety and accountability.
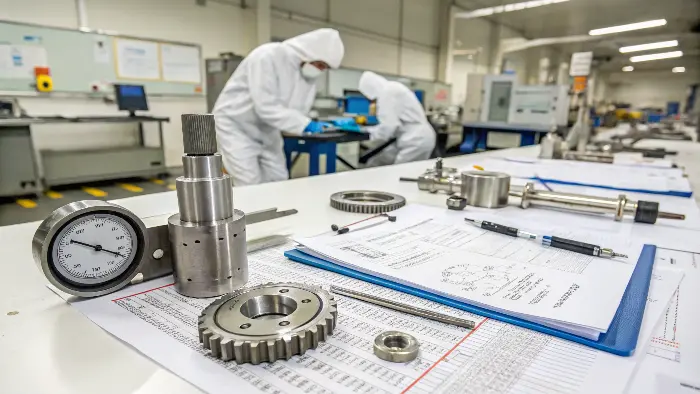
Full traceability and detailed documentation are essential in aerospace. This means material certificates, records of machining steps, inspection reports, and even operator qualifications. It ensures everyone is accountable, helps in any investigations, and is required by standards like AS9100.

In my early days in the workshop, I learned quickly that making the part was only half the job. Documenting everything about it was just as important, especially for aerospace clients. If an issue arises years down the line, perhaps during a routine inspection or, in a worst-case scenario, after an incident, we need to be able to trace every step of that part’s journey from raw material to finished product. This isn’t just good practice; it’s a fundamental requirement.
What Full Traceability Involves
When we talk about traceability in aerospace, it’s comprehensive and covers the entire lifecycle of the part within our facility:
- Material Certifications (MTRs): We need to know the exact batch of raw material used, its chemical composition, mechanical properties, and heat treatment, all verified by the mill or supplier. This certificate follows the material throughout production.
- Process Records (Routers/Travelers): Which machines were used for each operation? Who were the operators? What were the specific cutting parameters, tools, and inspection tools used? Every step is documented and signed off.
- Inspection Reports: Detailed records of all measurements taken at various stages, including First Article Inspection Reports (FAIRs), in-process checks, and final inspection. Any deviations and corrective actions taken are meticulously recorded.
- Special Processes: If parts undergo heat treatment, surface finishing (like anodizing or plating), or non-destructive testing (NDT) like X-ray or magnetic particle inspection, all certifications and reports from approved vendors for these processes must be included in the documentation package.
- Calibration Records: Proof that all measuring and testing equipment used was properly calibrated and traceable to national or international standards.
The Role of AS9100 and Other Standards
Standards like AS9100 (Quality Management Systems – Requirements for Aviation, Space and Defense Organizations) provide the framework for all this. AS9100 builds upon ISO 9001 but adds specific requirements for the aerospace industry, focusing heavily on quality, safety, and reliability. Adhering to AS9100 isn’t just about getting a certificate; it’s about embedding a culture of quality and accountability throughout the organization. It helps us ensure that every part we deliver meets the stringent requirements of clients like Alex, who expect nothing less.
| Document Type | Purpose | Key Information Included |
|---|---|---|
| Material Test Report (MTR) | Verifies raw material origin, composition, and properties | Chemical analysis, mechanical test results, heat number, specs |
| Job Traveler/Router | Tracks the part through each manufacturing and inspection step | Operations, machines, operators, dates, inspection results |
| First Article Inspection Report (FAIR) | Confirms a sample part meets all drawing specifications before full production | All dimensions, tolerances, notes, material & process certs |
| Certificate of Conformance (CoC) | Declares the batch of parts meets all specified requirements | Part number, quantity, order number, applicable standards, signature |
This level of documentation might seem extensive, but it’s crucial for ensuring safety, maintaining quality control, facilitating root cause analysis if issues arise, and driving continuous improvement. It protects everyone involved, from us as the manufacturer to the prime contractor, the airline, and ultimately, the passengers and crew relying on that aircraft.
Conclusion
Precision aerospace machining demands top materials, exact tolerances, and full traceability. These aren’t just goals; they’re necessities for safety and performance. At QuickCNCs, we understand these critical needs and deliver parts that meet the highest aerospace standards, helping engineers bring their complex designs to life with confidence.
