Designing parts that are hard to make or end up costing too much can quickly stop your project in its tracks. You need clear, practical guidelines to avoid these problems. I’m here to share what I’ve learned over the years to help you design better machine parts.
Good machine part design focuses on making things easy to manufacture, cost-effective, and functional. This means using materials wisely, cutting down machining time, getting rid of features you don’t need, and setting the right tolerances and surface finishes. These steps are key to successful part production and something we prioritize at QuickCNCs.
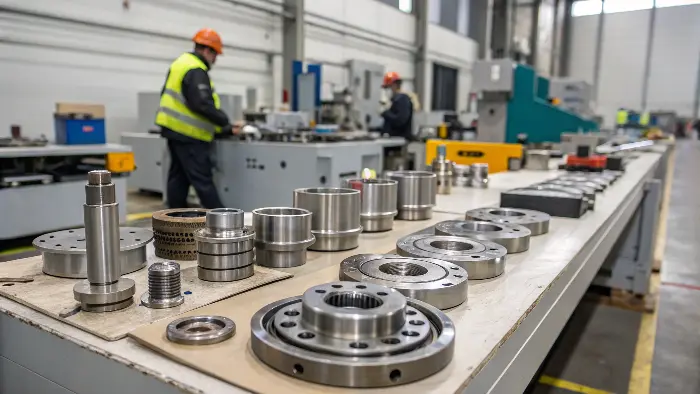
Getting these guidelines right is super important. It’s often the difference between a project that runs smoothly and one that causes a lot of headaches and extra costs. I’ve seen many engineers, like Alex who designs very precise robotic components in Germany, benefit hugely from understanding these principles right from the start of their design process. Let’s dive into what you really need to know to make your designs better.
What are the basic requirements for designing a machine part?
Not sure where to even begin with your part design? If you miss the fundamental requirements, your part might not work as intended, could be unsafe, or end up costing way more than it should. I’ll outline the core needs you should always address first.
The basic requirements for designing a machine part include ensuring it performs its intended function reliably and safely. It must also be manufacturable within your budget and meet the necessary quality standards. Thinking about these core needs from the very start is crucial for any successful design project.
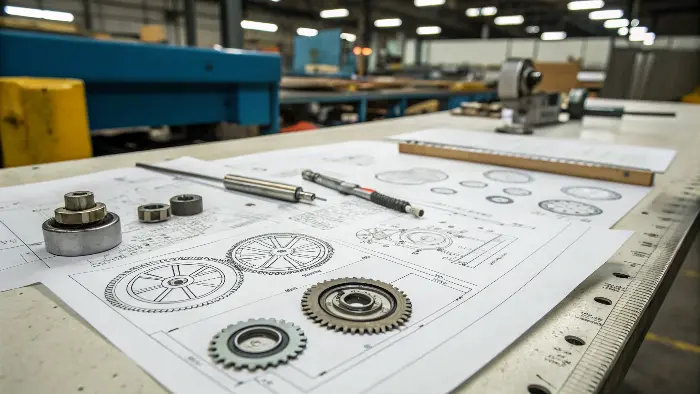
When I talk with engineers like Alex, who needs his robotic parts to work perfectly every time, we always start here. Before you even think about the fancy details, you have to nail these basics.
Defining the Part’s Job (Functionality)
First, what does this part actually need to do? This sounds simple, but it’s easy to lose sight of. You need to clearly define its purpose within the larger assembly. What loads will it handle? What movements will it make? What other parts will it interact with? If the part doesn’t do its main job, nothing else matters. For Alex’s robotic arms, functionality means precise movement and the ability to handle specific payloads without failing.
Making Sure It’s Safe and Lasts (Safety & Reliability)
Next, the part must be safe for anyone using or interacting with the machine. It also needs to be reliable over its expected lifespan. This means thinking about material strength, fatigue, and wear. You don’t want a part failing unexpectedly, especially in critical applications.
Can It Actually Be Made? (Manufacturability)
It’s great to design an amazing part on your computer, but can it actually be made with available tools and processes at a reasonable cost? This is where Design for Manufacturability (DFM) comes in. We’ll talk more about this later, but it’s a basic requirement to consider from day one.
Keeping an Eye on the Price (Cost-Effectiveness)
Finally, the part needs to be affordable. This doesn’t always mean "cheapest," but it does mean the cost should align with its value and the overall project budget. Material choice, complexity, and manufacturing processes all impact cost.
| Basic Requirement | Key Question to Ask Yourself | Why It’s Important |
|---|---|---|
| Functionality | Does the part do what it’s supposed to do? | Core purpose of the part |
| Safety | Can this part operate without causing harm? | Prevents accidents and liability |
| Reliability | Will the part perform consistently over time? | Ensures long-term operation, reduces downtime |
| Manufacturability | Can this part be made efficiently and accurately? | Impacts cost and lead time |
| Cost-Effectiveness | Is the part’s cost justified by its value? | Keeps projects within budget |
What are the general design considerations in machine design?
Thinking beyond just a single part can be tricky. If you ignore the bigger picture of the entire machine or system, your individual component might not fit correctly or work well with other parts. I’ll cover these broader points you need to keep in mind.
General design considerations in machine design involve looking at how the part fits into a larger system. This includes choosing the right materials, understanding forces and stresses, planning for assembly and maintenance, and thinking about where and how the machine will be used.
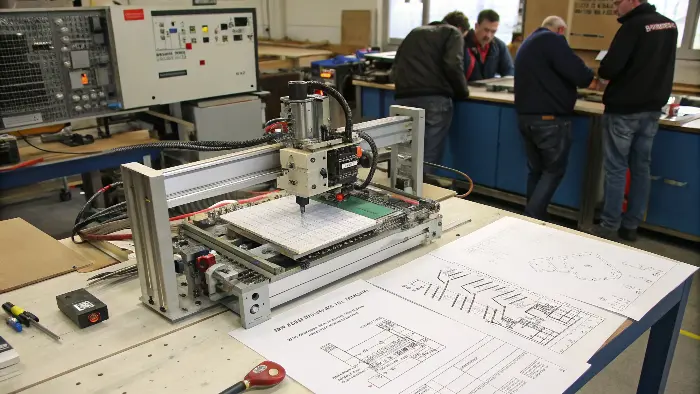
When you’re designing a part, it’s rarely going to exist in isolation. It’s usually part of a bigger machine or assembly. So, you have to think about how it interacts with everything else. This is something Alex, with his complex robotic systems, deals with daily.
Choosing the Right Stuff (Material Selection)
The material you choose affects everything: strength, weight, cost, how easy it is to machine, and how it reacts to its environment (like heat or chemicals). You need to pick a material that meets all the functional needs without being too expensive or difficult to work with. For example, using stainless steel when aluminum would do the job might just add unnecessary cost.
How Strong Does It Need to Be? (Loads and Stresses)
You need to understand all the forces, vibrations, and impacts your part will experience. This involves stress analysis to make sure the part won’t bend, break, or wear out too quickly. Sometimes a simple calculation is enough, but for complex parts, you might need computer simulation software.
Putting It Together and Keeping It Running (Assembly & Maintenance)
How will your part be assembled into the final product? And how will it be maintained or replaced if needed? Designing for easy assembly and maintenance can save a lot of time and money down the line. Think about access points, standard fasteners, and making it simple to take things apart and put them back together.
Where Will It Live and Work? (Environmental Factors)
Consider the environment where the machine will operate. Will it be hot, cold, wet, dusty, or exposed to corrosive substances? These factors can greatly influence your material choices and design features to protect the part.
| Consideration | Example Questions | Impact on Design |
|---|---|---|
| Material Selection | What strength, weight, corrosion resistance is needed? | Cost, manufacturability, lifespan |
| Loads & Stresses | What forces will it encounter? Static or dynamic? | Shape, size, reinforcement features |
| Assembly | How easily can this be put together with other parts? | Fastener types, alignment features, access |
| Maintenance | How easy is it to inspect, repair, or replace? | Modularity, wear indicators, accessibility |
| Environment | Temperature extremes? Moisture? Chemicals? | Material choice, protective coatings, seals |
What are design considerations to make while designing a part?
Getting into the nitty-gritty details of designing an individual part can feel complex. Small mistakes or oversights at this stage can lead to big manufacturing problems or parts that simply don’t perform as expected. Let’s look at the specific details you need to focus on.
When designing a specific part, you must consider details like precise dimensions and tolerances, the needed surface smoothness, and the shape of features like holes and corners. Simplifying the design and using materials efficiently are also key to making it easy and affordable to produce.
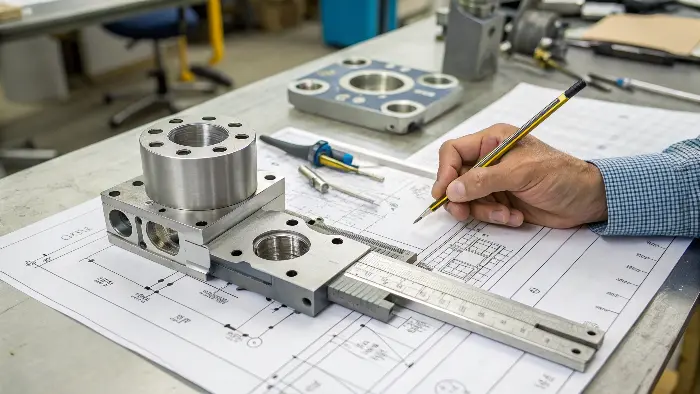
This is where my team at QuickCNCs and I really focus when we review designs from clients like Alex. The details matter a lot for manufacturability and cost. My insights about optimizing material use, minimizing machining time, avoiding unnecessary features, and ensuring proper tolerances and surface finishes are central here.
Getting the Shape and Material Right (Form and Material Optimization)
Think about the overall shape. Can it be simpler? Every complex curve or feature adds machining time and cost. Use material efficiently. Can you remove material where it’s not needed for strength (lightweighting) without making it too hard to machine? Avoid features that are purely for looks if they add significant cost.
How Smooth and How Exact? (Surface Finish and Tolerances)
Specify only the tolerances and surface finishes that are truly necessary for the part’s function. Over-tolerancing is a very common mistake and drastically increases costs. Alex needs tight tolerances like ±0.01mm for his robotic joints, but not every surface on every part needs that. A rougher finish or looser tolerance is fine for non-critical features.
Smart Features for Easy Making (Designing for Machinability)
This is key. Think like a machinist!
- Internal Radii: Avoid sharp internal corners. Always add an internal radius that is larger than the cutting tool’s radius. This allows standard tools to be used.
- Hole Depths: Standard drill bits have a certain length. Very deep holes (more than 5-10 times the diameter) are difficult and expensive to make accurately.
- Wall Thickness: Make walls thick enough so they don’t distort or break during machining. Thin walls can also vibrate, leading to poor surface finish.
- Standard Sizes: Design around standard raw material sizes and standard tool sizes when possible.
Keep It Simple, Keep It Cheaper (Complexity and Cost)
Generally, the simpler the part, the cheaper and faster it is to make. Reduce the number of setups needed on the CNC machine. If a feature can be made with a 3-axis machine instead of a 5-axis, that’s usually better for cost.
| Design Aspect | Good Practice | Bad Practice (Avoid) | Why it Matters for Machining |
|---|---|---|---|
| Internal Corners | Add generous radii (e.g., >1mm or tool radius) | Sharp internal corners (0mm radius) | Requires special tools or processes (EDM) |
| Tolerances | Specify only as tight as functionally needed | Overly tight tolerances on all features | Increases machining time, scrap, cost |
| Wall Thickness | Maintain uniform, adequately thick walls | Very thin or non-uniform walls | Distortion, vibration, difficult to hold |
| Hole Design | Standard sizes, reasonable depth-to-diameter ratio | Non-standard sizes, excessively deep blind holes | Requires special drills, pecking cycles |
| Feature Count | Minimize unnecessary features and operations | Many complex, non-functional features | Increases programming and machine time |
What is the rule of thumb for machining?
Ever designed a part that looked absolutely perfect on your computer screen, only to find out it was a complete nightmare to actually machine? This happens more often than you’d think, and it always costs time and money. I’ll share some practical machining rules of thumb that designers should always keep in their back pocket.
Key rules of thumb for machining include using standard tool sizes whenever you can, avoiding very deep pockets or tiny holes if possible, and ensuring walls are thick enough not to break or warp during the machining process. Also, always remember that different materials cut differently, so your design should reflect that.
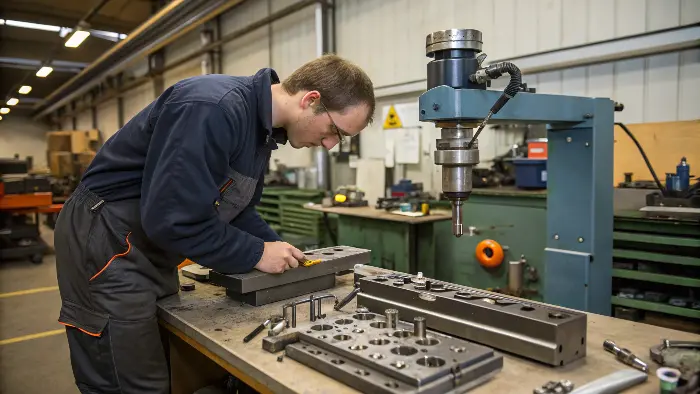
These aren’t strict laws, but they are very good guidelines that help us at QuickCNCs produce parts efficiently and cost-effectively for our clients, including engineers like Alex who value both precision and practicality. Knowing these can save you a lot of back-and-forth with your machine shop.
Stick to Standards (Tooling and Stock)
Whenever possible, design features that can be made with standard cutting tools (drills, end mills, taps). If your design requires a custom-sized tool, it adds cost and lead time. Also, consider standard raw material stock sizes. If your part just barely exceeds a standard stock size, you might pay for a much larger piece of material.
Watch Out for Depths and Diameters (Holes and Pockets)
- Deep Pockets: Pockets deeper than 3-4 times the tool’s diameter can be challenging. Chip evacuation becomes difficult, and tool rigidity decreases, potentially affecting accuracy and surface finish.
- Small Holes: Very small diameter holes, especially if they are also deep, are prone to drill breakage and are slow to machine.
- Internal Radii: As mentioned before, make internal corner radii larger than the tool radius you expect the shop to use. A common rule is to make the radius at least 1/8" (or 3mm) if possible, or at least 1.5 times the tool radius for deeper pockets.
Don’t Go Too Thin (Wall Thickness)
Thin walls (generally less than 0.8mm or 0.030" for metals, but it varies by material and wall height) can vibrate, distort, or even break during machining. They are also hard to hold securely. If you need thin walls, discuss it with your machinist beforehand.
Know Your Material’s Quirks (Material-Specific Tips)
Different materials behave differently when machined.
- Aluminum: Generally easy to machine, allows for faster cutting speeds.
- Steels: Harder, require slower speeds, more robust tooling. Stainless steels can be gummy or work-harden.
- Plastics: Can melt if speeds are too high, may be flexible and hard to clamp.
Understanding these differences helps you design features that are appropriate for the chosen material.
| Machining Rule of Thumb | Guideline | Reason / Impact if Ignored |
|---|---|---|
| Standard Tooling | Design for common drill/end mill sizes | Avoids cost/delay of custom tools |
| Internal Corner Radii | Radius > 0.5 x tool diameter (ideally larger) | Prevents need for small/fragile tools or EDM |
| Pocket Depth | Depth < 3-4 x tool diameter | Better chip removal, tool stability, surface finish |
| Hole Depth-to-Diameter Ratio | Keep it low (e.g., < 5:1 for small holes) | Reduces drill wander, breakage, and pecking cycles |
| Minimum Wall Thickness | >0.8mm for metals (varies) | Prevents distortion, vibration, breakage |
| Avoid Tapping Small/Deep Blind Holes | Prefer through-holes or thread milling | Reduces tap breakage risk, better chip evacuation |
Conclusion
Following these machine part design guidelines is really key for any successful manufacturing project. Thinking about manufacturability, cost, and function from the start will save you time, money, and a lot of potential frustration. This approach helps create parts that work well and are efficient to produce.
