Struggling to make sense of all the lines, symbols, and numbers on a technical drawing? You worry that if you can’t read it correctly, your manufacturer won’t be able to either, leading to costly mistakes. Getting it wrong ruins prototypes and delays your entire project.
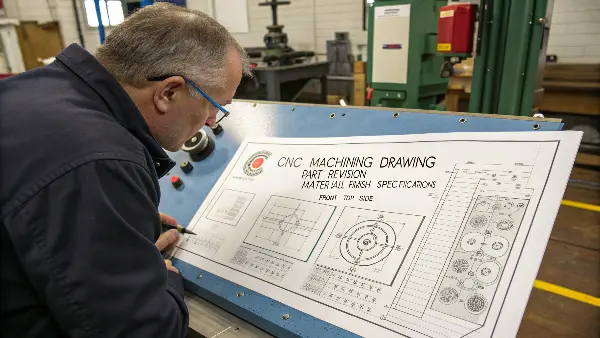
To read a CNC machining drawing, start with the title block to get the part name, revision, material, and finish. Next, study the orthographic views (front, top, side) to understand the 3D shape. Then, carefully examine the dimensions, tolerances, and specific notes. These details provide the machinist with the exact instructions needed to create your part accurately. Mastering these elements ensures clear communication and a successful outcome.

You now know the key components to look for on a drawing. But understanding what they are and knowing how to interpret them in practice are two different things. It’s like knowing the letters of the alphabet but not how to form words. To avoid errors, you need to understand how these elements work together to tell a complete story. Let’s break down the process step-by-step so you can read any drawing with confidence.
How to Read a Drawing for Beginners?
Staring at a sheet filled with lines and numbers can feel overwhelming. You might not be sure where to even start looking. Guessing where to begin can cause you to miss critical information. This can lead to simple but very expensive mistakes down the line. The secret is to follow a systematic approach, starting with the foundational elements that provide context for everything else.
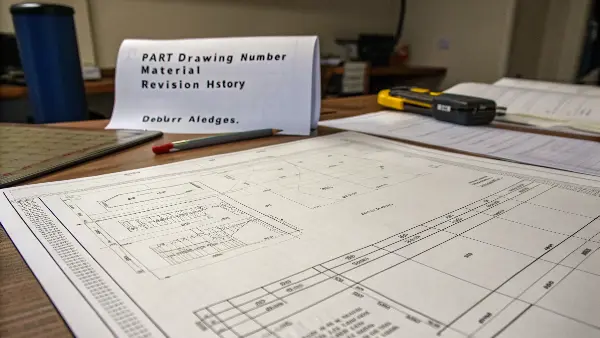
To read any technical drawing, first locate the title block, which is usually in the bottom-right corner. This contains the most essential information: part name, drawing number, material, and revision history. Next, look for any general notes, which provide overall instructions like "Deburr all edges." Finally, identify the different views to begin building a mental picture of the part’s shape.

When I receive a drawing from a client, I always start in the same place. It’s a habit I developed over years of working in the machine shop to prevent costly errors. Before I even look at the part’s geometry, I focus on the information that frames the entire job.
The Title Block: Your Drawing’s ID Card
Think of the title block as the passport for your part. It contains all the top-level information in a standardized format. The first thing I check here is the Part Name and Drawing Number. This ensures we are talking about the right component. More importantly, I check the Revision Level. I can’t count the number of times a client has accidentally sent an outdated drawing. Making a part from an old revision is a 100% waste of time and money. The title block also specifies the Material (e.g., Aluminum 6061-T6), the required Finish (e.g., Anodize Black), and the General Tolerances that apply to any dimension without a specific tolerance callout.
General Notes: The Machinist’s Instructions
After the title block, I read the general notes. These are usually located near the title block or along the side of the drawing. These notes provide instructions that apply to the entire part, unless specified otherwise. You will often see notes like:
- "Break all sharp edges R0.2 max."
- "Deburr all holes."
- "Surface finish Ra 1.6 µm unless otherwise specified."
- "All dimensions in millimeters."
These instructions are critical. A machinist will follow them carefully to ensure the final part is safe to handle and meets the expected quality. Forgetting to read them can mean the difference between a functional part and a reject.
How to Interpret CNC Drawings?
You’ve identified the title block and general notes. Now you see lines, symbols, and numbers all over the page. How do these translate into a physical object? Misinterpreting a single line type or a symbol can mean a feature is missed, a hole is drilled incorrectly, or a surface finish is wrong, ruining the entire workpiece. This is where you need to understand the language of drawings.
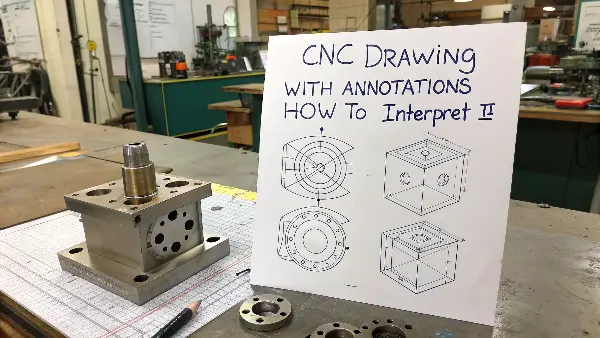
To interpret a CNC drawing, you must understand how 2D views represent a 3D part. This is done through orthographic projection, showing front, top, and side views. You also need to decode the line types: solid lines for visible edges, dashed lines for hidden features, and center lines for holes and symmetry. These elements work together to give the machinist a complete and unambiguous picture.

When I was starting out in the machine shop, learning to visualize a 3D part from 2D views was the biggest challenge. It takes practice, but there are some core principles that make it much easier. The goal of a drawing is to communicate the design without any ambiguity. Every line and symbol has a specific meaning.
Understanding Orthographic Projections
Most CNC drawings use orthographic projections to show a 3D object in 2D. Imagine your part is inside a glass box. You look at it from the front, top, and right side, and trace what you see onto each pane of glass. When you unfold the box, you get the three standard views:
- Front View: Usually shows the most features or the longest dimension.
- Top View: Shows the part as if you were looking down from above.
- Side View (Right or Left): Shows the part from the side.
These views are all aligned. The top view is directly above the front view, and the side view is directly to the right of the front view. This alignment helps you understand how features relate to each other across different views. For example, a hole shown as a circle in the top view will appear as two hidden lines in the front and side views.
Learning the Alphabet of Lines
| Different types of lines are used to show different things on a drawing. Here are the most common ones you’ll encounter: | Line Type | Appearance | What It Means |
|---|---|---|---|
| Visible Line | Thick, solid line | Represents a visible edge or contour of the part. | |
| Hidden Line | Dashed line | Shows an edge or feature that is not visible from that view. | |
| Center Line | Thin, long-short dash pattern | Indicates the center of a hole, cylinder, or symmetrical part. | |
| Dimension Line | Thin, solid line with arrows | Shows the distance between two points. The number is the dimension. | |
| Phantom Line | Thin, long-double short dash | Shows alternate positions of a moving part or related parts. |
Recognizing these lines is fundamental. A hidden line tells a machinist there’s a feature they need to create on the inside or on the other side of the part. A center line is crucial for locating holes accurately.
How to Understand Dimensions and Tolerances?
Now you can visualize the part and understand its features. But how big is it? How precise does it need to be? This is where dimensions and tolerances come in. Getting these wrong is not an option. An incorrect dimension or a misunderstood tolerance is one of the most common reasons parts get rejected, wasting both time and materials. This is where your design intent truly meets the physical world.
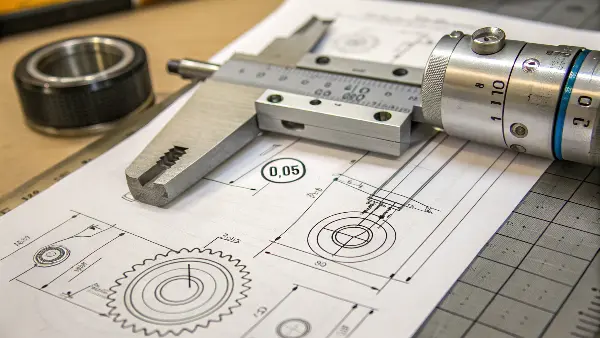
To understand dimensions, simply read the number on the dimension line—this is the target size. To understand tolerances, look for the "±" symbol, limit dimensions, or a dedicated tolerance block (GD&T). This tells the machinist the acceptable range of variation for that dimension. For example, "20.00 ±0.05" means the final size can be between 19.95 and 20.05.

In my experience, no topic causes more confusion for beginners than tolerances. It’s easy to specify a dimension, but it’s harder to define how much that dimension is allowed to vary. Every manufacturing process has some natural variation, and tolerances tell the machinist how much variation is acceptable for your part to function correctly.
Reading Basic Dimensions and Tolerances
Dimensions define the size of every feature. Each dimension has extension lines to show where it starts and stops, and a dimension line with the numerical value. Most drawings will specify units, such as "All dimensions in mm." Tolerances can be expressed in a few ways:
- Bilateral Tolerance: A "plus-minus" value, like 20.00 ±0.05. This means the dimension can be 0.05 larger or smaller than the nominal size.
- Unilateral Tolerance: The variation is only allowed in one direction, like 20.00 +0.10 / -0.00. The part can be larger, but not smaller.
- Limit Dimensions: Instead of a nominal size and tolerance, the drawing shows the maximum and minimum acceptable sizes directly, like 20.10 / 19.95.
Introduction to Geometric Dimensioning and Tolerancing (GD&T)
| For more complex parts, you will see symbols inside feature control frames. This is GD&T. It controls the shape, orientation, and location of features, not just their size. Here’s a quick look at a few common symbols: | Symbol | Characteristic | What It Controls | Example Use Case |
|---|---|---|---|---|
| ⌖ | Position | The true location of a feature, like a hole. | Ensuring a pattern of bolt holes aligns perfectly. | |
| ⟂ | Perpendicularity | How perpendicular a surface or axis is to a datum. | Making sure a pin fits straight into a hole. | |
| — | Flatness | How flat a surface is, without reference to any other feature. | A sealing surface that needs to prevent leaks. | |
| ⌀ | Diameter | Often used in GD&T to specify a cylindrical tolerance zone. | Controlling the position of a hole accurately. |
GD&T is a complex topic, but even a basic understanding helps you communicate with machinists more effectively. It removes guesswork and ensures functional requirements are met. When a client uses GD&T correctly, it tells me they have thought deeply about their design, and it helps my team make the part right the first time.
Conclusion
Reading CNC drawings is a fundamental skill. By systematically checking the title block, views, dimensions, and notes, you can confidently translate any 2D drawing into a 3D part.
