Your complex designs have hidden internal features that are critical for function. When these details are unclear on a drawing, it leads to guesswork by the machinist, resulting in costly mistakes and project delays. Creating a proper section view is the solution for communicating your design intent perfectly.
To create an effective section view, first, you need to identify the key internal features you want to show. Next, define a cutting plane that passes through these features in your CAD model. Use your software’s "Section View" tool to generate the view automatically. Make sure you use the correct cross-hatching for the material, clearly label the cutting plane line, and add all necessary dimensions, tolerances, and notes directly to the view.
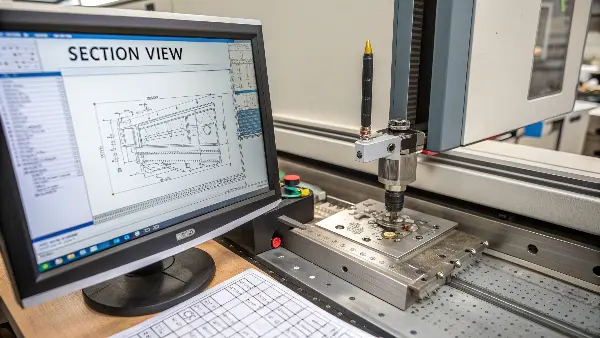
I’ve seen firsthand how a well-made drawing can make the difference between a successful production run and a pile of expensive scrap metal. A section view is more than just a picture; it’s a critical piece of communication between you, the designer, and me, the machinist. It removes all ambiguity about what’s happening inside a part. But creating a drawing that leaves no room for error involves more than just one view. Let’s walk through the entire process, from the initial design to the final drawing, to ensure your parts are made right the first time, every time.
How do you prepare a complete drawing for CNC machining?
You’ve finished your 3D model, but sending it alone isn’t enough. Without a proper 2D drawing, machinists have to make assumptions about tolerances and finishes. This leads to endless questions, delays your project, and risks getting a part that doesn’t meet your requirements.
To prepare a drawing for CNC, you must provide a complete information package. Start with standard orthographic views (front, top, side). Add section or detail views for complex areas. Dimension every feature with clear tolerances. Specify the material, required surface finishes, and any post-processing steps like anodizing or heat treatment. Finally, fill out the title block with the part name, number, revision, and your contact information.
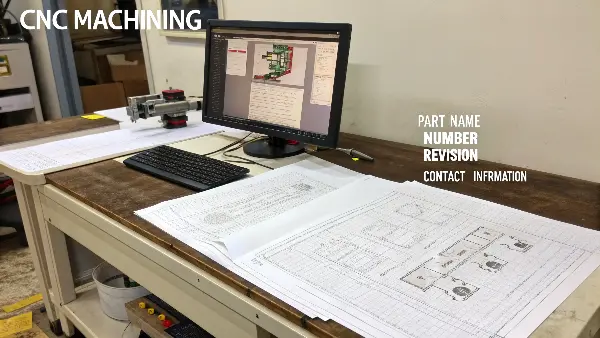
Preparing a drawing isn’t just a formality; it’s the foundation of a successful manufacturing project. Over the years, I’ve received thousands of drawings, and the best ones always tell a complete story. They don’t just show the shape of the part; they explain exactly how it needs to be made. A good drawing anticipates the machinist’s questions and answers them ahead of time. I always advise my clients to think of the drawing as a contract. It’s a precise set of instructions that we, the manufacturers, are obligated to follow. When those instructions are clear, complete, and easy to understand, the entire process runs smoothly. Let’s break down the essential elements that every great CNC drawing must include.
Key Elements of a CNC Drawing
A comprehensive drawing is a machinist’s best friend. To make sure nothing is missed, I use a checklist approach.
- Views and Projections: Always include the standard three orthographic views (front, top, side). For complex parts, an isometric view helps the machinist visualize the final product. Use section views to clarify internal features and detail views to zoom in on small, critical areas.
- Dimensions and Tolerances: Every feature that is important for the function of the part must be dimensioned. More importantly, every dimension needs a tolerance. Without tolerances, a dimension is meaningless. Use geometric dimensioning and tolerancing (GD&T) for complex relationships between features.
- Notes and Specifications: This is where you communicate requirements that can’t be shown with lines and numbers.
Here’s a table outlining the critical notes you should always include:
| Note Category | Description | Example |
|---|---|---|
| Material Specification | State the exact material grade and any specific standard (e.g., ASTM, ISO). | Material: Aluminum 6061-T6 (ASTM B221) |
| General Tolerances | A note for all dimensions without a specific tolerance. This is usually found in the title block. | Unless otherwise specified, tolerances: ±0.1mm |
| Surface Finish | Specify the required roughness (Ra) for a surface. Use symbols on the drawing and a general note as well. | Ra 1.6 µm on all machined surfaces. |
| Edge Breaks/Deburring | Instructions for removing sharp edges. | Break all sharp edges 0.2mm max. |
| Special Instructions | Any other process, like heat treatment, coating, or pressure testing requirements. | Heat treat to HRC 45-50. Anodize black. |
By including all these elements, you create a document that empowers the machinist to produce your part exactly as you envisioned it.
What type of software is best for creating CNC designs and drawings?
Choosing the right software can feel overwhelming with so many options available. If you pick a tool that’s not suited for manufacturing, you might create designs that are difficult or impossible to machine. This leads to wasted time redesigning and can delay your entire project schedule.
The best software for CNC is a 3D CAD (Computer-Aided Design) program that combines solid modeling with 2D drawing capabilities. Industry-standard choices include SolidWorks, Autodesk Inventor, Fusion 360, and CATIA. These tools allow you to design a 3D model and then easily generate the detailed 2D technical drawings needed by the machinist, including all views, dimensions, and tolerances.
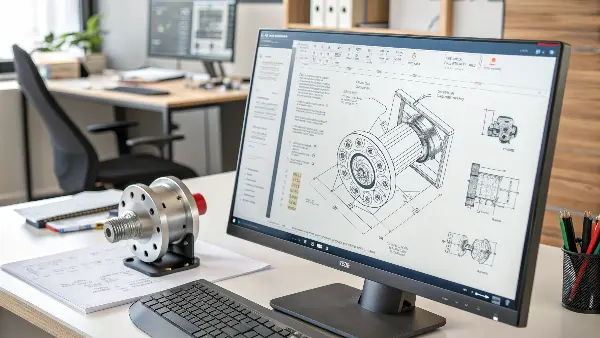
In my experience, the specific software you use is less important than how you use it. I’ve worked with clients who use everything from high-end CATIA to more accessible programs like Fusion 360. The key is that the software supports a "Design for Manufacturing" (DFM) workflow. This means it should allow you to create a precise 3D model and then generate a clear, unambiguous 2D drawing from that model. The 3D model gives the programmer the geometry to create toolpaths, while the 2D drawing provides the critical tolerances, finishes, and other non-geometric information that the model alone can’t convey. Most modern CAD programs are excellent at this. They are built to prevent errors by linking the 2D drawing directly to the 3D model, so if you update the model, the drawing views update automatically.
Comparing Popular CAD Software for CNC
While many programs can get the job done, they have different strengths. Your choice often depends on your industry, project complexity, and budget. Here’s a quick comparison of the software I see most often from my clients:
| Software | Best For | Key Strengths | Considerations |
|---|---|---|---|
| SolidWorks | General mechanical design, machinery, product development. | User-friendly interface, excellent 2D drawing tools, large user community. | PC only, can be expensive for individual users. |
| Autodesk Fusion 360 | Startups, hobbyists, integrated design-to-manufacturing projects. | Cloud-based, affordable, includes CAD, CAM, and simulation in one package. | Can be slower with very large assemblies, cloud-based. |
| Autodesk Inventor | Heavy machinery, complex assemblies, automation design. | Robust performance for large assemblies, strong integration with other Autodesk products. | Steep learning curve, high cost. |
| CATIA | Aerospace, automotive, and other high-end, surface-critical industries. | Unmatched surface modeling capabilities, excellent for highly complex designs. | Very expensive, extremely steep learning curve. |
No matter which software you choose, mastering its 2D drawing module is essential. Learn how to control line weights, create custom dimensioning styles, and use layers effectively. The goal is to produce a drawing that is clean, professional, and easy to read. A cluttered or poorly formatted drawing reflects poorly on the design and can lead to misinterpretation on the shop floor. I always appreciate when an engineer sends over a drawing that is as elegant and well-organized as the part itself.
How do you draw a technical drawing step by step?
Staring at a blank drawing sheet can be intimidating, even with a finished 3D model. You might know what you need but aren’t sure how to present it logically. A disorganized process can lead to missing dimensions, incorrect views, or confusing layouts that cause production errors.
To draw a technical drawing step-by-step, start by inserting the primary view, usually the front view. From this, project your other orthographic views like the top and right side. Add an isometric view for context. Then, insert section views for internal details. Begin dimensioning the most critical features first, followed by the overall sizes. Finally, add all notes, tolerances, and the title block.
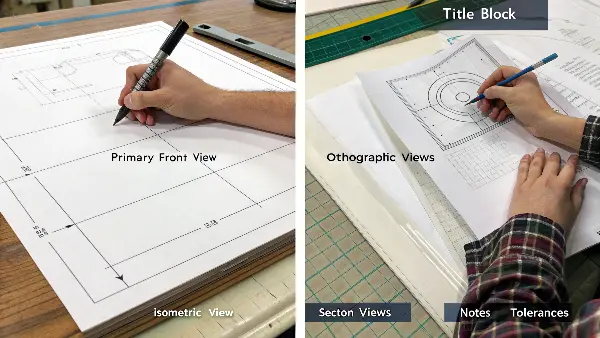
I often tell young engineers that creating a technical drawing is like telling a story. You have to guide the reader—the machinist—from the general shape to the finest detail in a logical way. You wouldn’t start a story in the middle, and you shouldn’t start dimensioning a drawing randomly. I’ve seen drawings where the overall length of a part was buried in a corner, while a non-critical hole was dimensioned three different ways. This is confusing and wastes time. A systematic approach ensures that you cover all the necessary information in a way that is easy to follow. It reduces the chance of errors and makes the quoting and manufacturing process much faster. Let’s create a simple, repeatable workflow you can use for every part.
A 5-Step Workflow for Clear Technical Drawings
Following a consistent process will help you produce high-quality drawings every time. Here is the workflow I recommend based on best practices in the industry:
-
Establish the Layout and Views
- Base View: Choose a front view that shows the most features or the part’s natural orientation. Place it in the bottom-left of the drawing area.
- Projection: Project the top and side views from the base view. Maintain proper alignment between them.
- Auxiliary Views: Add an isometric view in a corner for visualization. Create section or detail views and place them logically near the features they clarify.
-
Add Centerlines and Center Marks
- Before dimensioning, add centerlines to all cylindrical features and center marks to all holes. This provides a clean reference for dimensions and establishes symmetry.
-
Dimension the Drawing
- Critical Dimensions: Start with the most important functional dimensions, like hole locations, mating surface distances, and features with tight tolerances.
- Overall Dimensions: Add the overall height, width, and depth of the part.
- Detail Dimensions: Dimension the remaining features, trying not to repeat dimensions across views. Keep dimensions off the body of the part whenever possible for clarity.
-
Add Notes and Symbols
- Apply GD&T symbols, surface finish symbols, and weld symbols as needed.
- Add general notes for material, deburring, and special treatments in a dedicated area, usually above the title block.
-
Review and Finalize
- Fill out the title block completely: part name, number, revision, author, date, and material.
- Proofread the entire drawing. Check for missing dimensions, conflicting tolerances, and typos. Have a colleague review it if possible. A second pair of eyes often catches mistakes you’ve overlooked.
This structured approach transforms drawing from a creative task into a methodical process, ensuring nothing is left to chance.
How is a CNC program made step by step?
You have a perfect 3D model and a flawless 2D drawing. But how does that information turn into movement and action at the CNC machine? Many designers are unfamiliar with this critical step, which can lead them to design features that are unnecessarily complex or expensive to program.
A CNC program is created by a CAM (Computer-Aided Manufacturing) programmer. First, they import the 3D model and orient it within the virtual machine setup. They select cutting tools, define toolpaths for each feature (like roughing, finishing, drilling), and set speeds and feeds. Finally, the CAM software simulates the process to check for errors and then generates the G-code that the CNC machine will execute.
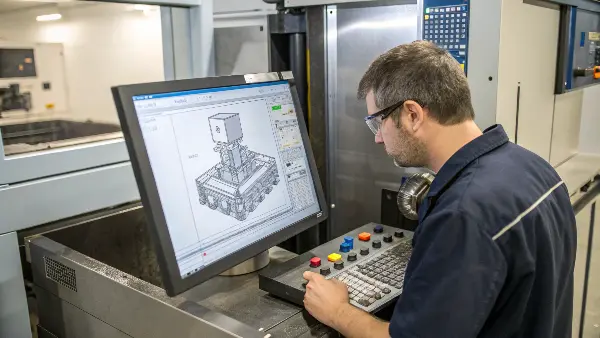
As someone who started on the shop floor, I have a deep respect for the art and science of CNC programming. This is where the design intent, captured in your drawing, is translated into physical reality. The programmer acts as the bridge. They look at your drawing for the "what" and "how well" (the dimensions, the tolerances, the surface finish) and then use their expertise and CAM software to figure out the "how to." For example, your drawing might call for a pocket with a Ra 0.8 µm finish. The programmer decides which tool to use, how fast to run it, and what kind of finishing pass is needed to achieve that result. Understanding this process helps you, as a designer, create parts that are not only functional but also efficient to manufacture.
From Drawing to G-Code: The Programmer’s Workflow
The programmer’s job is a methodical process of planning and execution. They must consider the drawing’s requirements at every stage. Here’s a breakdown of their typical steps:
-
Job Setup and Interpretation
- Drawing Review: The first step is always to study the 2D drawing and 3D model together. The programmer identifies critical tolerances, surface finish requirements, and any special features noted on the drawing.
- Workholding: They plan how to hold the raw material (the stock) in the machine. This is a critical decision that affects which features can be machined in a single setup.
-
Toolpath Strategy (in CAM Software)
- Operation Selection: The programmer breaks the part down into a sequence of machining operations. This usually starts with a roughing pass to remove the bulk of the material quickly.
- Tool Selection: For each operation, they select the appropriate cutting tool (e.g., end mill, drill, face mill) from the tool library.
- Defining Toolpaths: They generate the specific path the tool will follow for each operation, such as pocketing, contouring, or drilling. This includes creating separate paths for roughing and finishing to meet tolerance and surface quality requirements.
-
Setting Parameters
- Speeds and Feeds: The programmer calculates the optimal spindle speed (how fast the tool spins) and feed rate (how fast the tool moves through the material). These are based on the material, tool, and desired finish.
-
Simulation and Verification
- Virtual Machining: Before sending any code to the machine, the programmer runs a simulation in the CAM software. This shows a virtual tool cutting a virtual block of stock. It’s used to catch any potential collisions, tool path errors, or areas where the tool might not be able to reach. This step is crucial for preventing costly crashes on the real machine.
-
Post-Processing
- Generating G-Code: Once the simulation is perfect, the programmer uses a "post-processor" to translate the toolpaths from the CAM software into G-code, the specific language that the particular CNC machine understands. This final text file is then loaded into the machine controller to make the part.
Conclusion
Creating effective drawings with clear section views is vital for successful CNC machining. Following a systematic process ensures every detail is communicated accurately, bridging the gap between design and manufacturing.
