You’ve perfected your 3D model, but turning it into a real part is the next challenge. Miscommunication with your machinist can lead to costly errors and delays. This guide provides the best practices to create clear 2D drawings that ensure your design intent is perfectly understood and manufactured.
To successfully convert a 3D CAD model into a 2D technical drawing for CNC machining, you must generate clear orthogonal views, add precise dimensions with Geometric Dimensioning and Tolerancing (GD&T), and clearly specify materials and surface finishes. A detailed title block containing part numbers, revisions, and other essential data is also critical. Following these steps creates an unambiguous manufacturing blueprint that prevents errors, saving both time and money.

The 3D model is the foundation of your part, showing the shape and form. But the 2D technical drawing is the instruction manual. It’s the official document that tells the machinist exactly what you need. It contains critical information that a 3D model alone cannot communicate, like tolerances, surface finishes, and material specifications. A good drawing removes all guesswork, which is key to a successful project. Let’s break down the essential steps and clear up some common questions to help you master this process.
How do you make a good 2D technical drawing?
Creating a 2D drawing from a 3D model feels simple, but a few missing details can cause big problems. You send a drawing you think is clear, only to face endless questions from the machinist, delaying production. By following a structured process, you can create a complete drawing every time.
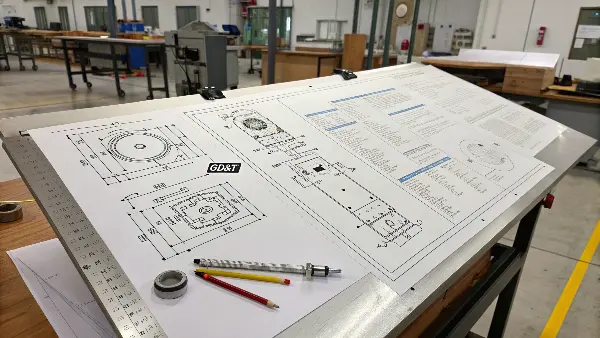
First, select the necessary views, like front, top, and side (orthographic views), and add section or detail views for complex features. Next, add all critical dimensions using GD&T for precise tolerancing. Then, clearly state the material, surface finish, and any special notes. Finally, complete the title block with the part name, revision number, and scale. This systematic approach ensures no detail is missed.

Making a great 2D drawing is about thinking like the machinist who will make your part. Your goal is to answer their questions before they even have to ask them. The foundation is choosing the right views. Most parts can be fully defined with three primary orthographic views: front, top, and right side. But if your part has internal features, a section view is essential to show what’s inside. For very small or complex areas, use a detail view to zoom in and dimension them clearly. An isometric view is also helpful because it gives the machinist a quick 3D visual of the final part.
Once your views are set, the next step is dimensioning. This is where most errors happen. You must dimension every feature, but avoid redundant dimensions, which can cause confusion. More importantly, you must specify tolerances. Standard block tolerances might be fine for non-critical features, but for anything that needs to fit or function precisely, use Geometric Dimensioning and Tolerancing (GD&T). GD&T is a universal language that communicates acceptable variations in form, orientation, and location. It provides much more control than simple plus/minus tolerances.
Here is a simple checklist for a complete 2D drawing:
| Drawing Element | Purpose | Best Practice |
|---|---|---|
| Orthographic & Other Views | To show the part from all necessary angles. | Use as few views as necessary to define the geometry completely. |
| Dimensions & Tolerances | To define the size and acceptable variation of every feature. | Use GD&T for critical features. Avoid redundant or ambiguous dimensioning. |
| Material Specification | To tell the machinist what material to use. | Be specific, e.g., "Aluminum 6061-T6," not just "Aluminum." |
| Surface Finish Callouts | To specify the required texture of part surfaces. | Use standard symbols (e.g., Ra 1.6 µm) on the surfaces they apply to. |
| General Notes | To communicate instructions not tied to specific geometry. | Include instructions like "Deburr all sharp edges" or "Break all sharp corners." |
| Title Block | To provide administrative and summary information. | Fill in Part Name, Part Number, Revision, Material, Drafter, and Date. |
I remember a project with a client in Germany who needed a complex aluminum housing. Their 3D model was perfect, but the initial 2D drawing was missing tolerances on the bearing bores. We had to pause production to clarify. This simple omission could have led to a part that didn’t function, wasting thousands of dollars. After we added the precise GD&T callouts, the parts were machined perfectly. It was a good lesson: a complete 2D drawing is the ultimate insurance policy for quality.
What CAD format is used for CNC?
You have finished your design, but now you are not sure which file format to send to your CNC supplier. Choosing the wrong format can halt your project before it starts, creating frustrating emails and losing valuable time. Knowing the difference between 3D models for programming and 2D drawings for reference ensures a smooth start to production.
For CNC machining, machinists use a 3D model file like STEP (.stp, .step) to generate the machine toolpaths. This universal format contains the complete geometry. A 2D drawing, typically a PDF, is also essential. It provides critical information like specific dimensions, tolerances, materials, and surface finishes that the 3D model alone cannot communicate. Both files are needed for a successful outcome.

In my years of helping engineers like Alex in Germany get their parts made, the file format question comes up a lot. It’s best to think of it as providing two essential pieces of a puzzle. One piece tells the machine what to cut, and the other tells the human what to verify.
First is the 3D Model. This file is used directly by the CAM (Computer-Aided Manufacturing) software. The software reads the 3D geometry and helps the programmer create the G-code, which is the set of instructions that the CNC machine follows. While many native CAD formats exist (like SolidWorks’ .SLDPRT or Inventor’s .IPT), the best format to send is a universal, neutral one. The industry standard is STEP (.stp or .step). A STEP file is great because almost any CAD/CAM system can open it without translation errors, preserving the exact geometry of your design. Another good neutral format is IGES, but STEP is generally more modern and reliable.
Second is the 2D Technical Drawing. This is the document of truth. While the CAM software uses the 3D model, the machinist and the quality inspector use the 2D drawing as their primary reference. It contains all the information that a 3D model can’t easily show. Think of it as the legal contract for your part. The most common and preferred format for this is a PDF. A PDF is perfect because it’s universal, can’t be easily edited, and preserves the layout, fonts, and details exactly as you created them.
Here’s a breakdown of why you need both:
| File Type | Primary User | Purpose | Why it’s essential |
|---|---|---|---|
| 3D Model (STEP) | CAM Programmer | To generate toolpaths for the CNC machine. | Provides the exact 3D geometry for the machine to follow, ensuring accurate shape. |
| 2D Drawing (PDF) | Machinist & Inspector | To understand tolerances, finishes, materials, and other critical specifications. | It’s the official reference for verifying the part meets every design requirement. |
Sending only a 3D model is a common mistake. Without the 2D drawing, the machinist has to guess at your required tolerances, surface finishes, and even the material. This always leads to questions, delays, and potential mistakes. By providing both a STEP file and a PDF drawing, you give the manufacturing team everything they need to make your part right the first time.
Do CNC machinists use CAD?
Many engineers wonder if the CNC machinist who makes their parts actually uses the same CAD software they do. They worry that details might get lost in translation if the machinist can’t open or understand their original files. This uncertainty can make you hesitant to outsource complex jobs, fearing your design intent will be misunderstood.
Yes, CNC machinists and programmers absolutely use CAD/CAM software. They use the CAD portion to view and analyze the 3D model you provide, checking for manufacturability. Then, they use the integrated CAM (Computer-Aided Manufacturing) portion to generate the toolpaths—the G-code—that directs the CNC machine’s movements. They rely on your CAD data as the starting point for the entire production process.

The role of CAD software on the shop floor is a bit different from its role on the design engineer’s desk. As an engineer, you use CAD to create a design from scratch. A CNC machinist or programmer uses CAD/CAM software as a tool to interpret your design and plan the manufacturing strategy.
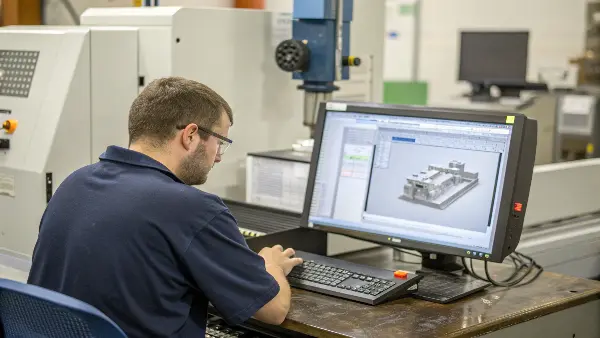
When a machinist at QuickCNCs receives a project, the first thing they do is open the 3D model (usually a STEP file) in their CAD/CAM software. Here’s what they do with it:
- Design Review: They examine the model from all angles. They look for features that might be difficult or impossible to machine, like deep pockets with small internal radii, very thin walls, or undercuts that a standard tool can’t reach. This is a crucial Design for Manufacturing (DFM) check. If they find any issues, we contact the client immediately to suggest design modifications that will improve manufacturability and lower costs.
- Workholding Strategy: They use the model to figure out the best way to hold the raw material block (the workpiece) in the machine. They need to ensure the part is held securely without the clamps getting in the way of the cutting tools. Sometimes, this requires planning multiple setups, where the part is machined in one orientation, then flipped to machine the other side.
- Toolpath Generation: This is the "CAM" part of the software. The programmer selects tools from a virtual library and defines the cutting operations. They create roughing passes to remove material quickly, followed by finishing passes to achieve the final dimensions and surface finish. The software simulates the entire process, showing a virtual tool cutting a virtual workpiece. This simulation helps catch any potential collisions or errors before a single piece of metal is cut.
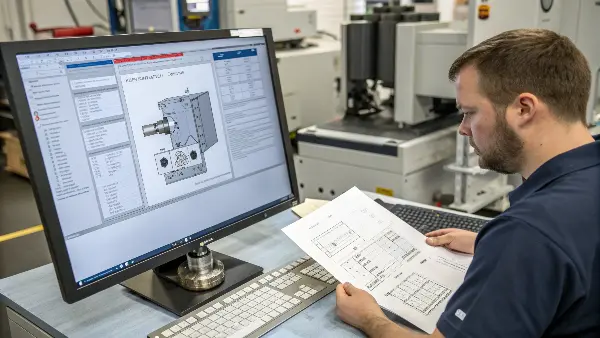
The machinist also keeps the 2D PDF drawing open on a separate screen. While the CAM software is working from the 3D model’s geometry, the machinist constantly refers to the 2D drawing to check for:
- Tolerances: Where do I need to be extra precise? The drawing tells them if a bore needs to be +/- 0.01mm or if +/- 0.1mm is acceptable.
- Surface Finishes: Which surfaces need to be smooth? They will adjust the toolpaths and cutting speeds to achieve the specified Ra value.
- Threads and Special Features: The drawing provides details on thread types (e.g., M6x1.0), depths, and any other notes that aren’t part of the raw geometry.
So, while a machinist might not be designing parts in CAD, they are expert users of CAD/CAM systems. They use your files directly to bridge the gap between digital design and physical reality.
What is the difference between 2D and 3D CNC?
You might hear terms like "2D machining" and "3D machining" and wonder if they refer to different types of machines or files. This confusion can make it difficult to communicate your needs clearly, as you may not know whether your part requires a more complex process. Understanding this difference helps you grasp why some parts are more expensive and time-consuming to make than others.
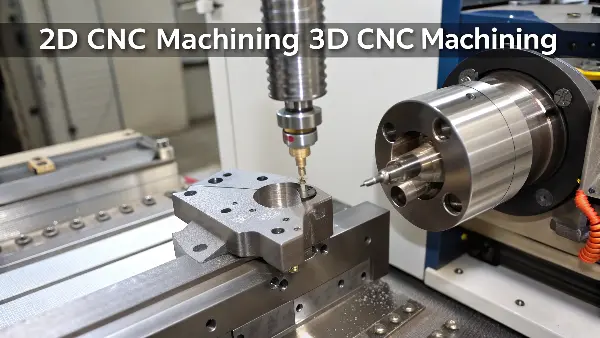
The main difference is in the complexity of the tool motion. In 2D CNC machining, the cutting tool moves along two axes at once (X and Y), with the third axis (Z) repositioning between cuts. In 3D CNC machining, the tool moves along all three axes (X, Y, and Z) simultaneously to create complex, contoured surfaces. 3D machining is required for parts with organic shapes and complex curves, while 2D is for parts with flat-bottomed pockets and profiles.

Let’s break this down in a more practical way. Imagine you are carving a block of wood. The type of carving you do is similar to the difference between 2D and 3D CNC machining.
2D CNC Machining:
Think of this as cutting out a shape from a flat sheet of paper and then pushing it down to a certain depth. The CNC machine’s tool moves left-and-right (X-axis) and forward-and-back (Y-axis) to create the outline. The up-and-down motion (Z-axis) happens separately. For example, to make a pocket, the tool plunges down to the correct depth (a Z-axis move) and then moves in X and Y to clear out the material. This process creates features with vertical walls and flat floors. It’s perfect for parts like brackets, plates, and simple housings. Because the toolpaths are simpler, programming is faster and machining time is generally shorter, making it more cost-effective. Sometimes this is called “2.5D machining” because the Z-axis moves independently between the 2D XY movements.
3D CNC Machining:
Now, imagine sculpting a human face out of that same block of wood. You can’t do this with simple up-and-down and side-to-side cuts. Your hand and chisel must move in a fluid, continuous motion, following the curves of the nose, cheeks, and forehead. This is what 3D CNC machining does. The X, Y, and Z axes all move at the same time, allowing the cutting tool to follow complex, contoured "3D surfaces." This is essential for parts with slopes, fillets, and organic shapes, like molds, impellers, or ergonomic grips. Creating the toolpaths for 3D machining is much more complex and requires advanced CAM software. The machine often has to make thousands of tiny, precise movements, so machining time is significantly longer.
Here’s a comparison to help clarify:
| Feature | 2D (or 2.5D) CNC Machining | 3D CNC Machining |
|---|---|---|
| Tool Movement | Moves in X and Y simultaneously. Z-axis repositions between cuts. | Moves in X, Y, and Z simultaneously. |
| Part Geometry | Prismatic shapes with flat floors, walls, and holes (e.g., pockets, profiles). | Complex, contoured surfaces with curves and slopes (e.g., molds, non-planar surfaces). |
| CAM Programming | Relatively simple and fast. | Complex and time-consuming, requires powerful software. |
| Machining Time | Shorter. | Longer, due to many small cutting passes. |
| Typical Applications | Brackets, plates, simple machine components, front panels. | Injection molds, turbine blades, medical implants, complex housings. |
Whether your part needs 2D or 3D machining depends entirely on its geometry. Both start with a 3D model, but the CAM programmer will select 3D toolpath strategies only when the design has surfaces that cannot be created with simple 2D movements. Understanding this helps you appreciate why a seemingly small design change, like adding a sloped surface, can impact the manufacturing cost.
Conclusion
In summary, a precise 3D model paired with a complete 2D drawing is the key to successful CNC machining. This combination removes ambiguity and ensures your parts are made exactly to your specifications.
