Your CNC machine won’t power on, and panic sets in. Production stops, deadlines loom, and you fear a costly repair. But don’t worry, often it’s a simple fix.
If your CNC machine doesn’t start, first check for obvious issues like a tripped breaker or loose power cord. Then, systematically inspect power supply, connections, fuses, control system, and safety interlocks. Many startup problems are minor and fixable without extensive downtime.
It’s a frustrating moment when you hit the power button and nothing happens. I’ve been there, staring at a silent machine, wondering where to even begin. The good news is that a methodical approach can help you identify the problem quickly. Let’s break down the common culprits and how you can get your machine back up and running.
Machine Not Starting: How Do I Begin Troubleshooting?
A dead CNC machine brings your workflow to a halt. You feel helpless, unsure where to look first for the problem. Start with a calm assessment to gather clues.
Begin troubleshooting by observing the machine’s state. Note if the shutdown was sudden, if any lights are on, or if you hear any sounds. This initial check helps narrow down potential causes before diving into complex diagnostics.
When your CNC machine refuses to start, your first step is a calm, systematic observation. Don’t just randomly start checking things. I remember a time I almost called a technician, only to find a disconnected emergency stop. So, take a deep breath and ask some key questions to guide your troubleshooting.
- Recent Activity: Think about what happened before it stopped. Was the machine running fine and then suddenly died? Or has it been powered down for a period, like overnight or over a weekend? A sudden stop often points to an electrical issue like a tripped breaker or an internal short. If it’s been idle for a while, components like backup batteries for the control system might have failed, or software could have encountered an issue upon boot-up.
- Visual and Auditory Cues: Look at the control panel. Is it completely blank and dark, or are there any status lights, even dim ones, still illuminated? Listen carefully when you attempt to power it on. Do you hear any clicks from relays trying to engage, a faint hum from the power supply unit, or the whir of a cooling fan starting up? The presence or absence of these signs gives vital clues. For example, absolute silence and no lights usually mean a primary power input issue.
- Error Messages: If there’s any life on the screen at all, even a flicker or a brief message, look for error codes or messages. Modern CNCs are pretty good at self-diagnosis and often display diagnostic information that can pinpoint the problem or at least guide your next steps. Note down any codes you see.
Is a Power Supply Problem Stopping My CNC Machine?
Your CNC machine is lifeless, and no power seems to reach it. You worry about complex electrical faults and long downtimes. Often, the power issue is simple to find.
Check the main power source first. Ensure the circuit breaker hasn’t tripped, the main switch is on, and the power cable is securely connected at both ends. Voltage fluctuations or a faulty power cord can also prevent startup.
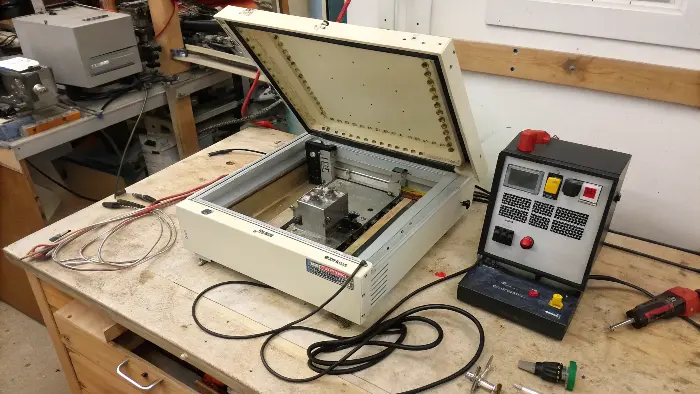
Power supply problems are a very common reason for a CNC machine failing to start. I’ve seen it many times in my years working with these machines. Before you even think about opening up any control cabinets, always start with the basics. You want to work your way logically from the wall outlet to the machine itself. - Main Power Source: Your first check should be the circuit breaker in your workshop’s electrical panel that supplies power to the CNC machine. Has it tripped? If it has, try resetting it once. If it trips again immediately, there might be a short circuit or an overload condition. You should investigate this further before repeatedly trying to reset it, as that could cause more damage.
- Machine’s Main Switch & Cables: Ensure the machine’s main power switch is definitely in the ‘ON’ position. It sounds incredibly obvious, I know, but it’s an easy thing to miss, especially if multiple people use the machine. Then, carefully inspect the main power cable for any visible damage, like cuts, severe kinks, or burn marks. Make sure it’s firmly plugged into both the wall socket and the machine’s power inlet. I once found a plug at the machine end that had worked itself loose, causing intermittent power.
-
Voltage Check: If you have a multimeter and you’re comfortable and qualified to use it safely, check the incoming voltage at the machine’s main power terminal. Is the voltage reading within the specified range for your machine (this will be in the manual)? Low voltage, high voltage, or unstable voltage can prevent the machine from starting up correctly or even damage its sensitive electronic components. Power fluctuations in the workshop can sometimes be a hidden enemy.
Here’s a quick table for common power-related symptoms:Symptom Potential Power Issue Action to Take Circuit breaker trips repeatedly Short circuit / System Overload Inspect wiring, reduce connected load, call electrician if unsure No power at all to the machine Tripped breaker / Loose cable Check breaker, inspect and tighten all power cables Machine tries to power on then off Unstable voltage / Loose wire Check supply voltage stability, secure all connections Smell of burning near power input Overheating wire / Component Power off immediately, inspect for damage, call technician Could Loose or Damaged Connections Be the Culprit?
Your machine gets some power, perhaps lights flicker, but it still won’t fully start. Intermittent issues can be frustrating and hard to trace. Check all connections carefully for a secure fit.
Vibrations from normal operation or accidental movement can loosen internal wiring or data cables over time. Inspect all connections within the control cabinet and to main components for any signs of damage or looseness.
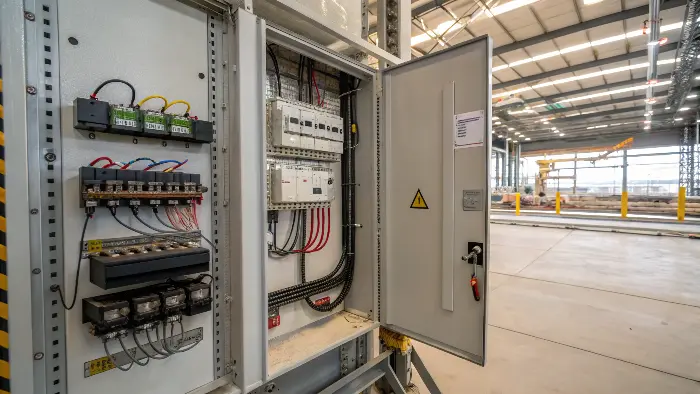
Even if the main power is reaching your CNC machine correctly, loose or damaged internal connections can stop it dead in its tracks or cause very erratic behavior. CNC machines inherently vibrate during operation, especially during heavy cutting. Over months and years, this constant vibration can cause electrical terminal screws to work loose or connectors to become unseated. It’s happened to me more than once where a critical control wire wasn’t making good contact, leading to a no-start situation. - Visual Inspection (Power Off!): This is extremely important: before opening any electrical panels or touching any internal components to check connections, always ensure the machine is completely powered off and disconnected from the main power supply. This is to prevent electric shock or further damage. Once it’s safe, open the main control cabinet and visually inspect all terminal blocks, connectors, and wire ends. Look carefully for any wires that have pulled out of their terminals, screws that appear loose, or any signs of corrosion or overheating (like discolored plastic or a burnt smell) around connections.
- Gentle Tug Test: For critical connections, you can give wires a very gentle tug to see if they are secure in their terminals. Don’t pull hard enough to dislodge a good connection, just enough to identify one that is clearly loose. Pay special attention to the power and signal connections for the main CNC controller, servo drives, spindle motor drive, and power supply units.
- Cable Integrity and Routing: Examine all internal cables, including ribbon cables, data cables, and power cables running between different boards and components. Look for kinks, chafed or frayed insulation, or connectors that aren’t fully seated or latched. Sometimes a cable can get pinched by a cabinet door or rub against a sharp edge, leading to damage over time. A damaged signal cable can definitely prevent the system from booting up correctly or communicating between modules.
Are Blown Fuses Preventing My CNC Machine From Powering On?
The machine is silent, no lights, no hum, nothing at all. You fear a major electrical failure inside the complex system. Sometimes, a tiny, inexpensive fuse is the only problem.
Fuses protect your CNC machine’s sensitive components from overcurrent. If a fuse blows, it can cut power to critical systems, preventing startup. Check the main fuses and any individual component fuses.
Fuses are the unsung heroes inside your CNC machine. They are specifically designed to be the weak link, sacrificing themselves by burning out to protect more expensive and sensitive components like power supplies, drives, and control boards from damaging power surges or overloads. If your machine won’t start, a blown fuse is a definite and relatively common possibility. I always make sure to keep a stock of common fuse types for all my machines; it’s saved me a lot of downtime. - Locating Fuses: Fuses can be located in several places within a CNC machine. There are usually main fuses located near the power input section of the machine, often in the main electrical cabinet. Beyond these, individual components like the main power supply unit, servo drives, spindle drives, and even the CNC controller board itself might also have their own dedicated fuses. Your best bet is to consult your machine’s electrical diagrams or maintenance manual. These documents will show you all the fuse locations and their ratings.
- Checking Fuses: Some fuses are made of glass, and you can often visually inspect them to see if the internal wire filament is broken or melted. For opaque ceramic fuses, or if you’re unsure, you’ll need a multimeter set to the continuity mode (it usually has a beep function) or resistance (Ohms) mode to check them. Crucially, always remove the fuse from its holder before testing it. This prevents false readings and avoids any risk of short circuits. A good fuse will show continuity (it will beep, or show very low resistance, close to 0 Ohms). A blown fuse will show an open circuit (no beep, or infinite/very high resistance).
- Replacing Fuses: If you find a blown fuse, you must replace it with one of the exact same type and rating – pay close attention to the amperage (A or mA) and voltage (V) ratings printed on the fuse. Using a fuse with a higher amperage rating than specified is dangerous, as it won’t protect the circuit properly and can lead to serious damage if the underlying fault that caused the fuse to blow isn’t fixed. If a new fuse blows immediately or very quickly after you install it, this indicates there’s likely a more significant issue causing the overcurrent, such as a shorted component or wiring fault, that needs to be diagnosed and repaired.
What If Software or Control System Glitches Are to Blame?
Power seems fine, all indicators suggest electricity is flowing, but the CNC controller won’t boot up or the screen is blank. Software issues can feel like a black box, very intimidating. Some control system problems have straightforward initial checks.
Internal errors, PLC (Programmable Logic Controller) faults, or outdated/corrupt firmware can prevent a CNC machine from starting. Look for error codes on the display or status LEDs on the controller itself.
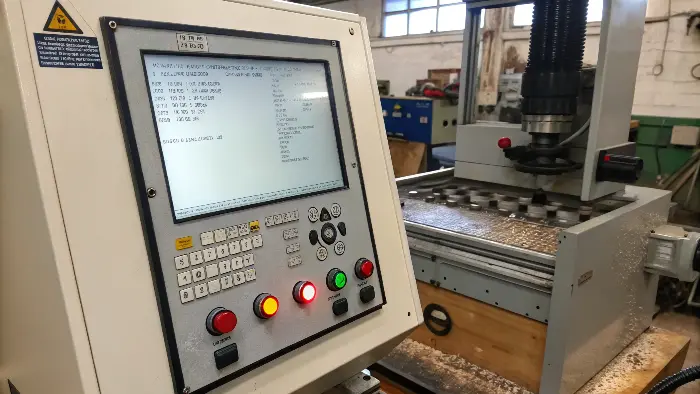
Sometimes, the problem isn’t with the raw electrical power getting to the machine, but with the brains of the operation – the CNC software or the control system hardware itself. These issues can feel more daunting to tackle because they’re less about physical connections and more about complex electronics and code. However, there are still some initial things you can check. I’ve certainly had a machine get stuck on its boot screen due to what turned out to be a minor software hiccup that a reset could fix. - Error Codes and Status Lights: If the control panel display shows any signs of life, even if it’s just a cursor or a partial screen, look very carefully for specific error codes or messages. These codes are invaluable. Consult your machine’s operation or maintenance manual to understand what these specific codes mean. Many CNC controllers also have a series of status LEDs (Light Emitting Diodes) directly on the main control board or on the PLC unit. These lights often provide a quick visual indication of the system’s health or can point to specific fault conditions (e.g., a CPU fault, a memory error, or a communication problem between different modules). The manual will explain what different light patterns mean.
- System Reset/Reboot: Just like your desktop computer or laptop, sometimes a CNC controller can benefit from a proper reset or a full reboot sequence. Don’t just yank the power cord unless it’s the absolute last resort. Follow the manufacturer’s recommended procedure for a system reset. This might involve pressing a specific reset button (sometimes recessed), a particular key combination on the control panel during startup, or a defined power-off, wait, and power-on sequence. Be careful, as an improper shutdown could potentially corrupt system data if not done correctly.
- Backup Batteries & Parameters: Many CNC systems use small internal batteries to retain critical system parameters, PLC programs, and offset data when the main power to the machine is turned off. If these batteries become weak or die, the system can lose its configuration data and may fail to start correctly or at all. Check the status of these backup batteries; often the controller will give a low battery warning before they fail completely. Also, consider if any system parameters were recently changed or if a software update was performed just before the problem started. A corrupted update or an incorrect parameter value could indeed cause the system to lock up or fail to boot.
Have Safety Interlocks Been Activated on My CNC Machine?
Everything seems fine, power is definitely on, indicator lights might be showing, but the machine simply refuses to start or enable its drives. You’re stumped, going back over the complex systems. A simple safety switch might be the cause.
CNC machines have safety interlocks like door switches or emergency stop buttons. If an E-stop is pressed, a door is open, or a sensor is faulty/misaligned, the machine will not start as a safety precaution.
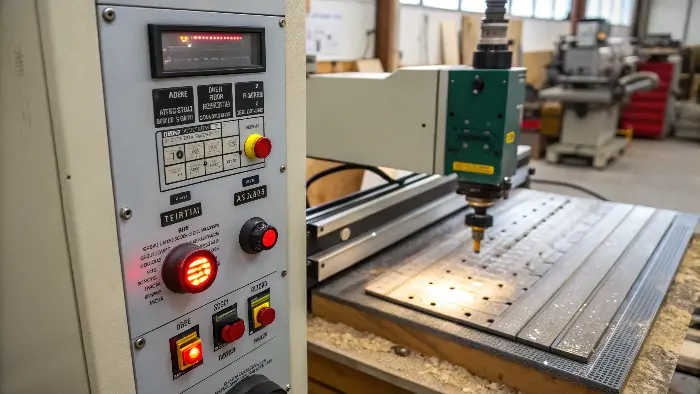
Safety interlocks are absolutely critical for protecting operators from moving parts and other hazards associated with CNC machining. However, they can also be a common and sometimes overlooked reason why a CNC machine won’t start, especially if an interlock isn’t correctly set, or if a sensor associated with the safety system is malfunctioning. I’ve definitely spent valuable time troubleshooting complex electronics, only to discover that an Emergency Stop button was still engaged from a previous setup or a minor incident. - Emergency Stop (E-Stop) Buttons: This is always the first safety interlock to check. Are all E-stop buttons on the machine disengaged? Many machines have multiple E-stop buttons located in different positions for easy access. Most E-stop buttons are push-to-engage and twist-to-release or pull-to-release. Make sure each one is in its released position. A stuck, damaged, or even slightly engaged E-stop button will cut power to the machine’s drives and motion systems.
- Door and Guard Switches: Modern CNC machines are equipped with interlock switches on all access doors to the machining area and on any removable safety guards. If a door isn’t fully closed and latched, or if a guard is out of position, the machine will typically not start, or it will prevent a cycle from starting. Carefully check that all doors are securely shut and that all guards are properly in place. Sometimes these switches can become misaligned over time due to vibration or minor impacts, or they can simply become faulty. Your control panel might display a message or an indicator light if a specific door or guard interlock is active.
- Other Safety Sensors: Depending on the complexity and type of your CNC machine, there might be other safety sensors integrated into its system. These could include things like light curtains that detect if someone enters a hazardous area, pressure-sensitive mats, or sensors that detect over-travel conditions on the axes. If any of these specialized safety sensors are tripped or malfunctioning, they could also prevent the machine from starting or operating. Always consult your machine’s manual to understand all its specific safety features and how to check their status.
Conclusion
A non-starting CNC machine can be stressful, but a systematic check of power, connections, fuses, software, and safety interlocks often reveals a simple fix, getting you back to production.
