You’ve designed a part with perfect, tight tolerances. But after it’s machined, it doesn’t fit the final assembly. This frustrating problem can cause costly delays and rework. The culprit is often an invisible force that engineers sometimes overlook: thermal expansion.
To stop thermal expansion from ruining your machining tolerances, you must control the environment and anticipate changes. This means machining and inspecting parts at a standard temperature (20°C or 68°F). Most importantly, you must calculate the expected dimensional change using the material’s Coefficient of Thermal Expansion (CTE) and adjust your design to accommodate the temperature difference between the workshop and the part’s final operating environment.
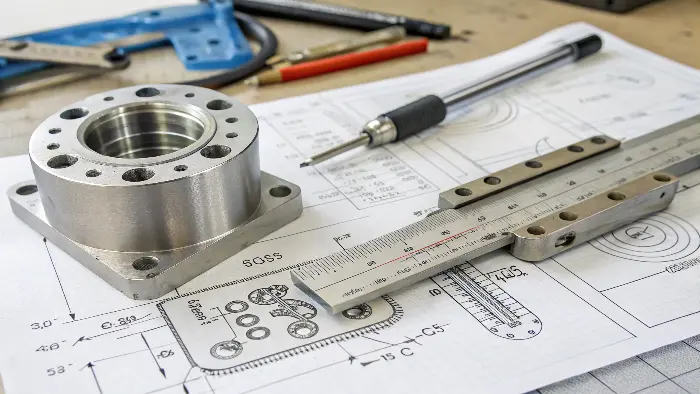
This sounds straightforward, but as with all things in precision engineering, the details are everything. I’ve seen countless projects where a small temperature oversight led to major assembly failures. The difference between a perfect fit and a piece of scrap often comes down to a deep understanding of how materials behave under temperature changes. Let’s break down exactly why this is so critical and what you can do to master it.
Why Is Accounting for Thermal Expansion So Critical for Your Parts?
It’s easy to overlook a "small" factor like temperature change when you’re focused on complex geometries and tight tolerances. But ignoring it can lead to devastating assembly problems, where parts bind up, seize, or have gaps. This turns your carefully designed component into expensive scrap metal.
Accounting for thermal expansion is critical because every material changes size with temperature. For high-precision components, even a small temperature shift can push dimensions outside the specified tolerance band. This can cause interference in assemblies, create unwanted stress, or lead to complete functional failure, especially in applications with fluctuating operating temperatures.
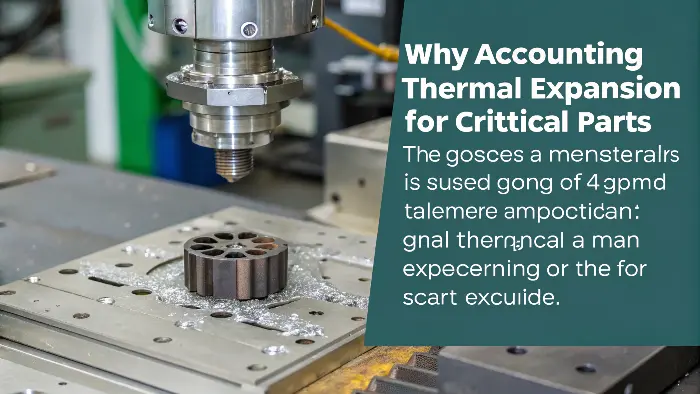
In my years of sourcing parts globally, I’ve seen firsthand how a few degrees can make or break a project. The real-world consequences go far beyond a single failed part; they can impact the entire system’s reliability and your project’s budget. It’s not just an academic exercise; it’s a fundamental principle of good engineering practice.
The Link Between Temperature, Fit, and Function
The three types of fits—clearance, transition, and interference—are the foundation of mechanical assembly. Every one of them is highly sensitive to temperature. Imagine a shaft designed for a press-fit into a housing. I once managed a project for a German robotics company, much like Alex’s, where we machined a steel shaft and an aluminum housing. The parts were perfect at our inspection temperature of 20°C. However, the robotic arm was designed to operate near a heat source, raising its temperature to 70°C. Because aluminum expands about twice as much as steel, the interference fit became so tight that it induced massive stress in the housing, leading to premature failure during testing. This is a classic example. A clearance fit can disappear, causing parts to seize. An interference fit can loosen, causing components to slip. The function you designed for only exists at a specific temperature unless you account for change.
The Financial and Reputational Costs
When a part fails due to thermal expansion, the costs add up quickly. There’s the cost of the scrap material and the wasted machine time. Then there’s the cost of rework and the project delays that follow. For an engineer like Alex, specifying parts for a complex robotic system, a single failure can halt an entire production line. But the damage can go deeper. It can harm your reputation as an engineer or a supplier. Reliability is everything. No client wants to hear that their project failed because of a basic physics principle that was overlooked. That’s why at QuickCNCs, we always discuss the part’s final operating environment with our clients. It’s a critical piece of information that belongs on the engineering drawing, right next to the tolerances.
What Are the Real-World Effects of Thermal Expansion on Different Materials?
You know that materials expand with heat and contract in the cold. But do you understand just how differently they behave? Assuming all metals act the same is a common and costly mistake. A plastic component might warp significantly while a stainless steel part barely moves, causing your multi-material assembly to tear itself apart from internal stress.
The main effect of thermal expansion is a change in a material’s dimensions—its length, area, and volume. This effect varies hugely between different materials. For instance, aluminum and many plastics expand significantly more than steel, titanium, or ceramics for the same temperature change. This difference can induce stress, cause warping, or completely alter the precise fit between mating components.
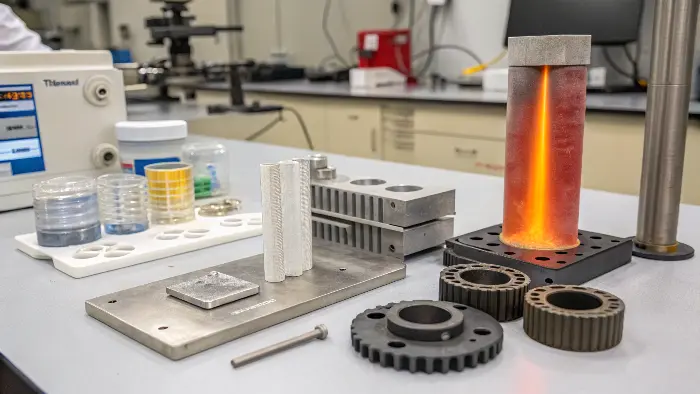
Understanding these material-specific behaviors is not just for material scientists; it’s essential for any designer or engineer. When you select a material, you are also selecting its Coefficient of Thermal Expansion (CTE), and that choice has direct consequences on your design’s stability and performance.
Understanding the Coefficient of Thermal Expansion (CTE)
The property that governs how much a material expands is the Coefficient of Thermal Expansion, often represented by the Greek letter alpha (α). Simply put, CTE is a measure of how much a material’s size changes for every degree of temperature change. A material with a high CTE will expand and contract a lot, while one with a low CTE will be more dimensionally stable. This value is a fundamental property of the material, just like its density or strength. You can usually find it on the material’s technical datasheet. When I work with clients on multi-material assemblies, the first thing I check is the CTE values of the chosen materials. If they are vastly different, it signals a potential problem that we need to address in the design phase, not discover during assembly.
Comparing Common Machining Materials
Let’s look at some real numbers. It’s one thing to talk about it conceptually, but seeing the data side-by-side makes the implications clear. Here is a table with approximate CTE values for some common materials we machine at QuickCNCs.
| Material | CTE (α) in µm/(m·°C) | CTE (α) in µin/(in·°F) | Quick Note |
|---|---|---|---|
| Aluminum (6061) | 23.6 | 13.1 | Expands a lot. Be careful. |
| Stainless Steel (304) | 17.3 | 9.6 | Moderate expansion. |
| Carbon Steel (1018) | 11.7 | 6.5 | Very stable. |
| Titanium (Ti-6Al-4V) | 8.6 | 4.8 | Very stable and light. |
| Brass (C360) | 20.5 | 11.4 | Expands almost as much as aluminum. |
| Delrin® (POM) | 95.0 | 53.0 | Plastics expand dramatically. |
| PEEK | 55.0 | 30.6 | A more stable plastic, but still high. |
Notice how aluminum’s CTE is about double that of steel. This is a critical fact to remember. If you bolt an aluminum plate to a steel frame and the temperature rises, the aluminum will try to grow more than the steel, which can cause the plate to buckle or the bolts to shear. And look at Delrin—it expands nearly ten times more than steel! This is why designing for press-fits with plastics requires very careful calculation and often wider tolerances.
How Can You Practically Account for Thermal Expansion in Your Design and Machining?
Knowing the theory of thermal expansion is one thing, but how do you apply it to your project? Without a clear, practical process, you might miscalculate or forget a key step, leaving you with the same tolerance issues you wanted to avoid. The solution is to turn the physics into a simple, repeatable workflow.
First, clearly define the full operating temperature range for your component. Second, calculate the expected dimensional change using the formula ΔL = α L ΔT. Third, adjust your design tolerances or nominal dimensions to accommodate this change. Finally, insist that your manufacturing partner machines and inspects the part in a temperature-controlled environment (standard 20°C/68°F).
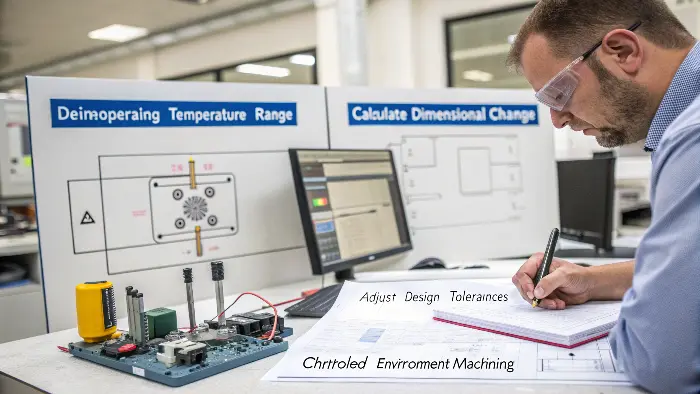
This methodical approach removes guesswork and ensures that what you design is what you get, regardless of the temperature difference between my workshop and your final application. It turns a potential problem into a solved variable.
The Calculation You Cannot Ignore
The key to managing thermal expansion is a simple formula. Don’t worry, it’s very straightforward.
ΔL = α × L × ΔT
Let’s break it down:
- ΔL (Delta L) is the change in length. This is the value you need to find.
- α (alpha) is the Coefficient of Thermal Expansion. You get this from the material datasheet (like the table above).
- L is the original length of the feature you are concerned about.
- ΔT (Delta T) is the change in temperature. This is your part’s operating temperature minus the standard machining/inspection temperature (20°C).
Let’s use a real-world example. Imagine our engineer, Alex, is designing a 300 mm long aluminum rod that needs to slide inside a sleeve. The part is machined at 20°C, but will operate at 80°C in the field.
- α for aluminum is ~23.6 µm/(m·°C).
- L is 300 mm (or 0.3 m).
- ΔT is 80°C – 20°C = 60°C.
So, ΔL = 23.6 × 0.3 × 60 = 424.8 µm, or 0.425 mm.
That’s almost half a millimeter! If the clearance tolerance was only ±0.1 mm, the rod would expand and completely seize inside the sleeve. This simple calculation just saved the project.
From Calculation to Action
Once you have that number (0.425 mm in our example), what do you do with it? You have two main options. First, you can adjust the design to accommodate the change. This might mean increasing the diameter of the sleeve or decreasing the diameter of the rod to ensure the required clearance is maintained at 80°C. Second, you can adjust the manufacturing dimension. You could ask the machinist to make the rod 0.425 mm smaller than the drawing states, knowing it will grow to the perfect size in operation. The best approach is to put a clear note on your engineering drawing. A note like "ALL DIMENSIONS TO BE INSPECTED AT 20°C ± 1°C" is standard practice and removes ambiguity. For critical thermal applications, you can add another note, such as "NOMINAL DIMENSIONS APPLY AT AN OPERATING TEMPERATURE OF 80°C." This tells your machinist and your quality inspector exactly what is required and demonstrates that you have done your homework.
How Much Can You Trust the Published Thermal Expansion Coefficient?
You’ve done the calculations using the CTE value from a material handbook. You feel confident that you’ve covered all your bases. But what if that CTE value isn’t perfectly accurate? Material batches can vary, and published values are often just typical averages. This small uncertainty could still put your most critical components at risk.
Published Coefficients of Thermal Expansion (CTE) always have some uncertainty. These values are averages and can vary based on the specific material batch, its processing history (like heat treatment), and the temperature range being measured. For ultra-high-precision applications, this uncertainty must be treated as another variable in your tolerance stack-up analysis to guarantee reliability.

This is an advanced topic, but for an engineer like Alex working on high-performance robotics, it’s a necessary one. Pushing the boundaries of precision means questioning the assumptions that others take for granted, and that includes the numbers we find in textbooks.
Sources of CTE Variation
A material’s CTE is not an absolute, universal constant. Several factors can cause it to deviate from the published value, and for high-stakes applications, you need to be aware of them. The first is material composition. A small change in the percentage of alloying elements between two batches of, say, 6061 aluminum can slightly alter the CTE. The second factor is the material’s history and microstructure. The way a metal has been rolled, forged, or heat-treated changes its internal grain structure. A hardened piece of steel will have a different microstructure and a slightly different CTE than the same steel in its annealed (softened) state. Finally, there’s anisotropy. In some materials, especially rolled metal sheets or fiber composites, the CTE is not the same in all directions. It might expand more along its length than its width. For most general CNC machining jobs, these variations are smaller than the specified tolerances and can be ignored. But for something like a mirror for a space telescope, they become critically important.
Managing Uncertainty in Critical Applications
So, what can you do when the standard handbook value isn’t good enough? The first step is to request a material certification from your supplier. For critical projects, we can source material that comes with a "cert" that specifies the tested chemical composition and properties for that exact batch, which gives us higher confidence. For the most demanding applications, you can have a sample of the exact material batch tested to determine its precise CTE. The second strategy is to perform a sensitivity analysis. Instead of just using the average CTE value in your calculation, run the numbers again with the lowest and highest possible CTE values for that material. This gives you a "worst-case" range of thermal expansion. If your design still functions within tolerance at both extremes, you know you have a robust design. I like to use an analogy: it’s like a weather forecast. The report might predict 25°C, but you still bring a jacket because you know it could be 22°C or 28°C. For ultimate precision, you have to design for that margin of error.
Conclusion
Understanding thermal expansion, from basic calculations to its hidden uncertainties, is vital for precision engineering. Master it to successfully bridge the gap between your design and a perfectly functioning final part.
