You’ve selected stainless steel for its superior strength and corrosion resistance, but your machined parts are coming back with poor finishes and dimensional errors. These unexpected flaws can lead to scrapped parts, project delays, and blown budgets, undermining the very reason you chose a premium material in the first place.
The most common milling defects in stainless steel include built-up edge (BUE), chatter marks, work hardening, excessive tool wear, and thermal cracking. These issues stem from stainless steel’s unique properties, like its toughness and low thermal conductivity. They directly impact surface finish, dimensional accuracy, and the overall integrity of the machined component, requiring specific strategies to mitigate them effectively.

These defects are frustrating, but they are not random. Each one has a specific cause rooted in the physics of cutting this challenging material. To effectively solve these problems, we need to understand the root causes. This involves looking at the milling process itself, the raw material, and the specific interactions between the tool and the workpiece. Let’s start by defining what milling defects are in a broader sense.
What are milling defects?
Are you frustrated when your finished parts don’t quite match the perfection of your CAD model? Unexplained marks, rough surfaces, and slight inaccuracies can derail a project. These are milling defects, and they are clear signs that the machining process was not fully controlled, leading to wasted time and money.
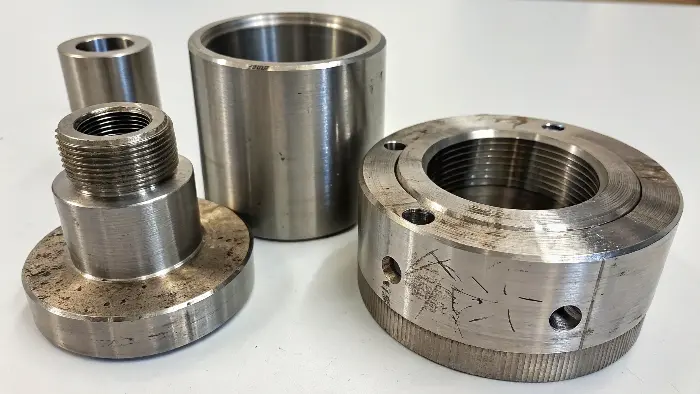
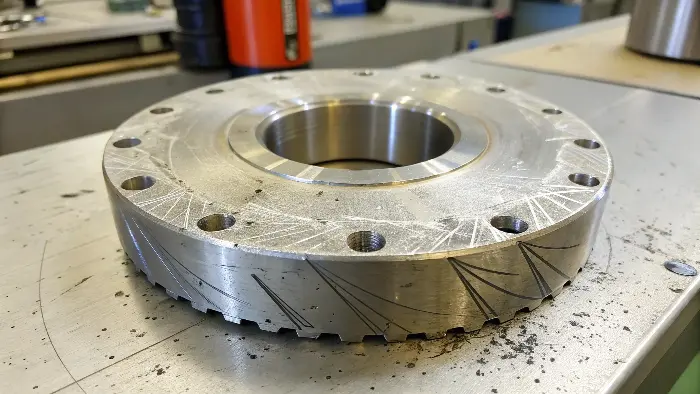
Milling defects are imperfections, flaws, or deviations from the intended design specifications that occur during the milling process. They can manifest as poor surface finish, dimensional errors, or compromised material integrity. Common examples include visible tool marks, burrs, chatter patterns, and thermal damage, all of which reduce a part’s quality and functionality.

To dive deeper, it’s helpful to think of milling defects in three main categories. As an engineer, recognizing which category a defect falls into can help you diagnose the problem much faster. I’ve seen many projects, like those for my client Alex in Germany, get back on track once we properly identified the type of defect we were dealing with.
1. Surface Finish Defects
These are the most visible types of defects. They affect the look of the part and, more importantly, its function. A rough surface can be a site for corrosion to start or can cause friction and wear in moving assemblies.
- Chatter: A distinct, wavy pattern on the surface caused by vibration between the tool and the workpiece.
- Tool Marks: Visible lines or patterns left by the cutting tool’s path. While some are unavoidable, excessive marks indicate poor parameter selection.
- Burrs: Small, sharp edges of material that are pushed to the side of the cut instead of being sheared off cleanly. They often require a secondary deburring process, which adds cost.
2. Dimensional Defects
These defects mean the part is not the right size or shape. For precision components, even a tiny deviation can make the part useless.
- Inaccuracy: When a feature, like a hole or a slot, is not the correct size or in the correct location. This is often caused by tool wear, machine miscalibration, or thermal expansion of the part during machining.
- Tool Deflection: When the cutting forces are high enough to physically bend the tool or the workpiece, resulting in a cut that is not perfectly straight or true to the intended path.
3. Material Integrity Defects
These are defects that damage the material itself, potentially compromising the strength and reliability of the final part.
- Work Hardening: This happens when the cutting process makes the surface of the material harder and more brittle. It’s a major issue with stainless steel.
- Thermal Cracking: Tiny cracks caused by excessive heat generated during an aggressive cut, followed by rapid cooling.
I remember a client who needed a part with a critical sealing surface. The previous supplier delivered parts with visible chatter marks. While the main dimensions were correct, the uneven surface from the chatter prevented a proper o-ring seal, causing the entire assembly to fail leak tests. We had to re-machine the parts with an optimized, more rigid setup to eliminate the vibration and ensure a functional seal.
Which defects may appear in steel mill products?
You’ve specified high-quality stainless steel, but what if the raw material itself has hidden flaws before it even reaches the CNC machine? These inherent defects can cause unexpected failures during or after machining, wasting valuable time and resources and leaving you wondering what went wrong with the process.
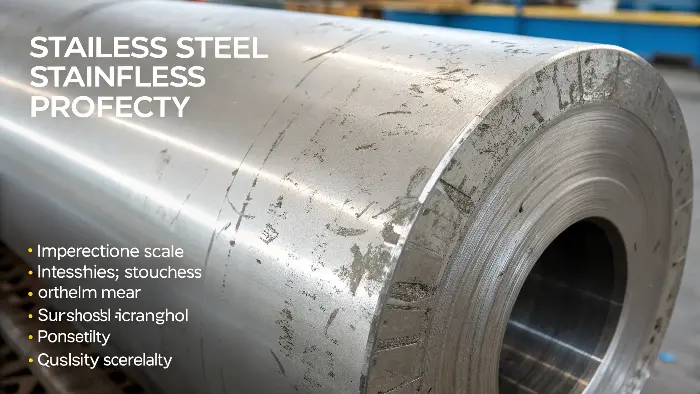
Defects in steel mill products are imperfections that originate from the steelmaking and rolling process. These can include surface defects like scale and scratches, or internal defects such as non-metallic inclusions and porosity. These flaws can compromise the material’s strength, cause unpredictable tool wear, and become stress points that lead to part failure.

It’s a critical point that many engineers overlook: not all defects are created in the CNC machine. The quality of your finished part is fundamentally limited by the quality of the raw material you start with. This is why at QuickCNCs, we place such a high emphasis on material traceability and sourcing from reputable mills. A cheap bar of stainless steel with internal flaws is no bargain if it causes a critical component to fail.
Here is a breakdown of common defects that can be present in the raw material from the steel mill and how they impact your machining project.
| Defect Type | Description | Impact on Machining |
|---|---|---|
| Inclusions | Microscopic, non-metallic particles (like oxides or sulfides) trapped within the steel during its creation. | These act like tiny, hard rocks. They can cause unpredictable and rapid tool wear, chip the cutting edge, and create pits on the finished surface. |
| Porosity | Small voids or gas bubbles trapped in the metal as it solidifies. | Porosity weakens the material. When a cutting tool passes over a pore, it can create a surface pit and may cause the tool to chip due to the interrupted cut. |
| Scale | A hard, flaky layer of iron oxides on the surface of the steel, formed during hot rolling or heat treatment. | Scale is highly abrasive and will quickly dull a cutting tool. The first pass on any raw material should always be deep enough to get below this layer. |
| Surface Cracks | Fine cracks on the surface of the raw stock, often from the rolling or cooling process. | These act as stress concentrators. The forces of machining can cause these small cracks to propagate, leading to a complete fracture of the part. |
Understanding these potential issues is why a robust incoming quality control process is non-negotiable. For any critical medical or aerospace component, we always verify the material certificates (MTRs) that trace the material back to its source. This ensures the chemistry and purity of the steel meet the required standards before we invest any time or money into machining it.
How can you prevent milling defects in stainless steel?
Tired of fighting with stainless steel and getting subpar results? Constantly battling chatter, rapid tool wear, and work hardening is a frustrating and expensive cycle. A strategic approach to your machining setup, rather than just trial and error, is the key to achieving consistent, high-quality results with this material.
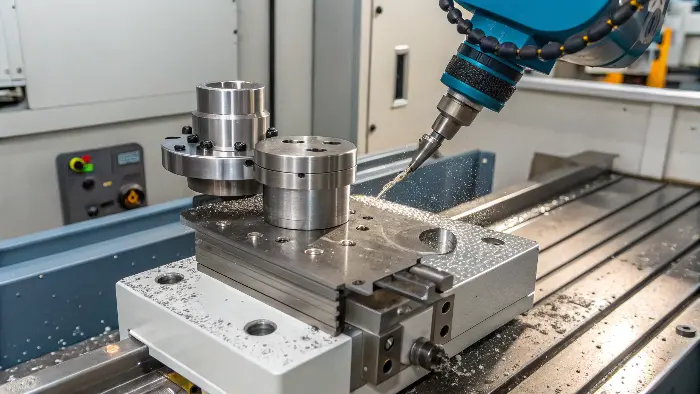
Preventing milling defects in stainless steel requires a holistic approach. This involves selecting the correct tool geometry and coating, optimizing cutting speeds and feeds, using high-pressure coolant effectively, and ensuring a rigid machine and workholding setup. Addressing these factors together minimizes heat, reduces cutting forces, and prevents most common issues.

Successfully machining stainless steel is a science. It’s about controlling the forces and heat in the cutting zone. Based on my experience helping hundreds of clients overcome these challenges, success comes down to getting a few key areas right. Let’s break down the solutions to the most common problems.
Combating Built-Up Edge (BUE) and Tool Wear
Built-Up Edge is when a small piece of the stainless steel literally welds itself to the tool’s cutting edge due to high pressure and heat. This completely changes the tool’s geometry, leading to a terrible surface finish and more heat generation.
- Solution: Use sharp, positive-rake cutting tools with a slick coating like AlTiN or TiCN. These coatings reduce friction and prevent the material from sticking. Also, increase the cutting speed. This can seem counterintuitive, but running faster can move you into a speed range where BUE is less likely to form.
Eliminating Chatter and Vibration
Chatter is a harmonic vibration that creates a distinctive "wavy" pattern on the part surface. It’s the enemy of a good finish and can damage both the tool and the machine spindle.
- Solution: Rigidity is everything. Use the shortest tool possible, held in a high-quality, balanced tool holder. Clamp the workpiece securely in a robust vise as close to the machine table as possible. For long, thin parts, use a "chip thinning" strategy with a light radial depth of cut but a high feed rate. Using variable-helix end mills can also disrupt the harmonic vibrations that cause chatter.
Managing Work Hardening and Heat
This is the biggest challenge with stainless steels. They have a tendency to harden significantly when they are deformed by a cutting tool. If your tool rubs instead of cuts, it hardens the surface, making the next pass extremely difficult and causing rapid tool wear.
- Solution: Maintain a constant, aggressive feed rate. Never allow the tool to "dwell" or stop moving while in contact with the part. The goal is to get in, create a thick chip, and get out. This is also where coolant is critical. Use high-pressure, high-volume coolant aimed directly at the cutting edge. This does two things: it cools the tool and workpiece, and more importantly, it forcefully blasts the chips out of the cut, preventing them from being re-cut.
I worked with an engineer designing a manifold from 316L stainless steel. His initial prototypes suffered from severe work hardening because the feed rate was too low. The tool was rubbing more than cutting. We increased the chip load significantly and switched to a machine with a high-pressure coolant system. The result was a clean cut, no work hardening, and a 30% reduction in cycle time.
Conclusion
Milling stainless steel presents unique challenges, from built-up edge to severe work hardening. By understanding the root causes and implementing strategies like proper tool selection, optimized cutting parameters, and effective cooling, you can overcome these defects. This ensures high-quality, reliable parts that meet your design intent.
