Are you struggling to get consistent cylindricity and surface finish from your centerless grinding process? These inconsistencies lead to rejected parts, production delays, and rising costs. Mastering the core principles of setup and operation is your direct path to achieving flawless, repeatable precision for every single workpiece.
To truly master through-feed centerless grinding, you must focus on three critical areas. First, perfect the machine setup by precisely aligning the grinding wheel, regulating wheel, and work rest blade. Second, meticulously control operational parameters like wheel speeds, feed rates, and grinding angles. Finally, develop the skill to quickly troubleshoot common defects like chatter, tapering, or out-of-roundness by making informed, systematic adjustments.
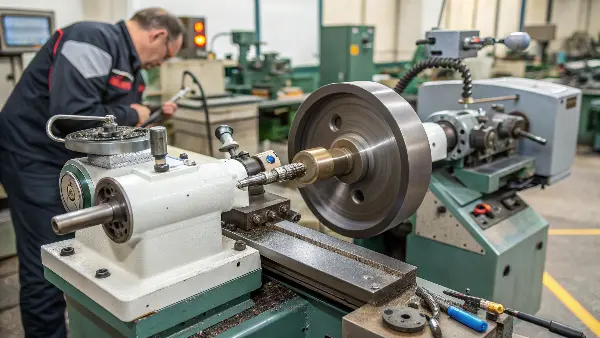
I’ve spent years on the shop floor, watching skilled operators turn raw stock into perfectly cylindrical parts with this process. It can seem like magic, but I assure you it’s all about precision and control. For engineers like Alex in Germany, who demand tight tolerances for robotic components, understanding these details is not just academic—it’s essential for getting the quality parts they need. Let’s break down exactly what you need to know to get it right every time.
What’s the Secret to a Flawless Centerless Grinding Setup?
Your parts come out tapered or barrel-shaped, and you can’t figure out why. You’ve checked the drawings and the material, but the problem persists. The root cause is almost always a flawed setup, where even a tiny misalignment can ruin an entire batch, costing you valuable time.
A flawless setup hinges on the geometric relationship between three components: the grinding wheel, the regulating wheel, and the work rest blade. The workpiece must be positioned above the centerline of the wheels. The work rest blade must have the correct angle, and the regulating wheel must be tilted slightly to provide the axial feed force that pushes the part through the machine.
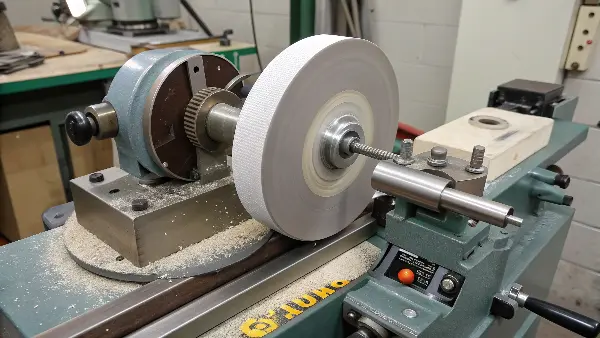
A perfect setup is the foundation of successful centerless grinding. Over the years, I’ve seen more problems solved at this stage than any other. It’s a game of micrometers and angles. Getting it right requires patience and a systematic approach. Let’s look at the critical elements you must control.
The Three Pillars of Setup
The relationship between the grinding wheel, regulating wheel, and work rest blade determines the final quality of your part. If any one of these is off, you will see defects.
- Work Rest Blade Height: This is arguably the most critical setting. The workpiece must sit above the horizontal centerline connecting the centers of the grinding and regulating wheels. This height, often called the "height above center," creates a rounding action. If the workpiece is too low (below center), it will become lobed or out-of-round. If it’s too high, it can cause chatter.
- Regulating Wheel Angle (Feed Angle): In through-feed grinding, the regulating wheel is not parallel to the grinding wheel. It is tilted at a slight angle. This tilt is what provides the axial force to push the workpiece through the grinding zone. A larger angle increases the feed rate, while a smaller angle slows it down, allowing for more stock removal and a better finish.
- Work Rest Blade Angle: The top of the work rest blade is also angled. This angle supports the workpiece and guides it smoothly toward the grinding wheel. A steeper angle provides more support but can increase friction.
Here is a simple table to show how these setup elements affect the grinding result.
| Setup Parameter | Low Setting Effect | High Setting Effect | Optimal Result |
|---|---|---|---|
| Height Above Center | Poor rounding (lobed parts) | Chatter, instability | Fast and true rounding action |
| Regulating Wheel Angle | Slow feed rate, better finish | Fast feed rate, rougher finish | Balanced cycle time and quality |
| Work Rest Blade Angle | Less part support, potential slip | More part support, higher friction | Stable and smooth part transition |
From my experience, I always start by setting the height above center first. I find that for most general-purpose work, setting the workpiece center about half its diameter above the wheel centerline is a good starting point. Then, I adjust the regulating wheel angle based on the required finish and cycle time.
Which Grinding Parameters Should You Control for Ultimate Precision?
You’ve got the setup dialed in, but your surface finish is still not meeting spec. Your parts might be within tolerance, but they look hazy or have burn marks. This happens when your operational parameters are not optimized for the material and stock removal amount, causing wasted effort and scrapped parts.
For ultimate precision, you must control three key parameters. First, the grinding wheel’s surface speed, which should be high and constant. Second, the regulating wheel’s rotational speed, which controls the workpiece’s RPM and surface finish. Third, the infeed rate, which is determined by the regulating wheel’s tilt angle and speed, balancing stock removal with finish quality.
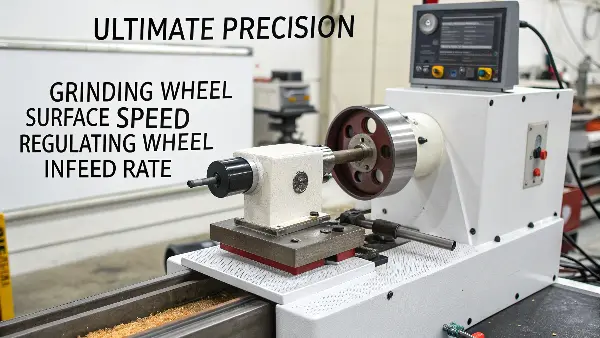
Finding the right "recipe" of speeds and feeds is what separates a good operator from a great one. It’s a balancing act. When I was helping an aerospace client with some tough Inconel pins, we spent a whole day just tweaking these parameters. We found that slowing down the regulating wheel significantly, even though it increased cycle time, was the only way to avoid thermal damage and hit the required surface finish.
Optimizing the "Grinding Recipe"
Think of these parameters as ingredients. The right combination produces a perfect result, but the wrong mix can ruin everything. Here’s how they interact.
Wheel Speeds
- Grinding Wheel Speed: This is usually measured in surface feet per minute (SFM) or meters per second (m/s). For most conventional grinding wheels (like aluminum oxide), a speed of 6,000 to 6,500 SFM (around 30-33 m/s) is typical. The key is to keep this speed constant. A drop in speed under load can lead to poor finish and burn marks. Modern machines have powerful motors to prevent this.
- Regulating Wheel Speed: This speed is much slower and directly controls the rotational speed of the workpiece. A faster regulating wheel speed results in a faster part rotation and a higher material removal rate, but often a rougher finish. For fine finishes, you need to slow it down. This gives the grinding wheel more time to "spark out" and refine the surface.
Material Removal Rate
The rate at which you remove material is a function of the regulating wheel’s angle and its rotational speed. We call this the Through-Feed Rate, often measured in inches per minute (IPM) or millimeters per minute (mm/min).
You can calculate it using this formula:
Through-Feed Rate (IPM) = π × D × N × sin(α)
- D: Diameter of the regulating wheel
- N: Rotational speed of the regulating wheel (RPM)
- α (alpha): The tilt angle of the regulating wheel
This formula shows a direct relationship. If you increase the angle (α) or the speed (N), the workpiece will travel through the machine faster. For a project requiring a heavy stock removal of 0.5mm, you might use a larger feed angle of 3-4 degrees. For a final finishing pass removing only 0.02mm, you would reduce that angle to 0.5-1 degree and slow the regulating wheel’s RPM.
| Parameter | Primary Effect on Workpiece | How to Adjust for Finer Finish |
|---|---|---|
| Grinding Wheel Speed | Cutting Action & Finish | Maintain at optimal SFM (e.g., 6500 SFM) |
| Regulating Wheel RPM | Part Rotation Speed & Finish | Decrease RPM |
| Regulating Wheel Angle | Axial Feed Rate | Decrease Angle |
Getting these parameters right is crucial, especially for demanding clients like Alex who need both tight dimensional tolerances and a specific Ra surface finish.
How Do You Choose and Dress the Right Grinding Wheels?
Your parts have burn marks, or the wheel is breaking down too quickly. You’ve followed all the setup guides, but the process is still unstable. This is often a sign you’re using the wrong grinding wheel or your dressing procedure is incorrect, leading to poor performance and high consumable costs.
Choosing the right grinding wheel involves matching the abrasive type, grit size, grade (hardness), and bond to your workpiece material. Dressing is crucial for maintaining the wheel’s cutting ability. Use a sharp diamond tool and control the traverse speed: a fast traverse creates a coarse, open wheel for roughing, while a slow traverse creates a fine, smooth wheel for finishing.
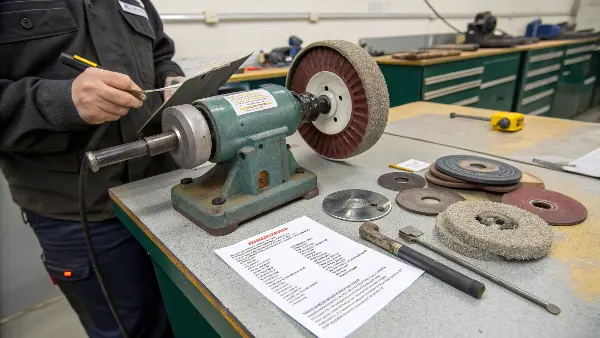
I remember a project with hardened steel shafts where we were fighting chatter marks all day. We tried every setup trick I knew. Finally, we switched from a standard aluminum oxide wheel to a ceramic one and changed our dressing speed. The chatter disappeared instantly. The wheel itself is a cutting tool; it must be the right tool for the job and it must be kept sharp.
Selecting Your Grinding Wheel
Choosing a wheel can feel overwhelming with all the codes and numbers. Let’s simplify it. You need to consider four main factors.
-
Abrasive Type: This is the cutting material.
- Aluminum Oxide: The workhorse for steels and ferrous alloys.
- Silicon Carbide: For non-ferrous metals (aluminum, brass), cast iron, and non-metals.
- Ceramic Aluminum Oxide: A premium abrasive for hard-to-grind alloys and high production rates.
- Superabrasives (CBN/Diamond): For very hard materials like hardened tool steels (CBN) or carbides (diamond).
-
Grit Size: This is the size of the abrasive particles. A lower number means coarser grit (e.g., 36 grit for heavy stock removal). A higher number means finer grit (e.g., 120 grit for a mirror finish).
-
Grade (Hardness): This is not the hardness of the abrasive, but how strongly the bond holds the grit. A "soft" wheel (e.g., G grade) releases dull grains easily, making it good for hard materials. A "hard" wheel (e.g., P grade) holds onto grains longer, suitable for soft materials.
-
Bond Type: This is the glue holding it all together. Vitrified (V) bond is the most common, as it is rigid, strong, and porous.
The Art of Dressing
Dressing does two things: it trues the wheel to make it perfectly round and straight, and it sharpens the wheel by removing dull abrasive grains and loaded material.
Here’s a practical guide to dressing:
| Goal | Diamond Tool Condition | Traverse Speed across Wheel Face | Depth of Cut per Pass |
|---|---|---|---|
| Aggressive Roughing | Sharp, pointed diamond | Fast (e.g., 40-60 in/min) | Light (0.001") |
| General Purpose | Slightly rounded diamond | Medium (e.g., 20-30 in/min) | Light (0.0005"-0.001") |
| Fine Finishing | Rounded/flat-tip diamond | Slow (e.g., 5-10 in/min) | Very light (0.0002"-0.0005") |
The regulating wheel also needs dressing. It’s usually a rubber-bonded wheel with a fine grit. Its purpose is to control the workpiece, not to abrade it. You should dress it to be perfectly cylindrical to ensure the workpiece rotates an even speed. A poorly dressed regulating wheel is a primary cause of out-of-roundness.
How Do You Troubleshoot Common Through-Feed Grinding Defects?
You’ve done everything right—setup, parameters, wheel selection—but you’re still getting inconsistent parts. Some are tapered, some have chatter marks, and others are out-of-round. This is incredibly frustrating, especially when deadlines are tight and you need to ship parts to a client like Alex.
To troubleshoot effectively, inspect the part to identify the specific defect, then systematically check potential causes. Tapering is often due to misalignment. Chatter comes from vibration or a poorly dressed wheel. Out-of-roundness (lobing) usually points to incorrect workpiece height. Address one variable at a time until the problem is solved.
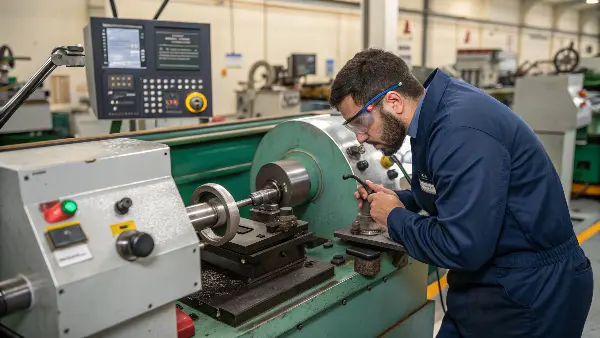
Troubleshooting is where experience really shines. It’s a process of elimination. I’ve learned to never assume anything and to always start with the simplest potential cause. Is the coolant flowing properly? Is the diamond dresser worn? More often than not, the solution is straightforward. The key is to be methodical and not change five things at once.
A Practical Troubleshooting Guide
Let’s create a quick-reference chart for the most common defects I’ve seen in my career. When you see one of these issues, work through the potential causes in order.
| Defect Observed | Visual Appearance | Top Probable Causes & Solutions (in order of likelihood) |
|---|---|---|
| Tapering | Part diameter is larger on one end than the other. | 1. Misaligned Guides: Check if the entry or exit guides are parallel to the machine’s axis. Adjust them. 2. Regulating Wheel Misalignment: The regulating wheel’s axis might not be perfectly parallel to the grinding wheel’s axis (in the horizontal plane). Adjust its swivel. 3. Uneven Wheel Wear: The grinding wheel face may be worn into a taper. Dress the wheel. |
| Chatter Marks | Evenly spaced, wavy marks on the surface. | 1. Grinding Wheel Needs Dressing: The wheel may be glazed (dull) or loaded. Dress the wheel, possibly with a faster traverse. 2. Process Instability: The cut is too heavy, the feed is too fast, or the workpiece is too high above center. Reduce one of these parameters. 3. Machine Vibration: Check for loose components, bad spindle bearings, or external vibrations. |
| Out-of-Round (Lobing) | Part is not perfectly circular, often has 3, 5, or 7 lobes. | 1. Incorrect Workpiece Height: The workpiece center is too low relative to the wheel centerline. Raise the work rest blade. 2. Work Rest Blade Angle: The angle might be too shallow. Increase the angle for better support. 3. Regulating Wheel Speed: The speed may be too fast. Slow it down to allow the rounding action to complete. |
| Spiral or Feed Lines | A visible helical line on the workpiece surface. | 1. Misaligned Dressing: The regulating wheel dressing slide is not parallel to the machine axis, creating a "lead." Re-align the tool. 2. Incorrect Feed Angle: The regulating wheel’s tilt angle is too aggressive for the finish required. Reduce the angle. 3. Sharp Edge on Wheel: The edge of the grinding or regulating wheel may have a sharp corner. Dress a small radius onto the corner. |
| Burning / Discoloration | Brown, blue, or black marks on the surface. | 1. Insufficient Coolant: Check for clogged nozzles or low flow. Ensure coolant is flooding the grinding zone. 2. Glazed Grinding Wheel: The wheel is dull and rubbing instead of cutting. Dress the wheel. 3. Cut is Too Heavy: Reduce the stock removal amount per pass. Use multiple passes if necessary. |
When you face a problem, use this table. Start with cause #1. If that doesn’t fix it, revert the change and try cause #2. This systematic approach saves time and prevents you from making the problem even worse.
Conclusion
Mastering through-feed centerless grinding is about controlling setup, parameters, and troubleshooting. Get these fundamentals right, and you will produce high-quality, precise parts consistently, meeting any client’s demands.
