Choosing the wrong grinding process can tank your project, leading to missed tolerances, higher costs, and frustrating delays. You need precision, but you also need efficiency. Understanding the core differences between centerless and cylindrical grinding is the first step to ensuring your parts are made right, on time.
The key difference lies in how the workpiece is held. Cylindrical grinding secures the part between centers or in a chuck, offering excellent control for complex geometries. Centerless grinding supports the part on a blade between two wheels, making it extremely fast for high-volume production of simple cylindrical shapes. Your choice depends on part complexity, volume, and required tolerances.
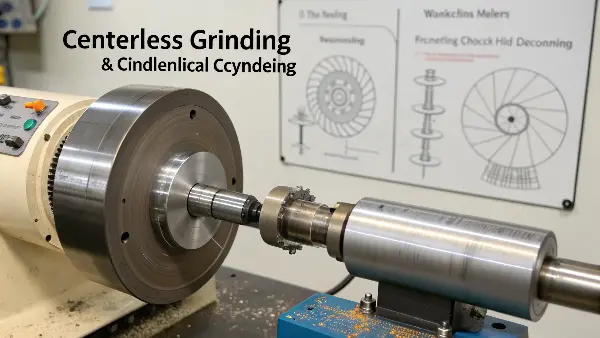
That’s the high-level answer. But the real value is in the details. The "why" and "when" are what separate a good engineering decision from a costly mistake. For over a decade, I’ve helped engineers navigate these choices, and the best outcomes always come from a deep, practical understanding. Let’s break down the mechanics, pros, and cons so you can choose the right process with confidence.
What are the differences between centerless and cylindrical grinding?
You’ve heard the terms, and you know they both produce smooth, precise finishes. But the mechanical differences feel fuzzy, making it hard to specify the right process to your supplier. This ambiguity can lead to miscommunication, incorrect quotes, or parts that don’t meet functional requirements, causing frustrating and expensive delays.
Cylindrical grinding secures the workpiece on a central axis, giving you precise control over geometry for individual or complex parts. In contrast, centerless grinding continuously feeds parts between two abrasive wheels without fixed centers. This makes centerless grinding ideal for quickly processing large quantities of simple cylindrical parts, like pins or shafts, where speed is a top priority.
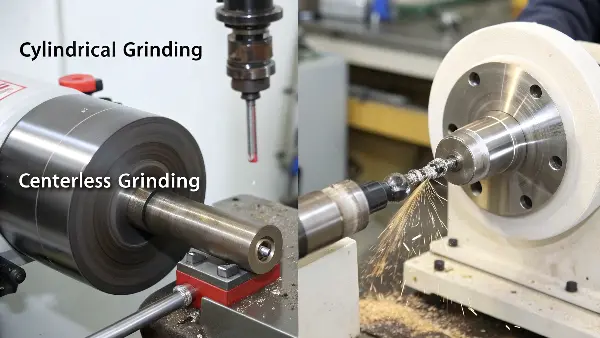
To really get it, you have to visualize how the machines work. I remember a project for a German robotics client, similar to Alex, who needed a complex actuator shaft with multiple diameters, tight shoulders, and a keyway. The concentricity between the diameters was critical for the robot’s smooth operation. For a part like that, centerless grinding is simply not an option.
Inside the Machines: A Mechanical Breakdown
Cylindrical Grinding:
Think of a lathe, but for grinding. The workpiece is mounted securely, either between two "centers" that hold it at each end or gripped by a chuck. It rotates on its own precise central axis. A separate, large grinding wheel, also rotating, moves in to carefully remove material from the outside diameter. This setup is incredibly stable. Because the part is fixed, we have total control over its position relative to the grinding wheel. This allows us to grind specific sections, create tapers, machine shoulders, and ensure different diameters are perfectly concentric to one another. It’s a deliberate, highly controlled process, perfect for prototypes, low-to-mid volume runs, and parts with intricate features.
Centerless Grinding:
This process is completely different. There are no centers or chucks. The workpiece isn’t fixed at all. Instead, it rests on a work-rest blade and is nestled between two wheels:
- The Grinding Wheel: This is the large, high-speed wheel that does the actual material removal.
- The Regulating Wheel: This smaller wheel, often made of a rubber-bonded material, rotates at a much slower speed. It controls the rotation speed of the workpiece and, in through-feed grinding, its axial movement through the machine.
The magic happens in the setup. By slightly angling the regulating wheel, we can push the workpiece through the grinding zone continuously. This "through-feed" method is why it’s so fast for high-volume jobs on parts like dowel pins or hydraulic rods.
A Side-by-Side Comparison
| Feature | Cylindrical Grinding | Centerless Grinding |
|---|---|---|
| Workpiece Holding | Held between centers or in a chuck. | Supported on a blade between two wheels. |
| Setup Time | Longer per-part loading and centering. | Complex initial machine setup, but very fast cycle times. |
| Production Speed | Slower, one part at a time. | Very fast, often continuous (through-feed). |
| Part Geometry | Suited for complex profiles (shoulders, tapers, multi-diameters). | Best for simple, uniform outer diameter (OD) cylinders. |
| Concentricity | Excellent, as it’s referenced to fixed centers. | Good, but dependent on the initial roundness of the part. |
What are the advantages and disadvantages of centerless grinding?
You know centerless grinding is fast, but you might worry about its limitations and potential trade-offs in quality. Choosing it just for speed could lead to parts that are out-of-round or miss critical tolerances, forcing an expensive switch to another process mid-production. Let’s clarify when to leverage its speed and when to avoid it.
The main advantage of centerless grinding is its incredible speed for high-volume production of simple cylinders, leading to lower per-part costs. The main disadvantages are its complex initial setup and its inability to handle parts with shoulders, tapers, or other complex geometries. It’s a process built for mass production of uniform parts, not for versatility.
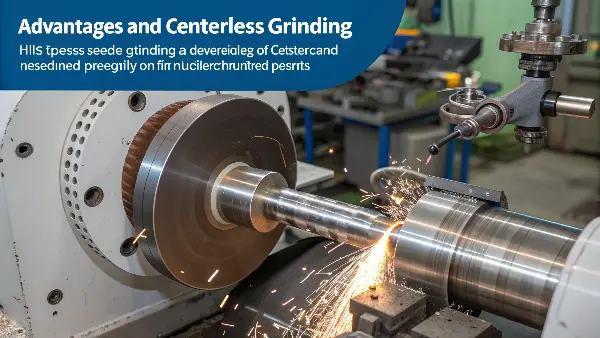
I often get requests for quotes on parts that seem perfect for centerless grinding—simple pins, for instance. But then I see a note about a tiny groove or a slightly chamfered end that needs to be perfectly concentric with the main body. In those cases, the "disadvantages" of centerless grinding become deal-breakers, and we have to step back and re-evaluate the entire manufacturing plan. Speed is useless if the final part doesn’t work.
The Upside: Why Centerless Grinding Shines
Incredible Speed and Efficiency: For through-feed grinding, parts are fed into the machine end-to-end, creating a continuous flow of finished components. Loading and unloading are often automated. This means for jobs involving thousands or millions of identical pins, shafts, or rollers, the cycle time per part is measured in seconds. This mass production capability directly translates to a lower cost per part.
Minimal Deflection, Tighter Tolerances on Long Parts: Because the workpiece is supported along its entire length by the work-rest blade, there’s very little chance of it bending or deflecting under the pressure of the grinding wheel. This is a huge advantage for long, thin parts like needle rollers or long shafts, where a cylindrical grinder might struggle to maintain consistent diameter from end to end.
Improved Roundness: Oddly enough, centerless grinding can actually improve the roundness of a part. Because the workpiece is not fixed to a center axis, high spots are ground down more aggressively on each rotation. Over several rotations, this action averages out imperfections and can correct minor out-of-roundness from previous operations.
The Downside: When to Be Cautious
Not for Complex Geometries: This is the biggest limitation. If your part has shoulders, multiple diameters, flanges, or heads (like a bolt), it generally cannot be through-feed ground. While in-feed centerless grinding can handle some simple tapers or profiles, it’s far less versatile than cylindrical grinding. Anything that interrupts a smooth, continuous outer diameter is a red flag.
Challenging Initial Setup: Setting up a centerless grinder is an art. The operator has to precisely adjust the height of the work-rest blade and the angles of both the grinding and regulating wheels. A bad setup will produce tapered, barrel-shaped, or out-of-spec parts. This complexity means setup time is long, making it uneconomical for small batches or prototypes.
Potential for Inaccuracies: While it can produce very tight tolerances, it’s not foolproof. The final quality is highly dependent on the quality of the incoming part. A workpiece that is significantly bent or out-of-round may not be fully corrected. Concentricity between the OD and a pre-existing bore (ID) is not guaranteed because the OD is the only reference surface.
How accurate is centerless grinding?
You’re considering centerless grinding for its speed, but as an engineer, you can’t compromise on precision. You’ve heard it can hold tight tolerances, but you’re skeptical. If you specify it for a high-precision component, you need to be certain it can consistently deliver the accuracy your design demands without fail.
Modern centerless grinding is extremely accurate and can reliably achieve tolerances as tight as ±0.001 mm (1 micron) on diameter and roundness. However, this level of precision is not automatic. It depends heavily on the machine’s condition, the operator’s skill, the quality of the incoming material, and the grinding parameters used. It excels at OD accuracy but offers no control over features like internal bores.
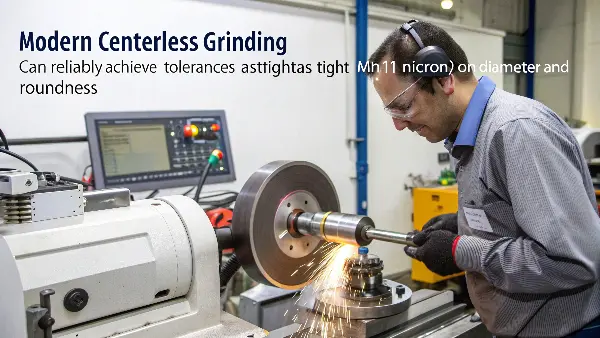
I once worked on a project for a medical device company that needed tens of thousands of tiny stainless steel pins. The diameter tolerance was ±0.002 mm. The parts were coming off a Swiss lathe and were already quite good, but not good enough. We used centerless grinding as the final finishing step. It took my most experienced operator a full day to dial in the machine, but once it was running, we produced parts with near-zero defects, holding a consistent diameter well within the required tolerance band. It’s a perfect example of what centerless grinding can do when applied correctly.
Factors That Determine Accuracy
The claim of 1-micron accuracy isn’t just marketing; it’s achievable, but everything has to be perfect. Here’s what that involves:
- Machine Rigidity and Condition: A high-precision grinder must be incredibly rigid and well-maintained. The spindles must have no runout, and the machine bed must be stable and absorb all vibrations. We use machines with granite bases for this very reason.
- Grinding Wheel Selection and Dressing: The type of abrasive, grit size, and bonding material of the wheel are chosen specifically for the workpiece material and desired finish. More importantly, the wheel must be perfectly balanced and "dressed" frequently with a diamond tool to keep it sharp and true. A dull or loaded wheel cannot produce accurate parts.
- Regulating Wheel and Work-Rest Blade: The regulating wheel controls the part’s stability and rotation speed. Its surface must be flawless. The work-rest blade must be set at the correct height and angle to ensure proper contact and support. Even a few microns of misalignment here can ruin the part.
- Coolant Quality and Delivery: Grinding generates a lot of heat. A constant flow of high-quality, filtered coolant is non-negotiable. It prevents thermal expansion of the part during grinding, which would make holding tight tolerances impossible. It also flushes away swarf that could mar the surface finish.
Tolerance Expectations: A Realistic View
Let’s put some numbers on it. This table shows what you can realistically expect from a well-executed centerless grinding process.
| Tolerance Type | Standard Precision | High Precision | Ultra Precision |
|---|---|---|---|
| Diameter | ±0.005 mm | ±0.002 mm | ±0.001 mm |
| Roundness | < 0.004 mm | < 0.002 mm | < 0.001 mm |
| Surface Finish (Ra) | < 0.4 µm | < 0.2 µm | < 0.1 µm |
| Straightness | 0.005 mm per 100 mm | 0.002 mm per 100 mm | 0.001 mm per 100 mm |
Remember, achieving the "Ultra Precision" column requires ideal conditions and adds cost. For most engineering applications, "Standard" or "High Precision" is more than sufficient and provides a great balance of cost and quality. The key is to communicate your absolute minimum requirements clearly.
Which grinding process is best for an interior surface?
You’ve designed a part with a critical internal diameter, like a bushing or a cylinder bore, that needs a precise size and a mirror-smooth finish. You know external grinding well, but now you’re facing an internal surface. Using the wrong process here could scrap expensive parts or lead to functional failure.
Neither centerless nor standard cylindrical grinding is used for interior surfaces. For grinding the inside of a cylindrical hole, the correct process is Internal Diameter (ID) grinding. This specialized method uses a small, high-speed grinding wheel mounted on a long quill, which enters the workpiece to precisely finish the internal bore. It’s the only way to achieve tight tolerances and fine finishes on an ID.
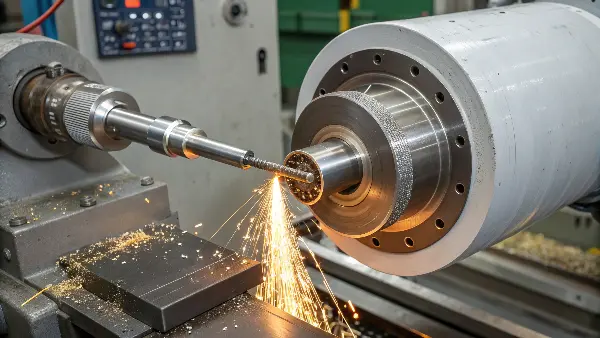
I often see confusion around this point. Engineers like Alex, who are masters of external component design, sometimes assume their grinding supplier can just "reverse" the process for an internal hole. But it’s a completely different machine and skill set. I had a client who needed high-precision hydraulic sleeves. They specified a tight OD tolerance, which we hit with cylindrical grinding, but they also needed a matching ID tolerance. We had to move the parts to a separate ID grinding machine to finish the job. It’s a two-step process requiring different setups.
Understanding Internal Diameter (ID) Grinding
ID grinding is a sub-discipline of cylindrical grinding, but it deserves its own category because the mechanics are unique.
- How it Works: The workpiece is held in a chuck or fixture and rotates, just like in OD cylindrical grinding. However, instead of a large external wheel, a much smaller grinding wheel, mounted on the end of a long, slender spindle called a "quill," enters the bore. The quill moves back and forth (traverses) inside the rotating workpiece to grind the entire length of the hole.
- The Challenge of Deflection: The biggest challenge in ID grinding is the quill itself. Because it’s long and thin, it’s prone to deflecting or bending under pressure. This can lead to tapering (the hole being wider at the entrance than at the back) or chatter marks on the surface. Experienced operators know how to manage this by controlling the feed rate, depth of cut, and spindle speed.
- Wheel Size and Speed: The grinding wheel must be smaller than the hole diameter, which limits its surface speed. To compensate and achieve an effective cutting action, ID grinding spindles run at extremely high RPMs—often tens of thousands of RPM.
When Do You Need ID Grinding?
You should specify ID grinding for any application where the fit, finish, or geometry of an internal bore is critical for performance. Here are some classic examples from my experience:
- Bearings and Bushings: The inner race of a ball bearing or the bore of a bronze bushing must have a perfect surface and exact diameter for smooth rotation and proper press-fit.
- Hydraulic and Pneumatic Cylinders: The inside of a cylinder must be perfectly round, straight, and have a specific surface finish to ensure a proper seal with the piston rings.
- Jig and Fixture Components: Precision locating bushings and dowel pin holes in fixtures require ID grinding to ensure repeatable and accurate positioning of parts.
- Fuel Injector Nozzles: The tiny internal passages of fuel injectors are often ID ground to control fuel flow with extreme precision.
In short, if the performance of your assembly depends on what happens inside a hole, you need to be talking about ID grinding, not just "grinding."
Conclusion
Both centerless and cylindrical grinding deliver exceptional precision, but they solve different problems. Choose centerless for speed and volume on simple parts; choose cylindrical for complex geometries and ultimate control.
