A leaking seal can cause catastrophic failure in your product. You’re worried that poor groove design or machining will compromise your entire system. Understanding the key specifications is the first step to creating a reliable, leak-proof seal every time.
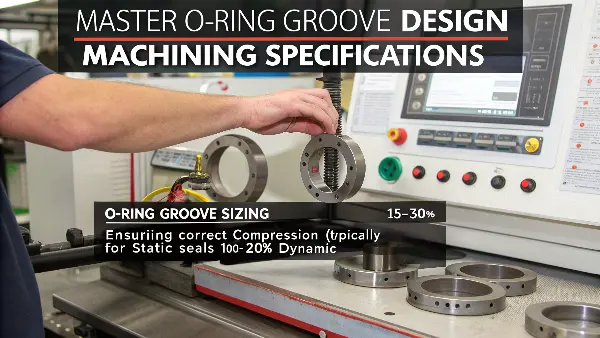
To master O-ring groove design, you must correctly size the groove to achieve a specific O-ring squeeze (compression), typically 15-30% for static seals and 10-20% for dynamic ones. Ensure the groove volume is larger than the O-ring volume to allow for thermal expansion. For machining, focus on achieving a smooth surface finish (typically 0.8-1.6 μm Ra) and holding tight dimensional tolerances to prevent leaks and premature wear.
Getting the basics right is essential for any seal. A successful O-ring groove is more than just a simple channel cut into a part. It requires a deep understanding of principles that balance sealing pressure with material longevity. Let’s explore these fundamentals to build a solid foundation for your designs.
What Are the Core Principles of O-Ring Groove Design?
Designing a groove seems simple, but getting it wrong leads to leaks and costly rework. You need a design that provides a perfect seal without damaging the O-ring during assembly or operation. The secret is to think about the O-ring not as a static object, but as a dynamic component.
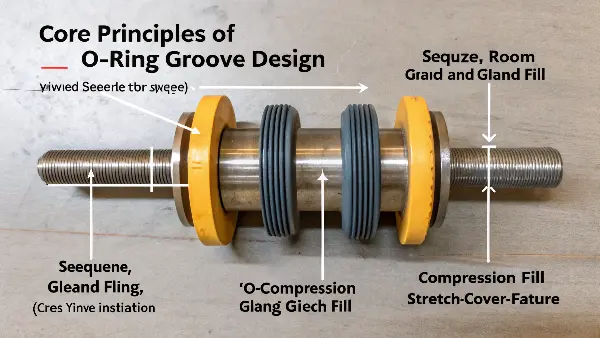
The core principles are squeeze, gland fill, and stretch. Squeeze (compression) creates the sealing force. Gland fill ensures there’s room for the O-ring to expand without damage. Stretch is managed during installation to maintain the O-ring’s cross-section. Balancing these three factors is fundamental to creating a groove that performs reliably under pressure and over time, preventing both leaks and premature failure.
The first time I really understood these principles was on a project for a hydraulic manifold. The initial design looked fine on paper, but it failed pressure testing. We discovered the groove was too shallow, causing excessive squeeze on the O-ring. The material was being crushed, and under pressure, it was extruding into the small clearance gap. It was a lesson in how a few thousandths of an inch can make all the difference. This experience taught me to treat O-ring design less like simple geometry and more like a precise science.
Squeeze (Compression)
Squeeze is the percentage an O-ring’s cross-section is compressed. It is the most critical factor for creating a seal. Too little squeeze, and you won’t have enough sealing force, leading to leaks, especially at low pressures. Too much squeeze, and you stress the material, shorten its life, and make installation difficult.
- Static Seals: Typically require 15-30% squeeze.
- Dynamic Seals: Use less squeeze, around 10-20%, to reduce friction and wear.
Gland Fill
Gland fill is the percentage of the groove volume that the O-ring occupies. You always want the gland fill to be less than 100%, usually around 70-85%. This leaves empty space (void) for the O-ring material to expand due to temperature or fluid swell. If the groove is overfilled, the O-ring has nowhere to go and this can lead to very high internal pressures, damaging the seal or even the housing itself.
Stretch
For male (piston) seals, the O-ring is stretched over the part to fit into the groove. It’s important to limit this stretch, ideally to less than 5%. Excessive stretching reduces the O-ring’s cross-sectional diameter. A smaller cross-section means less squeeze, which can compromise the seal. I always double-check the calculations to ensure the stretch is minimal. This simple check prevents a lot of potential problems down the line.
How Do You Select the Right Dimensions for Your O-Ring Groove?
You have a standard O-ring, but what are the exact groove dimensions you need to machine? Guessing the width and depth dimensions can lead to immediate failure. You need a reliable method to define these critical features based on the O-ring you’ve chosen and your application’s requirements.
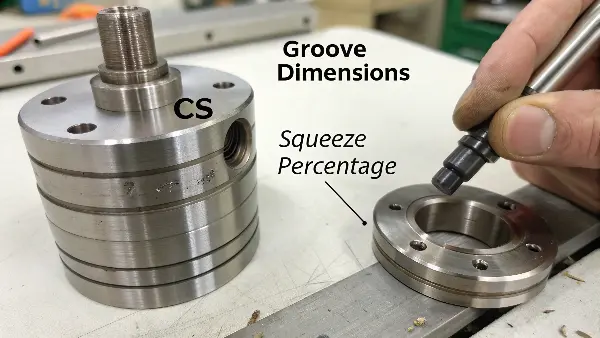
To select the right dimensions, start with the O-ring’s cross-sectional diameter (CS). The groove depth is designed to create the target squeeze (e.g., for 25% squeeze on a 2mm CS O-ring, the gland depth would be 1.5mm). The groove width must accommodate the compressed O-ring’s width and allow for side clearance. Always consult standard O-ring handbooks, as they provide proven dimension tables for various CS sizes.
I remember working with a younger engineer who was frustrated with a persistent leak in a prototype. He had designed the groove himself using what seemed like logical calculations. I pulled out my old copy of the Parker O-Ring Handbook and showed him the standard dimension tables. We compared his design to the recommended dimensions for that specific O-ring. His groove was slightly too wide and too shallow. We re-machined the part to the handbook’s specifications, and the leak vanished. It’s a reminder that we don’t have to reinvent the wheel; these standards exist because they are tested and proven.
Step-by-Step Dimensioning Process
- Select the O-Ring: First, choose an O-ring with a cross-section diameter (CS) and inside diameter (ID) suitable for your application pressure, temperature, and media.
- Determine Squeeze: Decide on your target squeeze based on whether the seal is static or dynamic.
- Calculate Groove Depth: The groove depth is directly tied to the squeeze. The formula for a basic radial seal is:
Groove Depth = O-Ring CS * (1 - % Squeeze) - Determine Groove Width: The width needs to be larger than the O-ring CS to allow for the material to expand sideways when compressed. Again, standard charts are your best friend here. A common rule of thumb is to make the groove width about 1.25 to 1.5 times the O-ring CS.
Using Standard Dimension Tables
The most reliable method is to use industry-standard tables. These tables provide pre-calculated groove dimensions for standard O-ring sizes, saving you time and reducing the risk of error.
| O-Ring CS (mm) | Gland Type | Recommended Groove Width (mm) | Recommended Groove Depth (mm) |
|---|---|---|---|
| 1.78 | Static, Piston | 2.40 | 1.30 |
| 2.62 | Static, Piston | 3.50 | 2.00 |
| 3.53 | Static, Piston | 4.70 | 2.80 |
| 5.33 | Static, Piston | 7.00 | 4.30 |
These tables, found in engineering handbooks from manufacturers like Parker Hannifin, Trelleborg, or others, account for material swell and tolerances, giving you a very safe starting point for your design.
What Machining Tolerances and Surface Finishes Are Critical for O-Ring Grooves?
Your design drawing is perfect, but the actual machined part is leaking. You suspect the issue is not the design, but the manufacturing quality. How can you specify the machining requirements correctly to ensure a flawless seal every time, especially when outsourcing to a CNC shop?
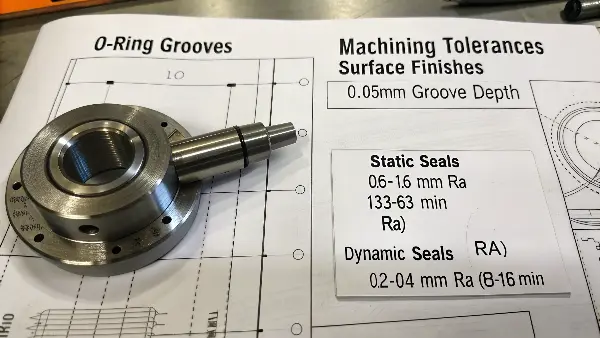
For O-ring grooves, dimensional tolerance on the groove depth is most critical, as it directly controls squeeze. A tolerance of ±0.05mm is often required. The surface finish of the sealing surfaces is equally important. A finish of 0.8-1.6 µm Ra (32-63 µin Ra) is typical for static seals, while dynamic seals require a smoother finish around 0.2-0.4 µm Ra (8-16 µin Ra).
One of my clients, Alex in Germany, is an expert in robotics and demands incredible precision. For one project, he specified a groove surface finish of 0.4 µm Ra for a dynamic seal. The first shop we tried couldn’t achieve this consistently. The parts had fine machining marks that were acting like tiny leak paths under high-speed movement. We moved the job to a supplier with better equipment and stricter process controls. By using a final polishing step, they were able to hit the spec perfectly. That experience reinforced my belief that specifying the finish and tolerances is just as important as the dimensions themselves. It’s the language that connects the designer’s intent to the machinist’s execution.
Key Machining Specifications
Dimensional Tolerances
The tolerance on the groove dimensions, especially depth, is non-negotiable.
- Groove Depth: This is the most critical dimension because it controls the O-ring squeeze. A loose tolerance can lead to too much or too little compression. For most applications, I specify a tolerance of ±0.05 mm (±0.002 inches). For high-pressure or critical applications, this might be tightened to ±0.025 mm (±0.001 inches).
- Groove Width: The width is less critical than the depth, but still important. A tolerance of ±0.10 mm (±0.004 inches) is usually acceptable. It needs to be wide enough to prevent overfilling the gland.
Surface Finish (Roughness)
The texture of the groove’s sealing surfaces is vital.
- Too Rough: A rough surface creates microscopic paths for fluid to leak through. It can also cause abrasive wear on a dynamic seal, leading to premature failure.
- Too Smooth: A surface that is too smooth (mirror-like) can be a problem too, especially for dynamic seals. It can prevent lubricant from being retained, leading to high friction and wear. For static seals, a very smooth surface might allow the O-ring to slip under pressure.
| Seal Type | Typical Ra Finish (µm) | Typical Ra Finish (µin) | Notes |
|---|---|---|---|
| Static | 0.8 – 1.6 | 32 – 63 | A good general-purpose finish. Can be achieved with standard turning/milling. |
| Dynamic | 0.2 – 0.4 | 8 – 16 | Requires fine machining or a secondary process like grinding or polishing. |
| Pneumatic | 0.4 – 0.8 | 16 – 32 | Smoother than general static seals to minimize friction and wear. |
When I send a drawing to a supplier, I make sure these specifications are clearly marked directly on the features they apply to. It leaves no room for interpretation.
How Do Dynamic and Static Seals Affect Groove Design Choices?
You’re designing one part with a stationary seal and another with a moving piston. Can you use the same groove design for both? Failing to distinguish between static and dynamic applications is a common mistake that can lead to rapid seal failure in moving parts. The design requirements are fundamentally different.
Yes, the application drastically affects groove design. Static seals compress the O-ring without movement and can tolerate wider tolerances and slightly rougher surfaces. Dynamic seals, involving moving parts, require tighter groove tolerances, smoother surface finishes (to reduce friction and wear), less squeeze (10-20%), and often a wider groove to allow the O-ring to roll or slide without damage.
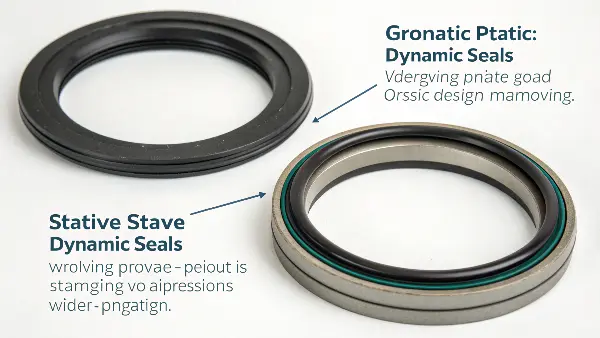
I once helped a startup that was developing a pneumatic cylinder. Their prototypes kept failing after only a few hundred cycles. The O-rings on the piston were getting shredded. When I looked at their design, I saw they had used the design parameters for a static face seal. The squeeze was over 25%, and the groove was too narrow. In a dynamic application, this high compression and tight fit generated huge amounts of friction and heat. The O-ring was being abraded with every stroke. We redesigned the groove with less squeeze (around 15%) and a slightly wider profile. The next prototype ran for tens of thousands of cycles without an issue. This showed me clearly that you have to design for the worst-case motion.
Static Seal Design Considerations
A static seal is one where there is no movement between the mating surfaces. They can be further divided into radial seals (like on a shaft) and axial seals (face seals).
- Higher Squeeze: You can use more squeeze (15-30%) because there is no friction or wear to worry about. This creates a very robust seal.
- Looser Tolerances: Since there is no movement, the dimensional tolerances and surface finish requirements can be slightly more relaxed compared to dynamic seals. An Ra of 1.6 µm is often sufficient.
- Simpler Geometry: The groove design can be simpler. Dovetail grooves are sometimes used in static face seals to retain the O-ring during assembly.
Dynamic Seal Design Considerations
A dynamic seal is one where there is relative motion. This includes reciprocating (back-and-forth), oscillating, and rotary motion.
- Lower Squeeze: Squeeze is reduced to 10-20% to minimize friction, heat buildup, and wear.
- Smoother Surface Finish: The surface the O-ring slides against must be very smooth, typically 0.2-0.4 µm Ra, to prevent abrasion. The groove surface itself can be slightly rougher.
- Wider Groove: The groove width is often increased to allow the O-ring to roll slightly in a reciprocating application. This can help distribute wear and improve lubrication. If the groove is too tight, the O-ring will just slide, leading to localized wear.
- Material Choice: The O-ring material itself is more critical. Materials with a low coefficient of friction and high abrasion resistance, like FKM or specialized urethanes, are often chosen.
Here is a quick reference table:
| Feature | Static Seal | Dynamic Seal |
|---|---|---|
| Squeeze | 15-30% | 10-20% |
| Surface Finish | 0.8 – 1.6 µm Ra (sealing surface) | 0.2 – 0.4 µm Ra (dynamic surface) |
| Groove Width | Standard (e.g., 1.3-1.4x O-ring CS) | Wider (e.g., 1.4-1.5x O-ring CS) to allow roll |
| Tolerances | Standard | Tighter, especially on depth and surface finish |
| Primary Goal | Maximum sealing force, prevent extrusion | Minimize friction, wear, and heat generation |
Understanding this distinction is the key to designing seals that last.
Conclusion
Mastering O-ring groove design and machining combines science and practical experience. By focusing on these key principles, your seals will perform reliably every time.
